Timber Garden Sheds Australia
May 2023
Our second build in 2023. Tallai is in the Gold Coast Hinterland, another hidden valley location close to everything, but still in a relatively quiet area. Located close to the Tallai Golf Course we had plenty of space to work with, the site is a battle axe block that was created by a sub-division. The owners Catherine and Shai only moved into their new home a few months ago, and decided to create a gym and fitness room located in the backyard, close to their new home.
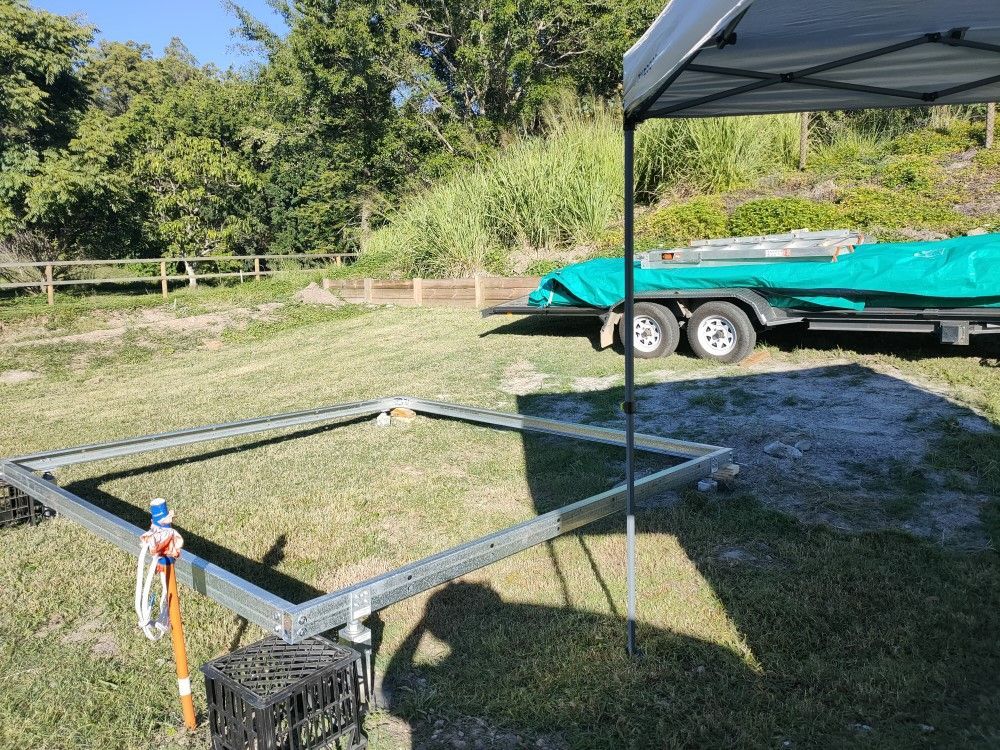
Ground Preparations - Steel Base
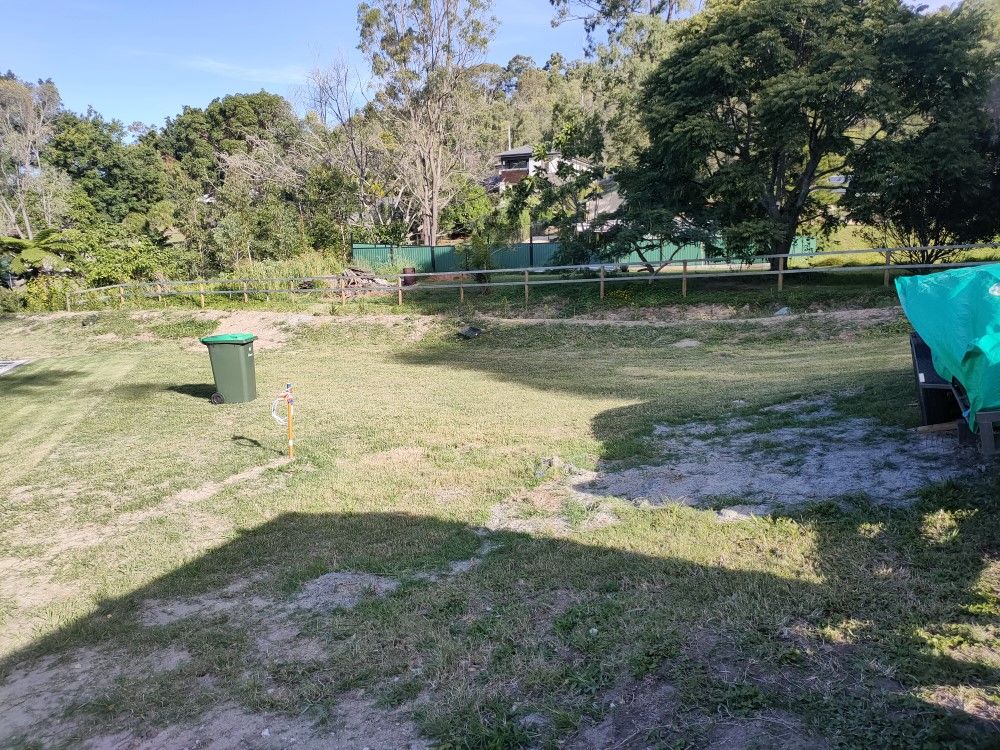
We were lucky again - like is sometimes the case during the cooler months of the year the weather was perfect throughout the entire build! The site itself was slightly sloped, ideal for a steel base installation.
Access was easy just along the house, ground was sealed with fully established roll-out turf close to the house, with a lighter grass cover towards the rear of the property.
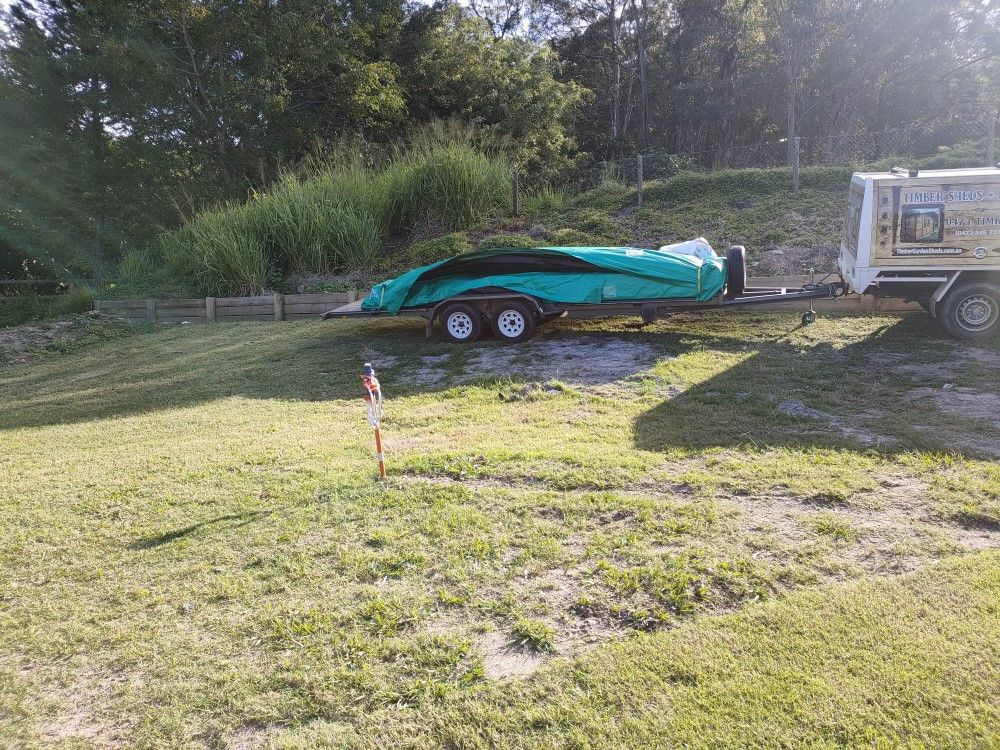
We were also able to park our new custom-made 6m deck trailer close to the build site which makes the job so much easier, cutting down the log-lumping time.
In preparation of the the cabin build the underground electrical cables were already in place, locking in the positioning of the cabin. All set and ready to start digging the foundation holes!
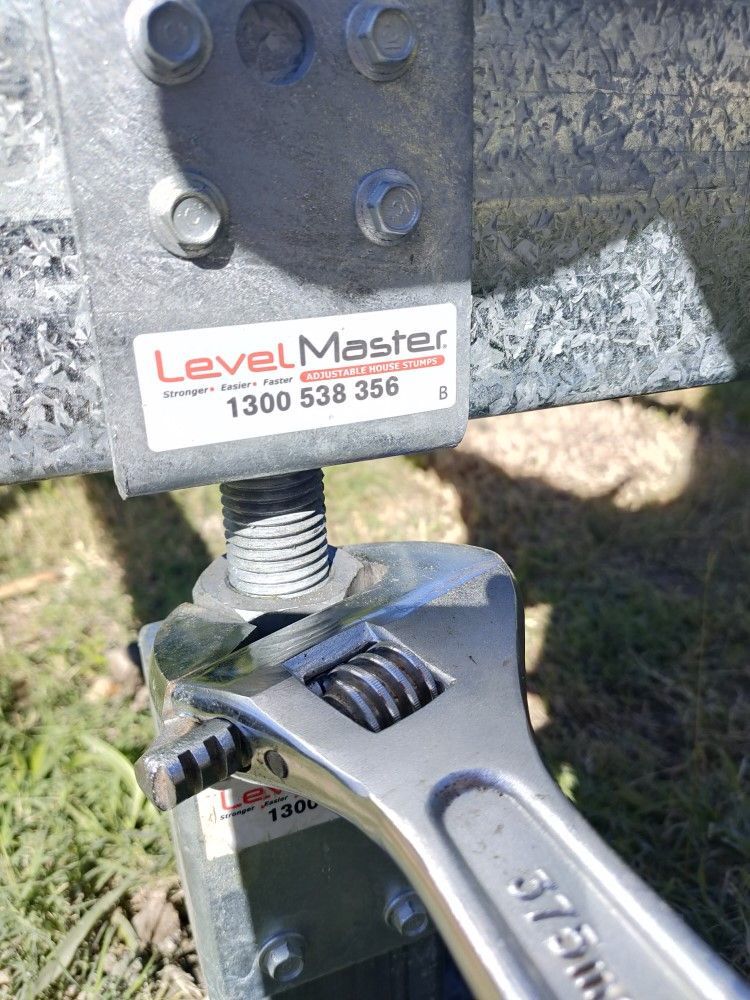
BASE and STUMPS
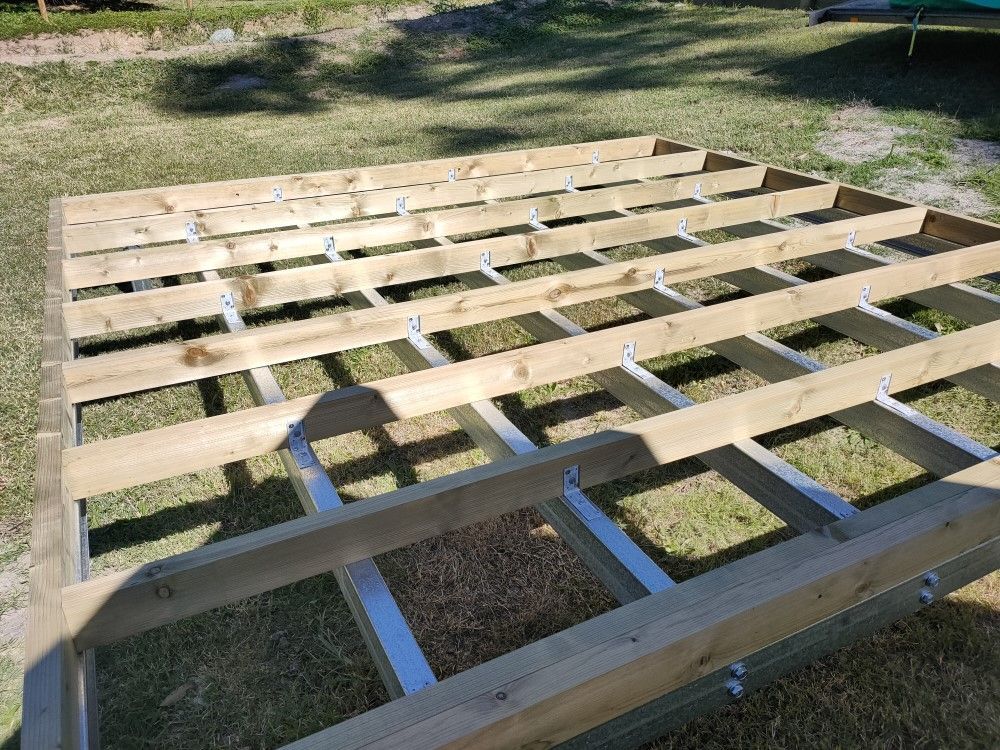
We strongly recommend the use of adjustable stump connectors - they simply make sure that your new cabin is installed 100% level, and that it will remain level forever. We only use "LevelMaster" stump top connectors, which feature a ball bearing mechanism, making the adjustment a breeze using a 375mm shifter spanner. Just a few turns either way increases or reduces the height of the steel base by a few millimeters.
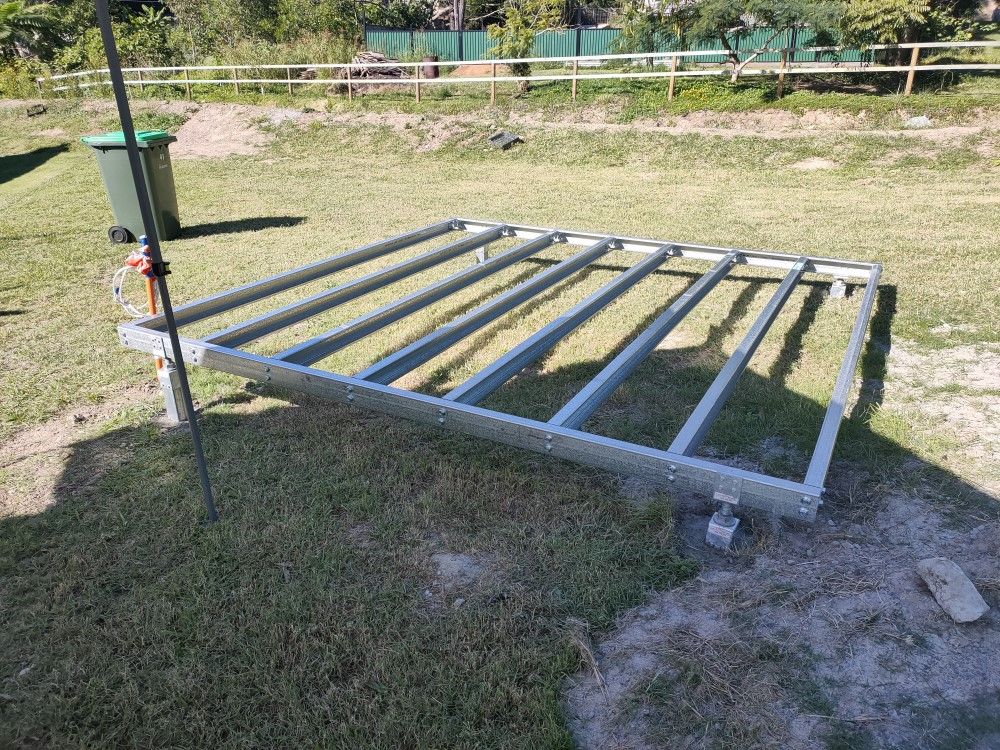
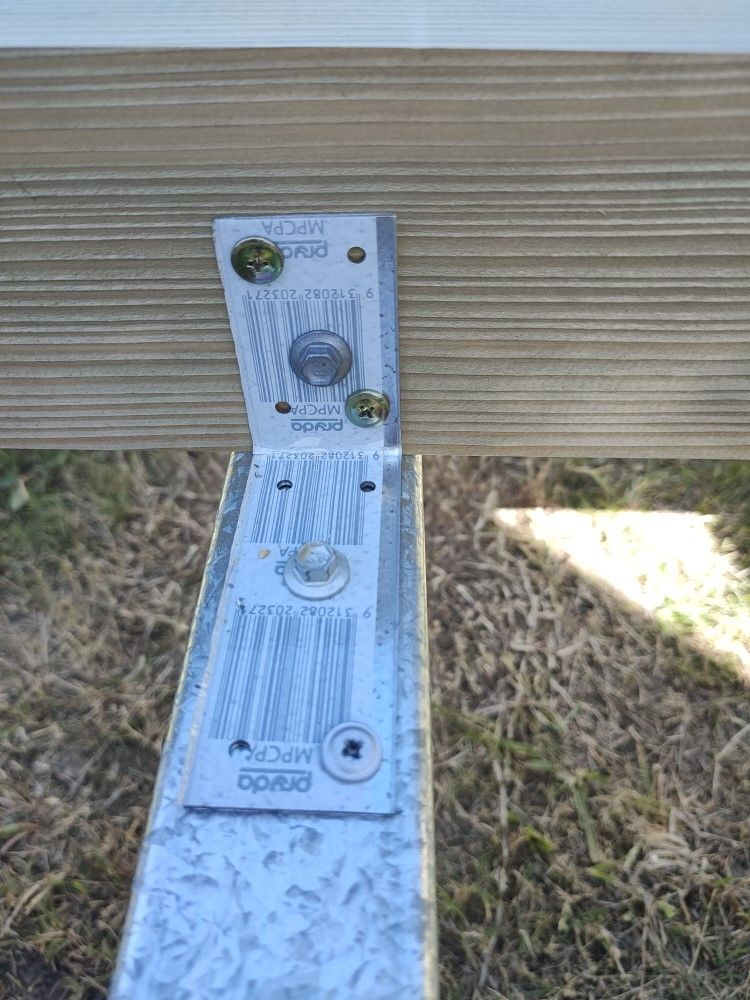
The treated pine base frame that comes with your cabin is attached to the steel frame via a number of gal steel brackets, using a variety of different fasteners. Joists are spaced at max. 450mm centers to allow the installation of 19mm thick particle board flooring.
THE BUILD
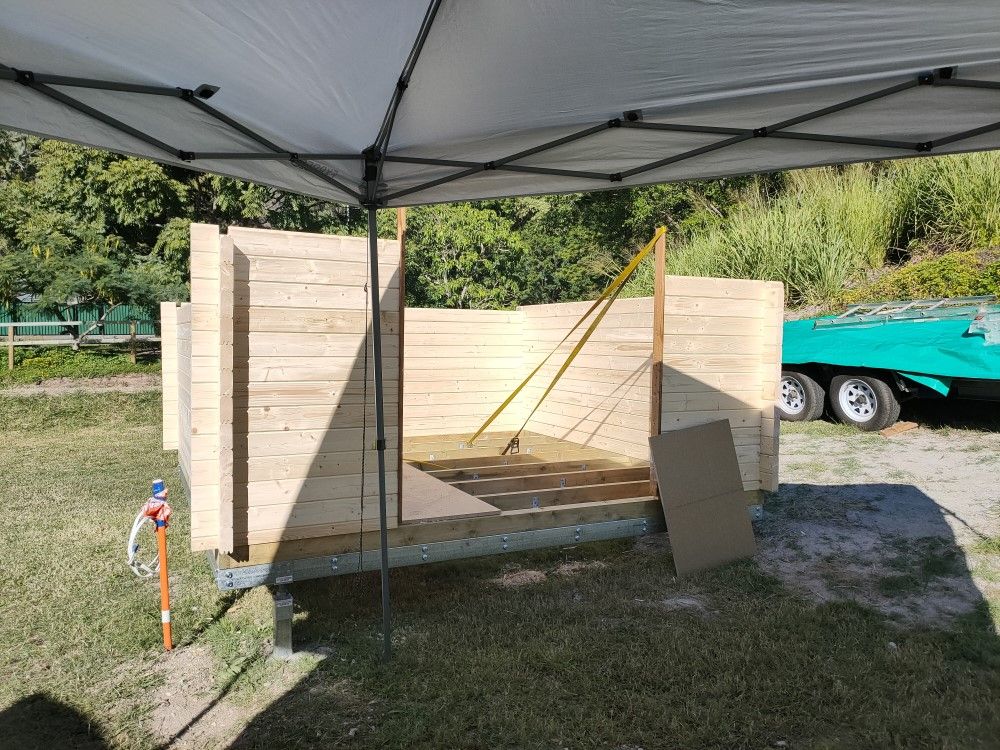
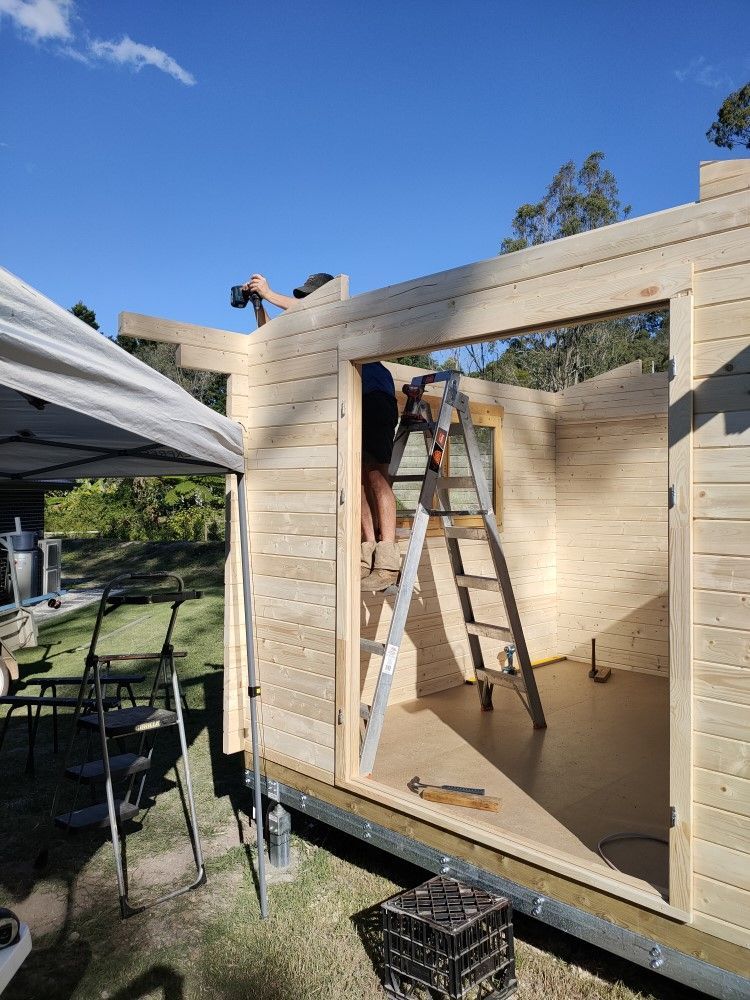
It is always a good idea to install the floor boards before the walls are constructed. The floor boards make for a solid and secure flat area, ideal for placing ladders and working higher up.
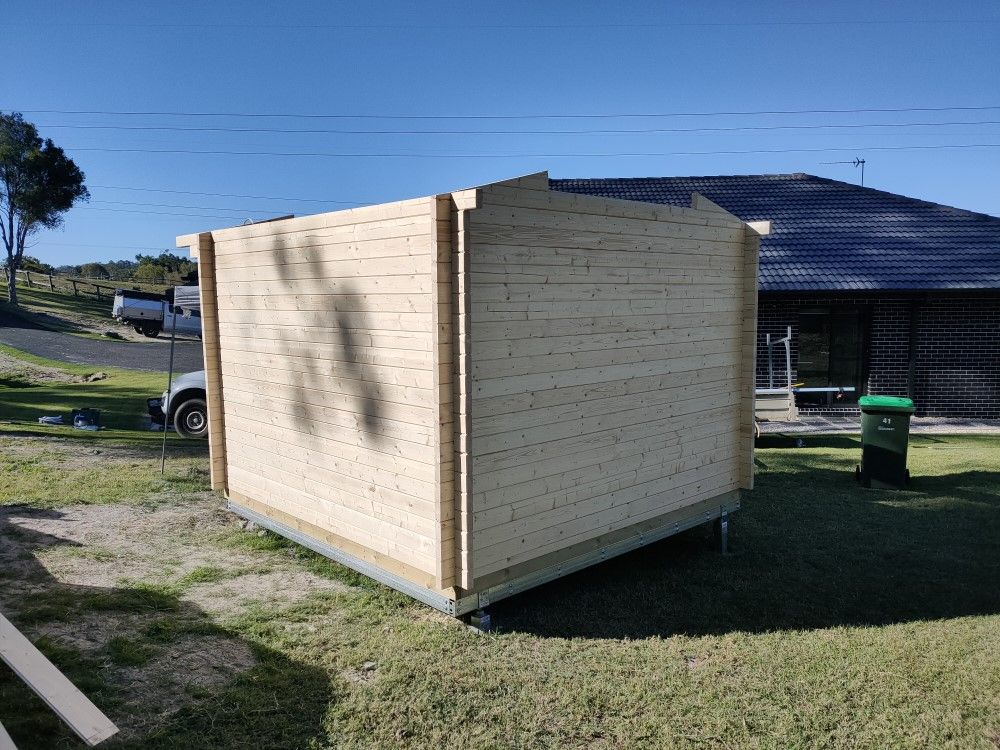
On occasions where timing with electrical works does not work out the walls will need to be constructed from the outside. That is ok when like here, there is reasonable flat level ground all around the cabin.
The centre image on the right shows the temporary use of a ratchet strap - very handy for pulling log walls into place that otherwise can have a mind of their own. In this case some of the shorter logs on the right hand of the door opening were causing the wall to lean forward too much, which in turn makes the placement of the full-length log on top of the door opening quite difficult.
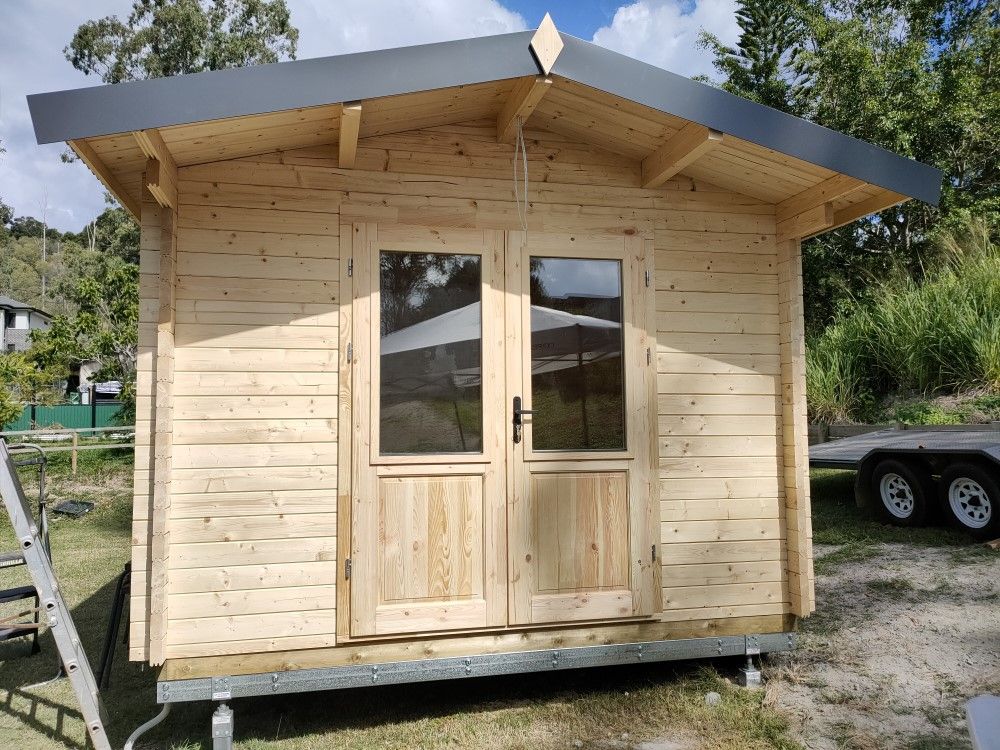
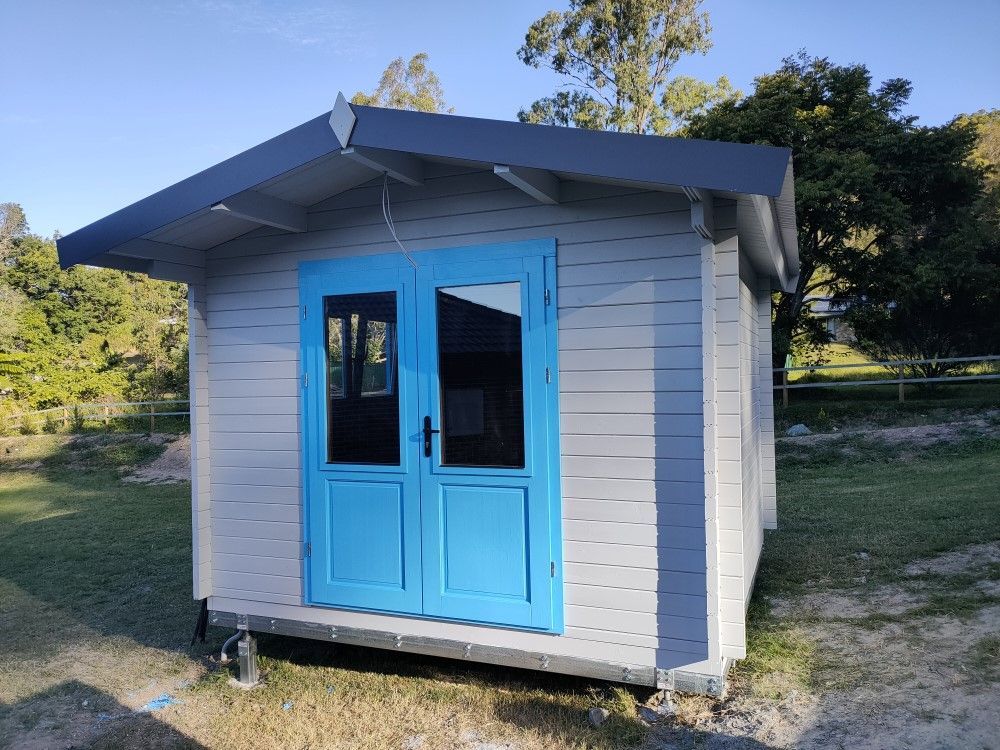
JUST ABOUT DONE....
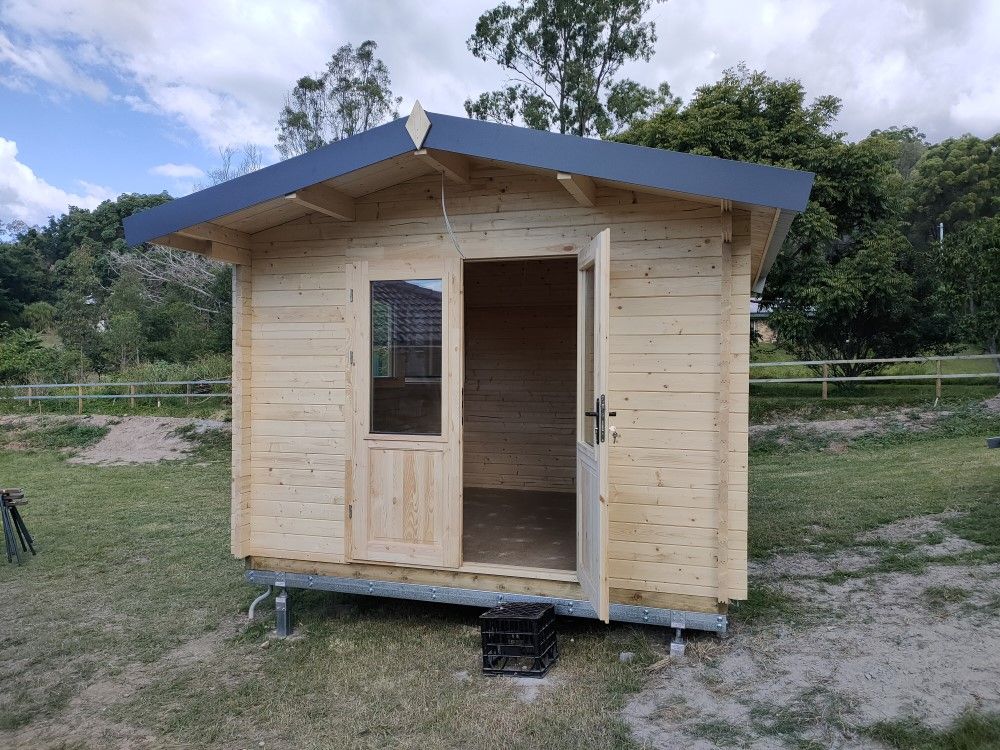
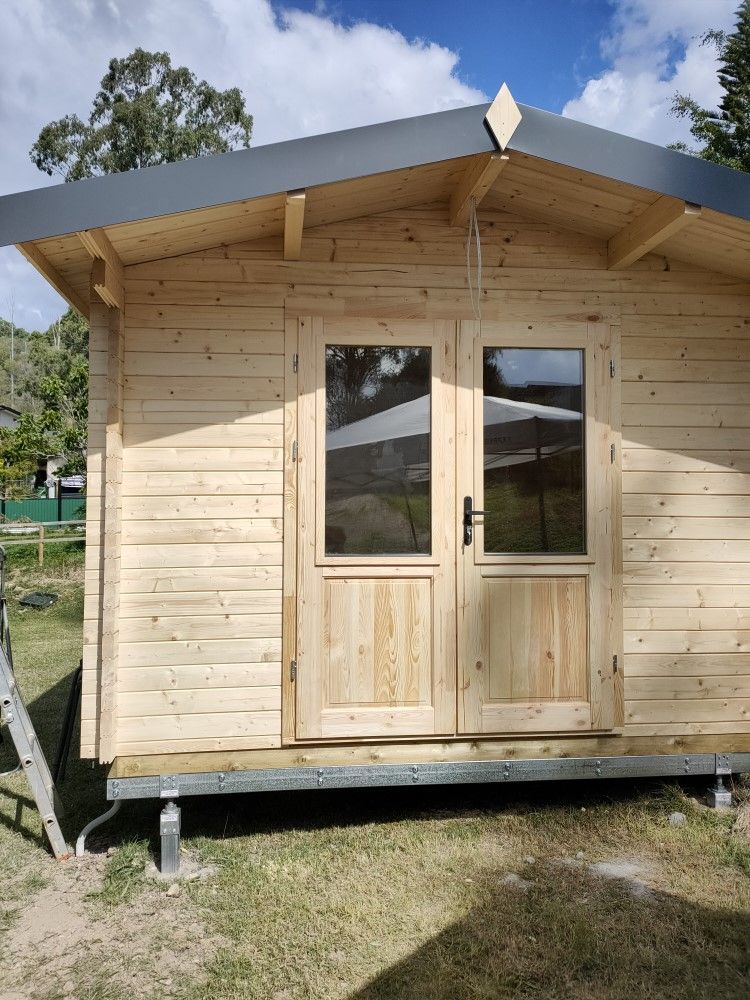
The installation of the door is always the very last thing to do. Both sides of the double door need to align of course, to ensure the locking mechansim can work properly.
The doors feature hinges that can be adjusted three ways - up and down, left and right, and outward and inward. Each hinge has therefore three separate adjustable allen key screws. Doors seldomly (never??) align properly when first installed, and that is fine. With a bit of patience and using the adjustable hinges they will sit nicely.
The adjustment can also be used for countering any movements caused by the settling of the logs, occurring over the next 12 to 24 months after construction of you cabin.
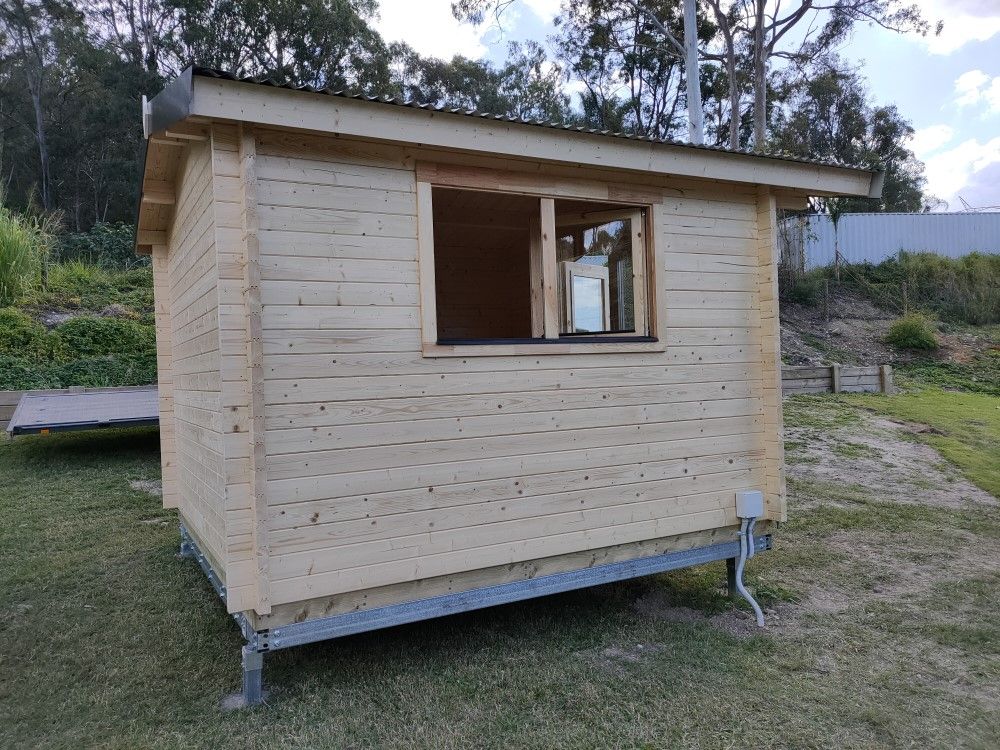
WINDOW SILLS
When posting details of our latest build we always try to highlight one particular aspect of the build.
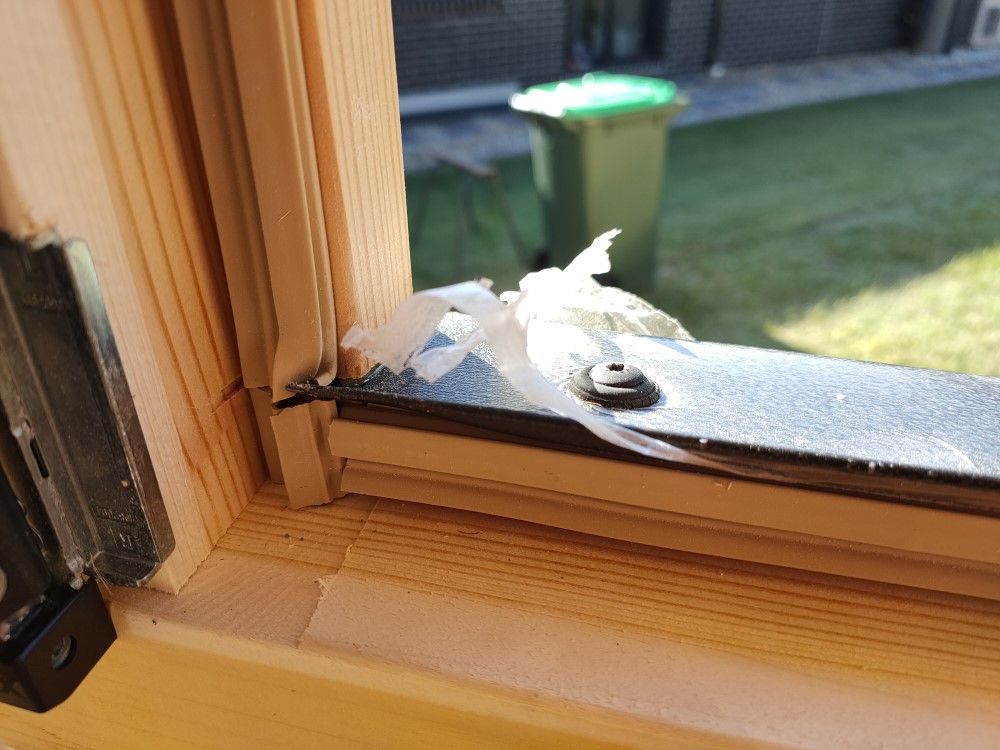
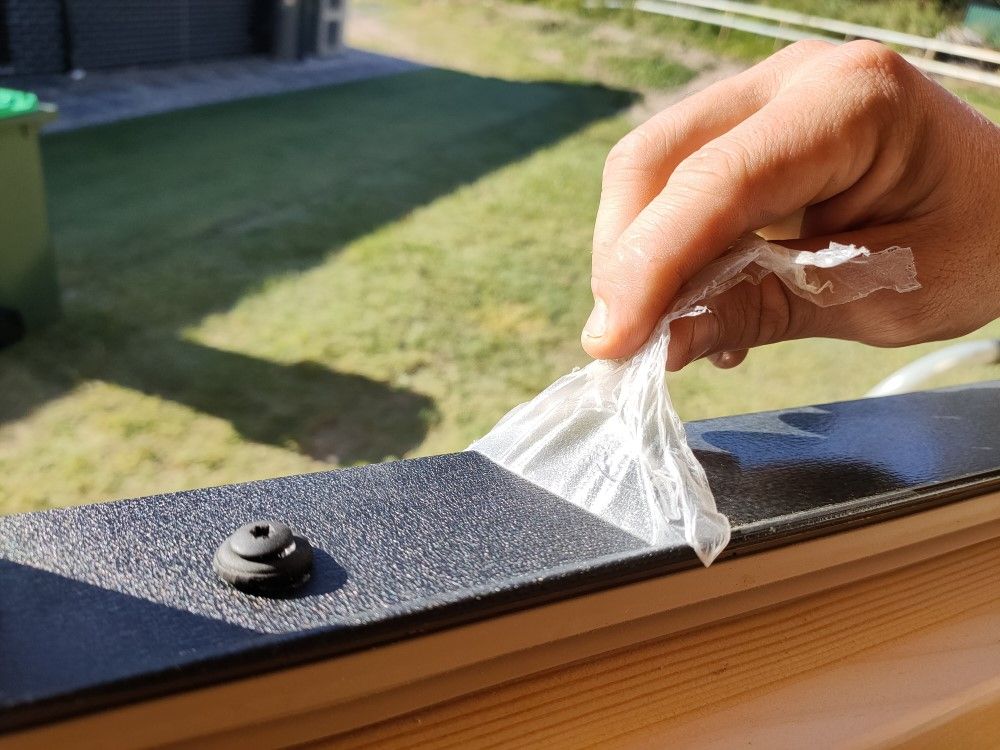
The windows supplied with your cabin are very nice European double-glazed "Tilt'n'Turn" windows. The outside bottom features an aluminium window sill which is covered with a protective film. This film needs to be removed after installation. Simply loosen the four black screws that hold the window sill into position, peel and pull off the plastic film and re-tighten the four screws. Take care not to damage the rubber screw seals in the process.
We will post details about the opening and closing mechanism of the windows in our next build blog!

LIKE IT? SHARE IT!