Timber Garden Sheds Australia
January 2026
Finally - our first build for 2016! At the end of last year we took 2 months off, touring Europe and visiting our suppliers. Upon our return to Oz, we had the usual hot and wet Australian January weather. We normally do not schedule any builds while temperatures outside are frequently above 30 degrees, and always communicate this to our customers. However, sometimes we are asked to build a cabin even while the weather is not too favorable - like in this case in Springbrook, Qld. We were overall lucky, with overcast conditions for most of the build. So here is to another great cabin building year!
Ground Preparations
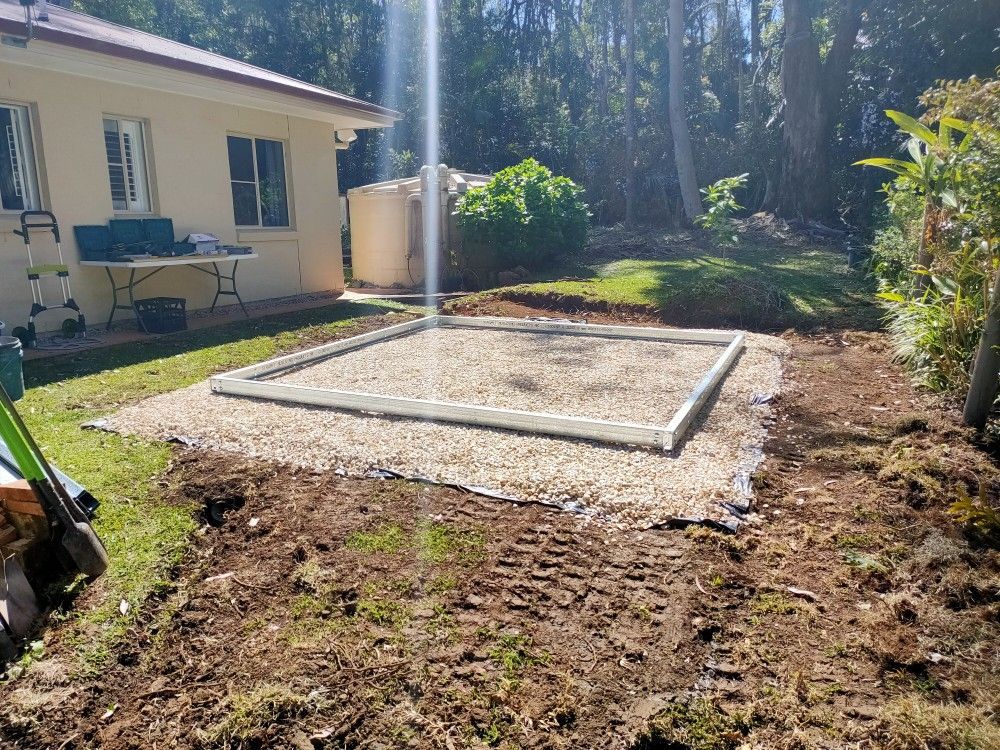
Ideally, before any cabin building or steel purlin foundation base installation, there needs to be some work done to avoid any vegetation growing back underneath the cabin.
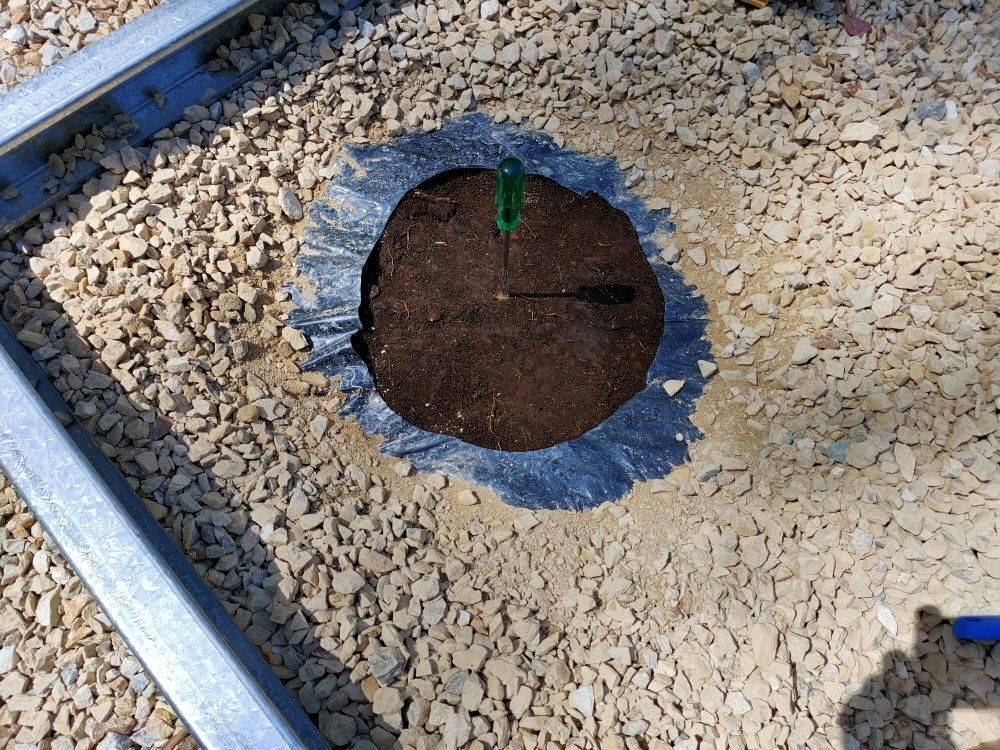
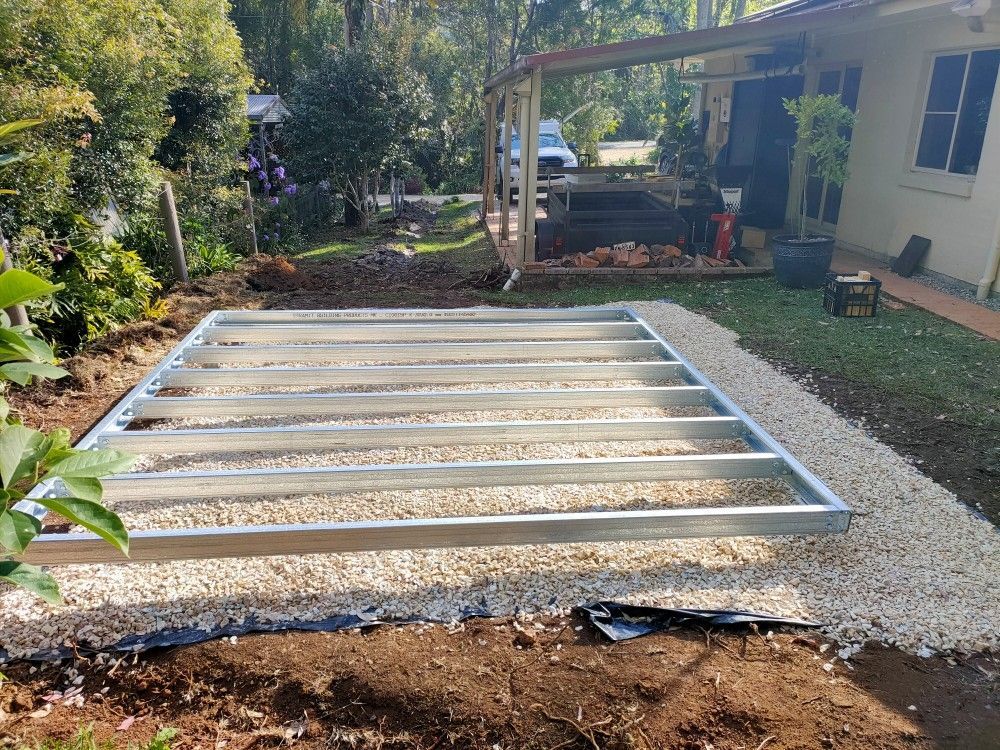
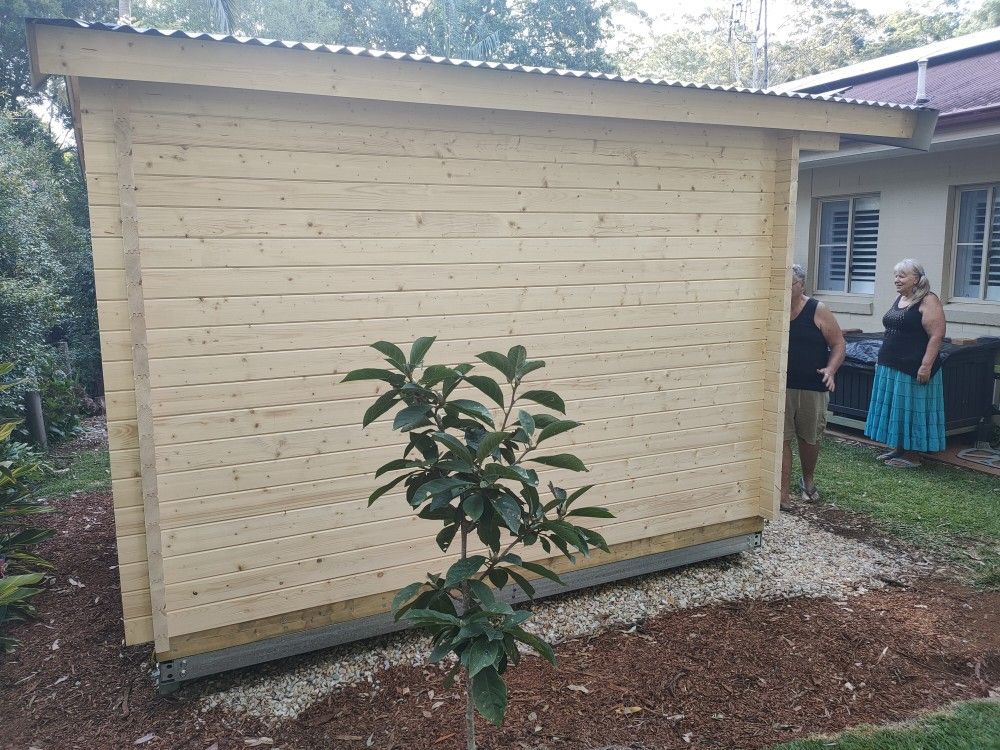
The owner Wayne was "on the ball"! Wayne removed the grass, leveled out the site, placed builder's plastic on the soil and topped this with a layer of gravel - it looked great when we first arrived on site.
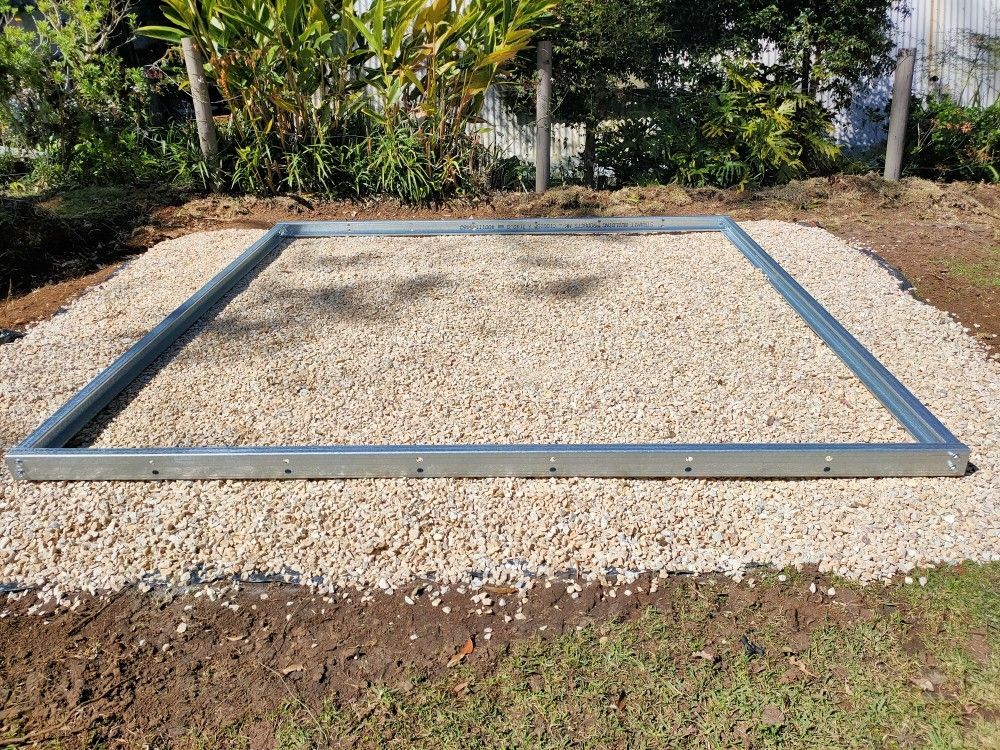
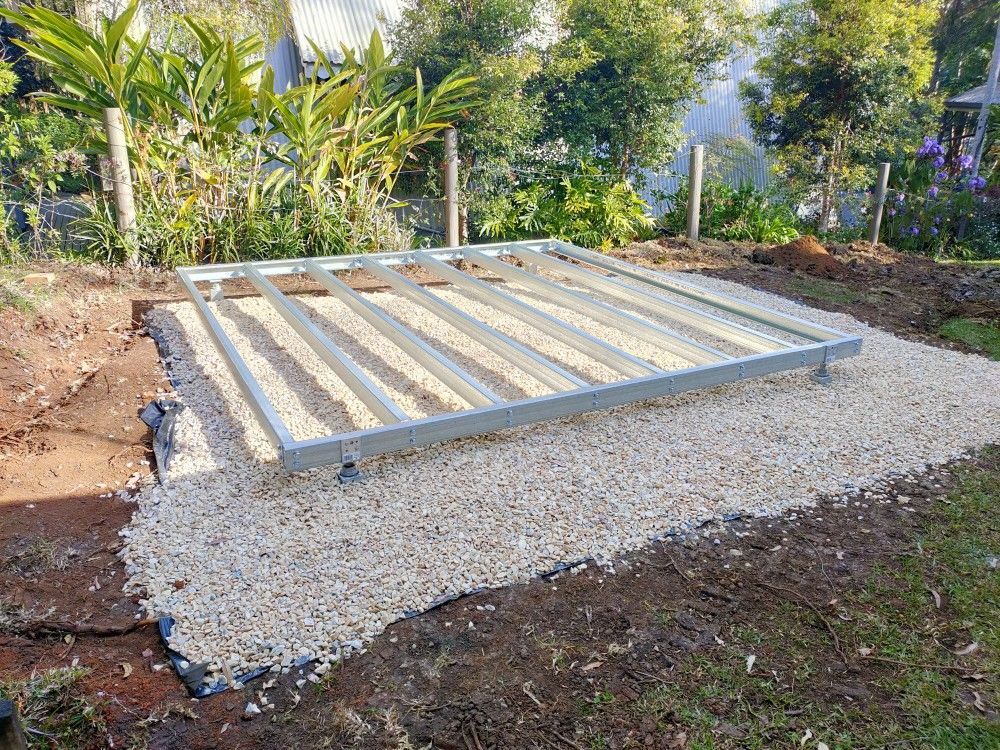
We managed to install the steel purlin base at the end of September last year, before we went overseas. That meant that the steel base was "in the way" for a few months, but Wayne and Ruth were perfectly ok with this.
In the end we were very happy with having done the steel base already when the weather was much cooler!
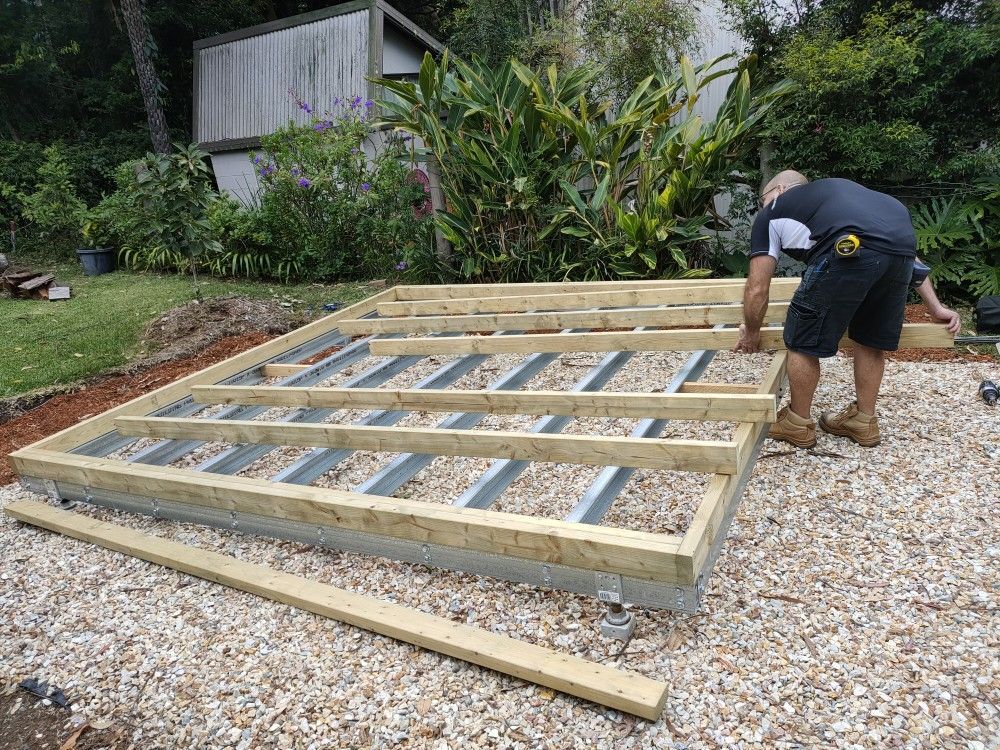
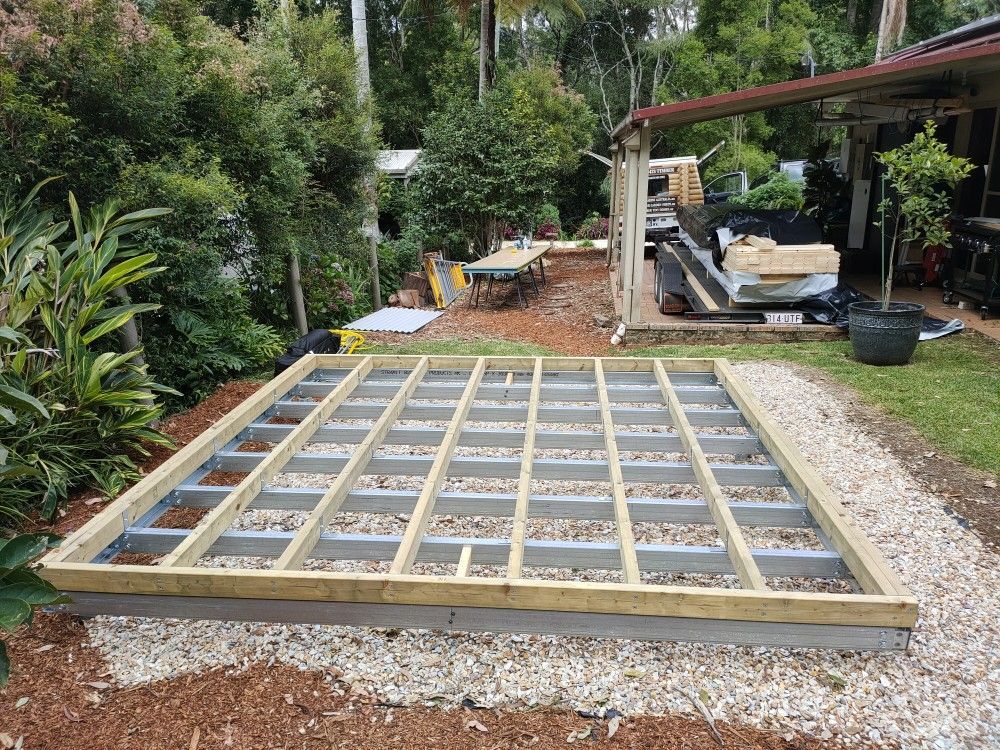
Addition of new cross connectors
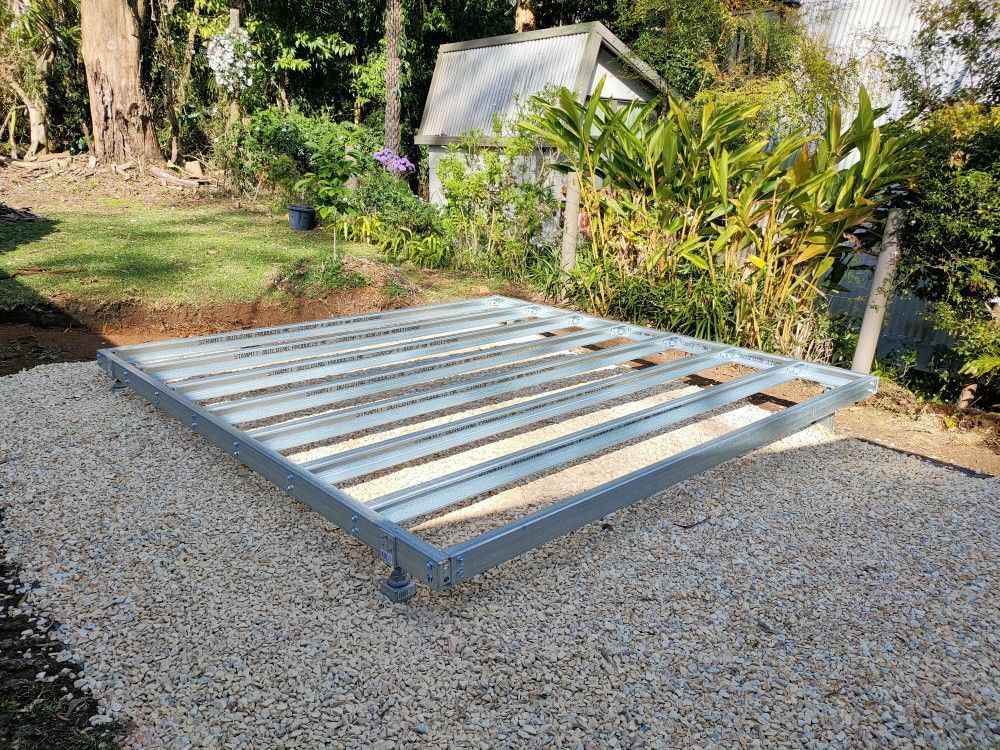
Once the steel base is complete we level it out 100% using the nifty adjustable stump tops we always install.
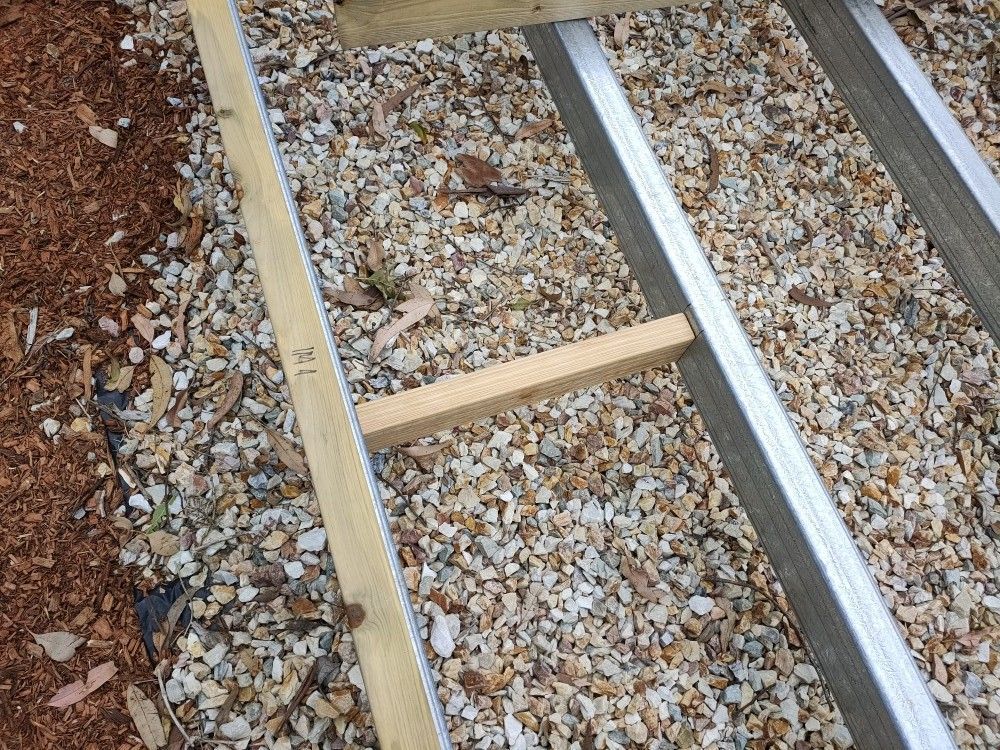
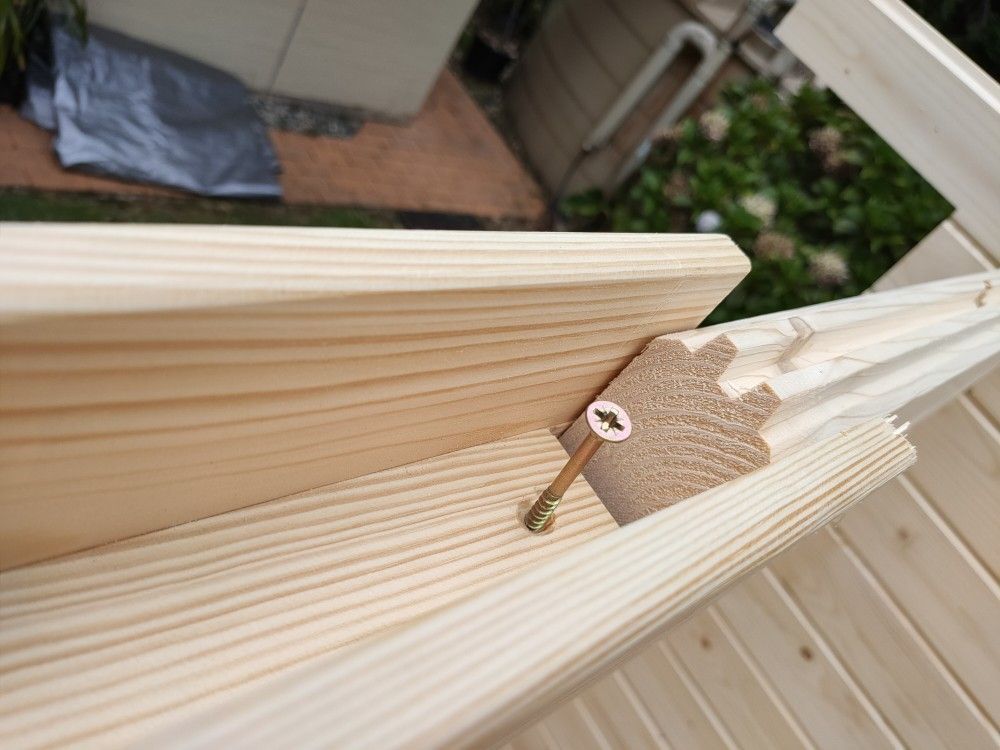
Over the past few years we had two inquiries regarding the outer wall purlins slightly bowing sometime after the installation of the cabin had been completed. This is caused by the settling of the wall logs or treated pine base frame, so on occasion the bottom timber pushes down onto the steel purlin. While this is purely cosmetic and does not compromise the structural integrity of the cabin we nowadays install a short connector brace timber, as shown in the last image on the right.
This ensures that the outer purlin remains straight and "looks right".
These can also be fitted retrospectively.
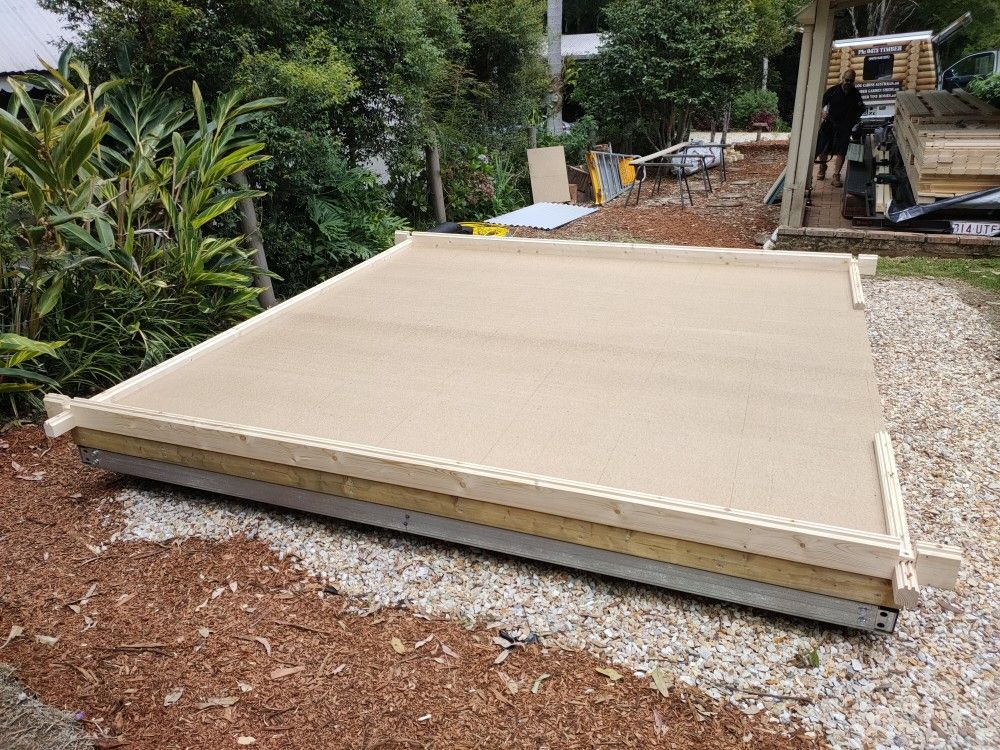
Treated Pine Base Frame
This separates the first layer of the timber log wall from the steel base. The treated pine base frame comes with your cabin, in full 90x45mm, providing a very strong foundation for the floorboards and the cabin.
It is a good idea to affix the first layer of logs in the overlapping corners only. This helps greatly aligning the wall logs with the particle board flooring. The last floorboard can easily be positioned properly by removing the first log again, slide in the floorboard and tap it into place using the now accessible side of the floorboard, and then reinstalling the first log. It is VERY important to screw down the first layer of logs after all particle board flooring has been installed, using 100mm batten screws for the half-height logs (at the front and rear) and 150mm batten screws for the full height logs (for the two sides of your cabin.
Some details...
We are often asked about certain details of the construction of a garden shed log cabin when the cabin is being built by the owners.
We are always available on the phone and are also happy to help via video calls.
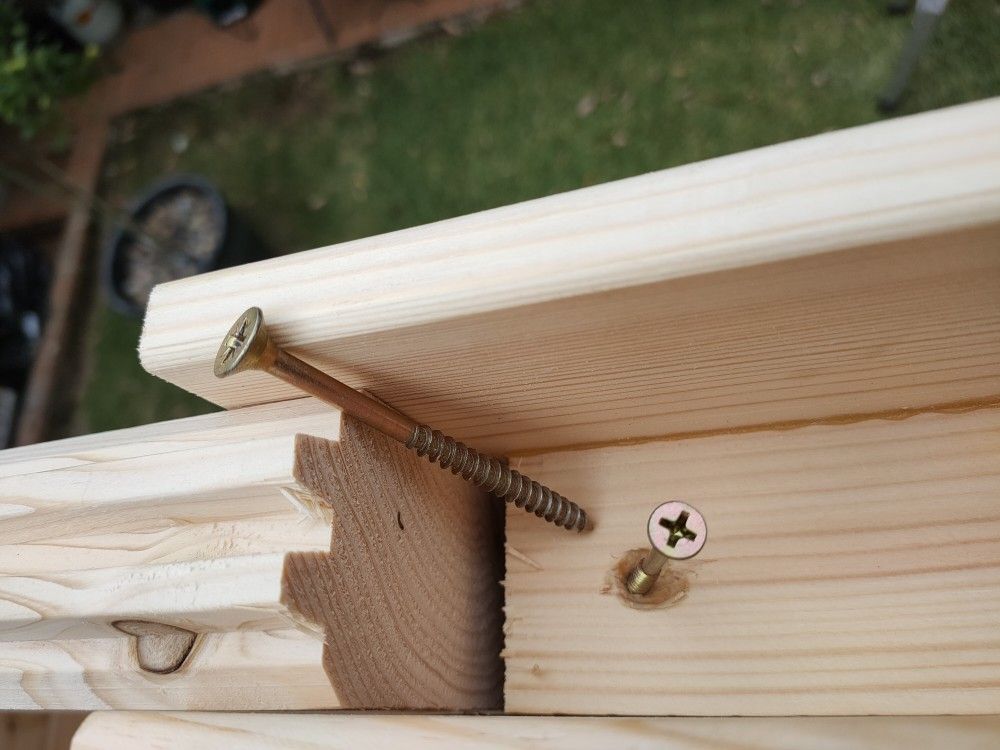
The factory-supplied screws in the top and the bottom of the door frame are M16, a "little" too strong for their application, we always replace these with M10 screws. The image on the very left shows the lighter screw already inserted in the pre-drilled hole, and the factory-supplied screw placed closed to it, for comparison.
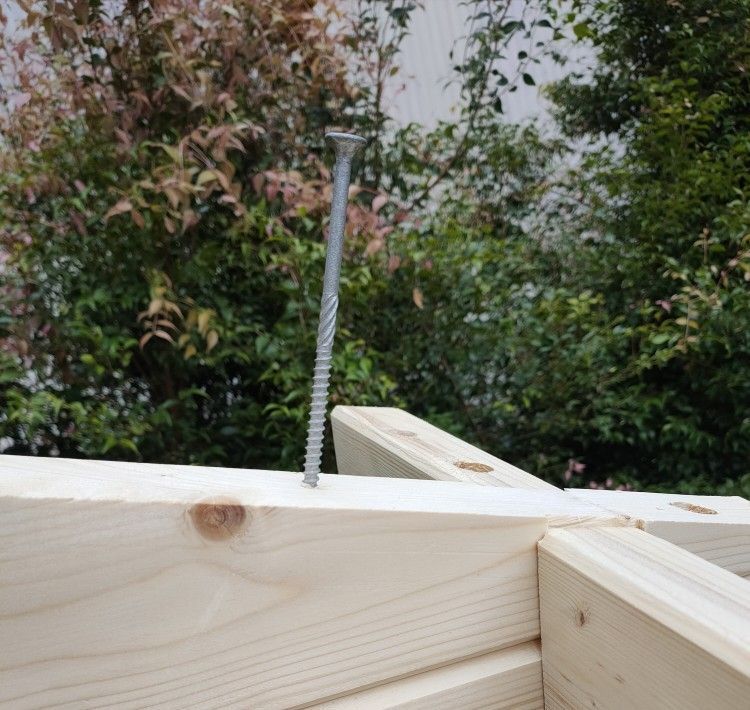
The pre assembled gable pieces need to be affixed to the log wall using 150mm batten screws close to each corner of the cabin. The top centre image shows the correct positioning of the screw.
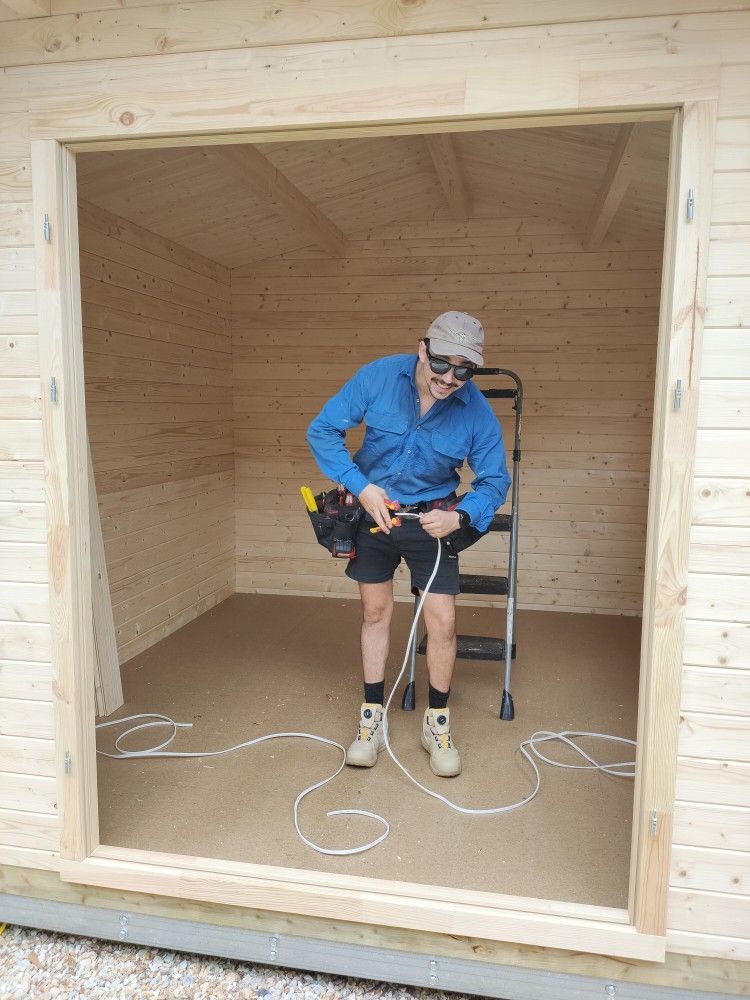
Electrical Work
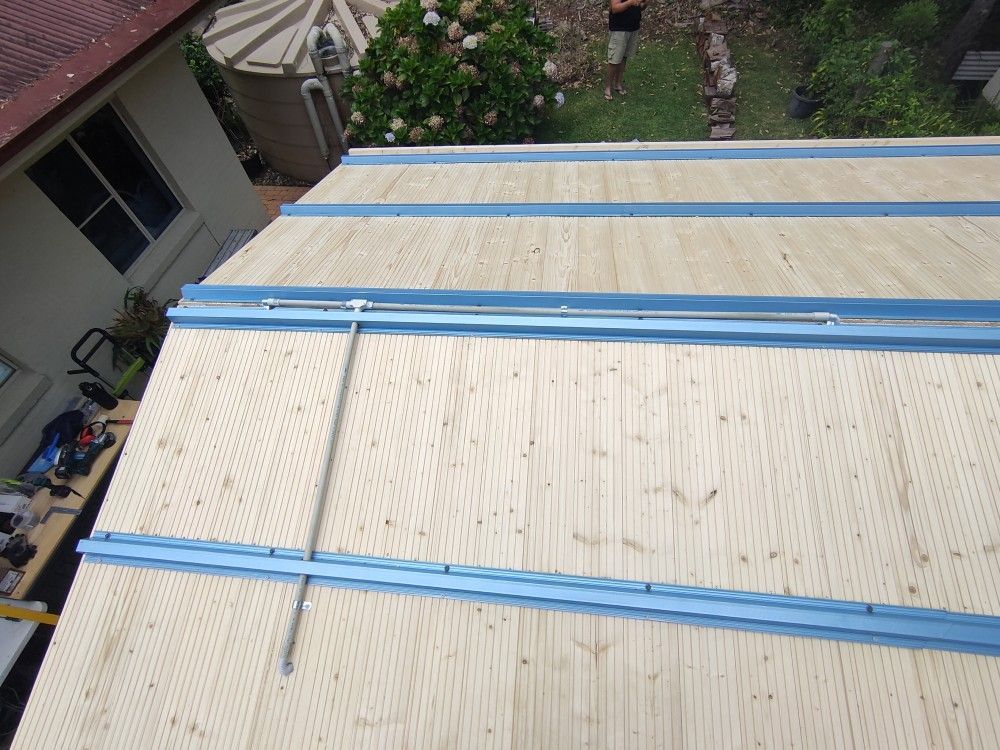
To get a sparky on site at the exact time needed is close to impossible. We therefore always run the lighting cables from the front entry switch to both the external porch lighting and the internal lighting.
To leave this task to an electrician coming on site after the build is finished is impractical, as this would mean that the sparky has to remove the metal roofing and insulation etc. again!
The images on the right show how we install the cabling, using 20mm conduit fittings.
Using very strong full 50mm thick (!) logs enables our factory to pre-drill electrical holes 450mm in from all corners of your cabin, so you can place power points and switches where you want.

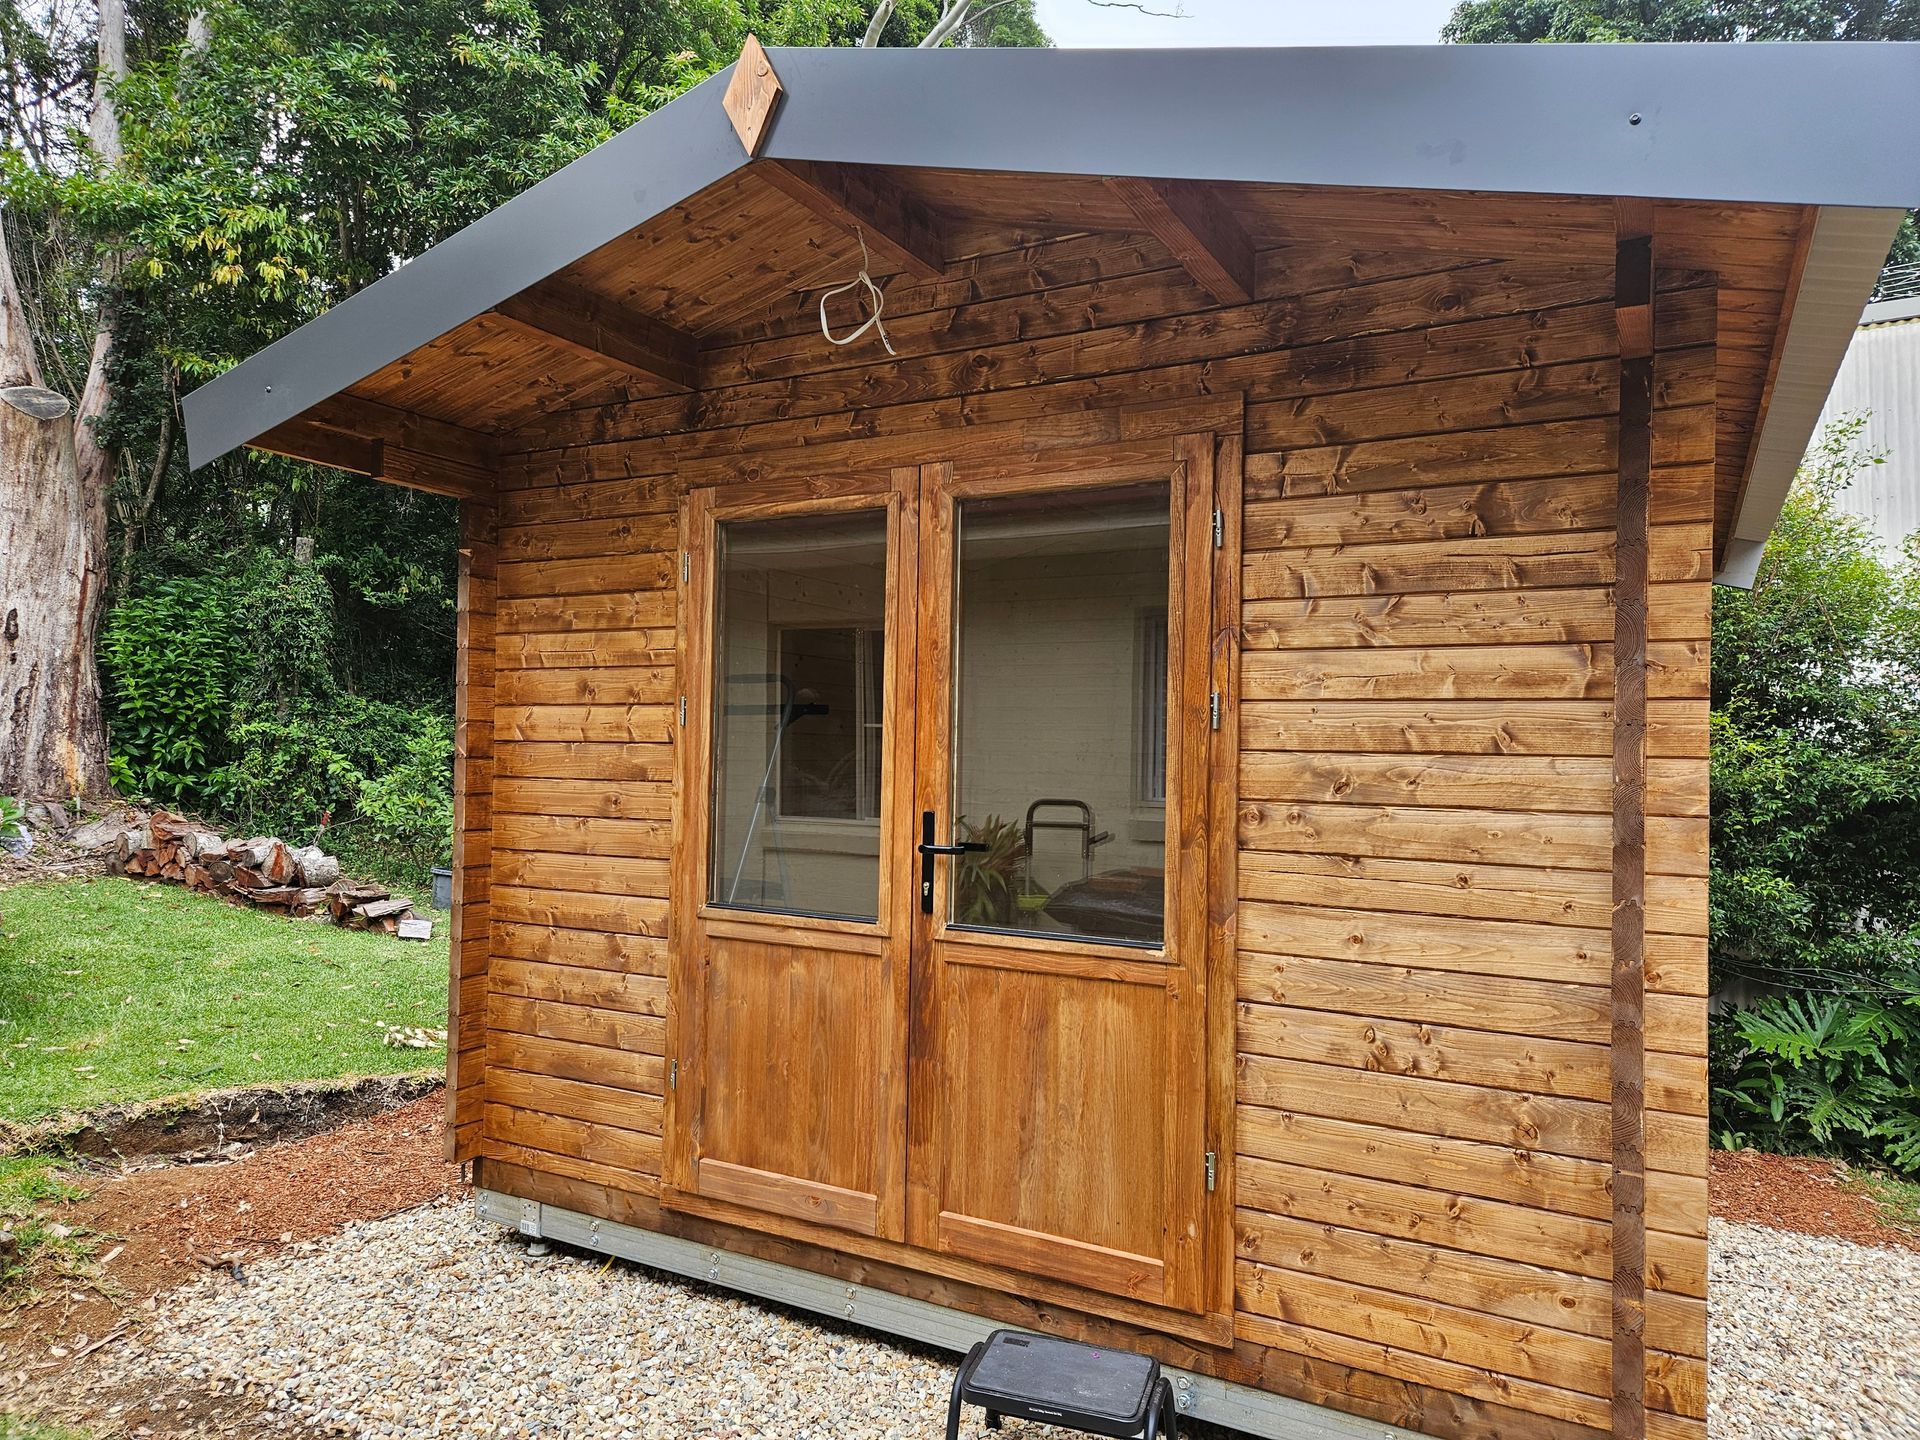


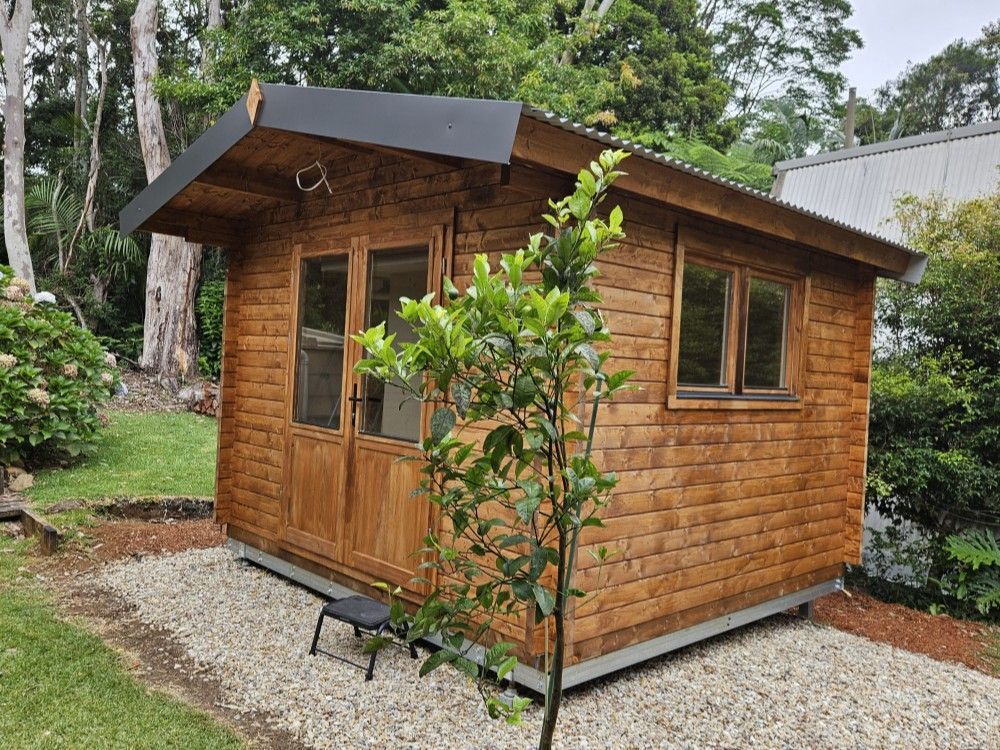
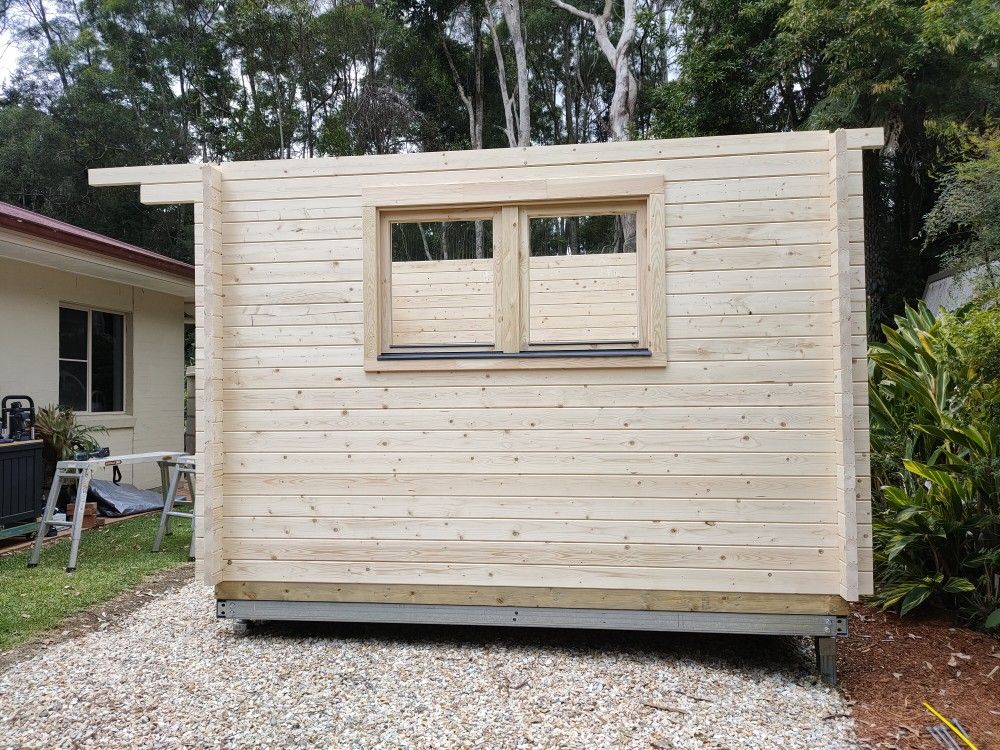
Another great SAM10 build completed!
We were very lucky with the weather, for most of the build time we had overcast skies, making for much cooler temperatures than what could be called "normal" for January.
Especially when doing roofing, shade or cloudy conditions are essential, as in the direct sun the metal roofing gets VERY hot VERY quickly.
We were also extremely happy with the quality of the current batch of timber cabins coming through. There are absolutely zero issues with twisting or warping of the logs (which can happen during the drying process), the pallets are properly stacked and covered by our factory, all components are included and fit together nicely - in short, these cabins are a real pleasure to assemble.
LIKE IT? SHARE IT!