Timber Garden Sheds Australia
August 2025
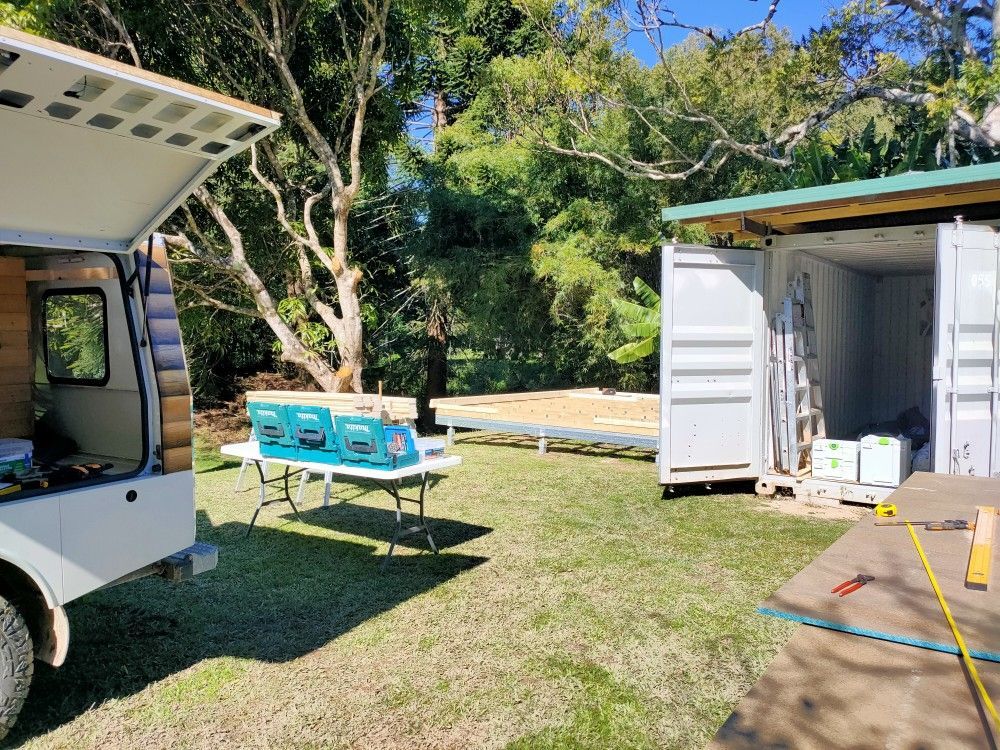
This build was very close to the location of our warehouse, making logistics like delivery and accommodation very easy. Access to site was also drive-up, just the grounds were still a little soggy from the wet weather we had leading up to the start of the build. In these cases we are very appreciative of owners not being too concerned about tire tracks in their lawns we HAD to make when arriving on site.

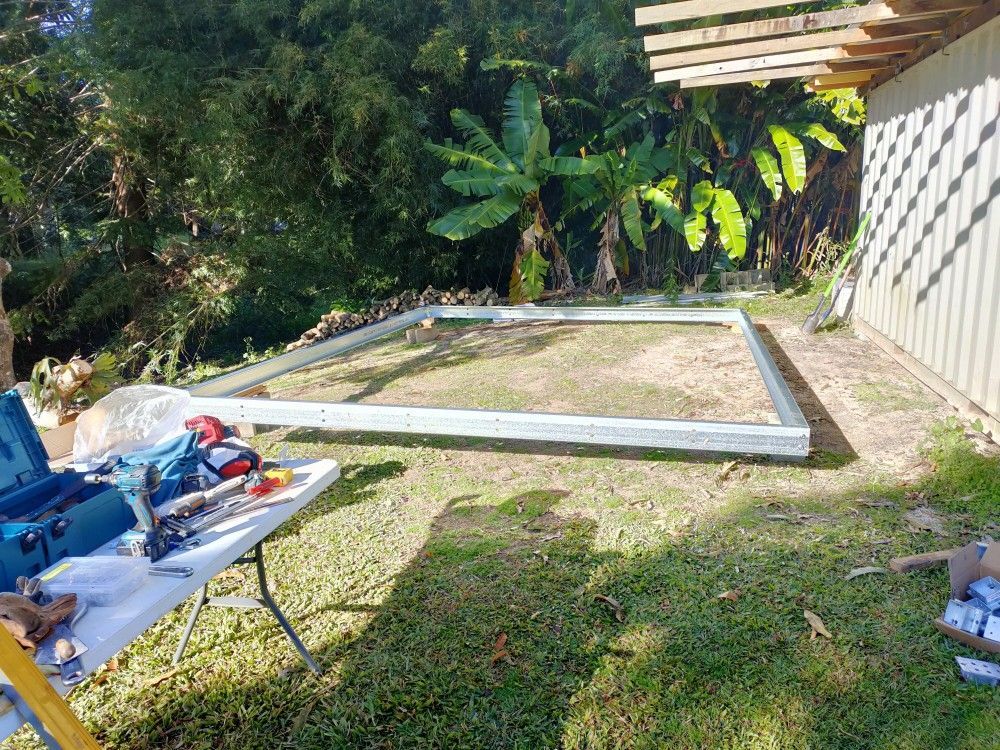
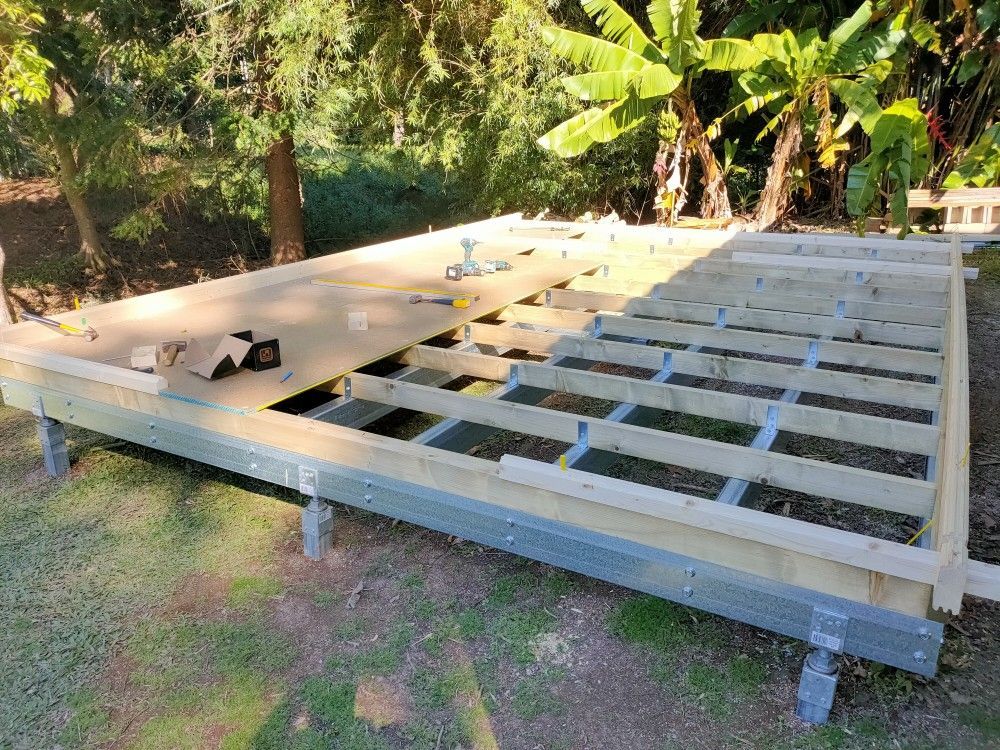
Steel Purlin Foundations
We first lay out the outer frame of the steel purlin base, and consult the owners as to its exact positioning. This gives us the location of the post holes. Once marked out we move the base frame out of the way, and dig the holes.
How long this process takes largely depends on the ground conditions - we have been digging foundation holes in just plain soil, sand (!), rocky ground and just about everything else. We have removed tree roots (a reciprocating saw is best for this), boulder, bricks and roof tiles and other previously buried builder's rubble. Sometimes our petrol auger digger does the job, but more often the digging needs to be done by hand.
But we ALWAYS get there, of course. Foundation holes for garden sheds do not need to be as deep as for residential dwellings.
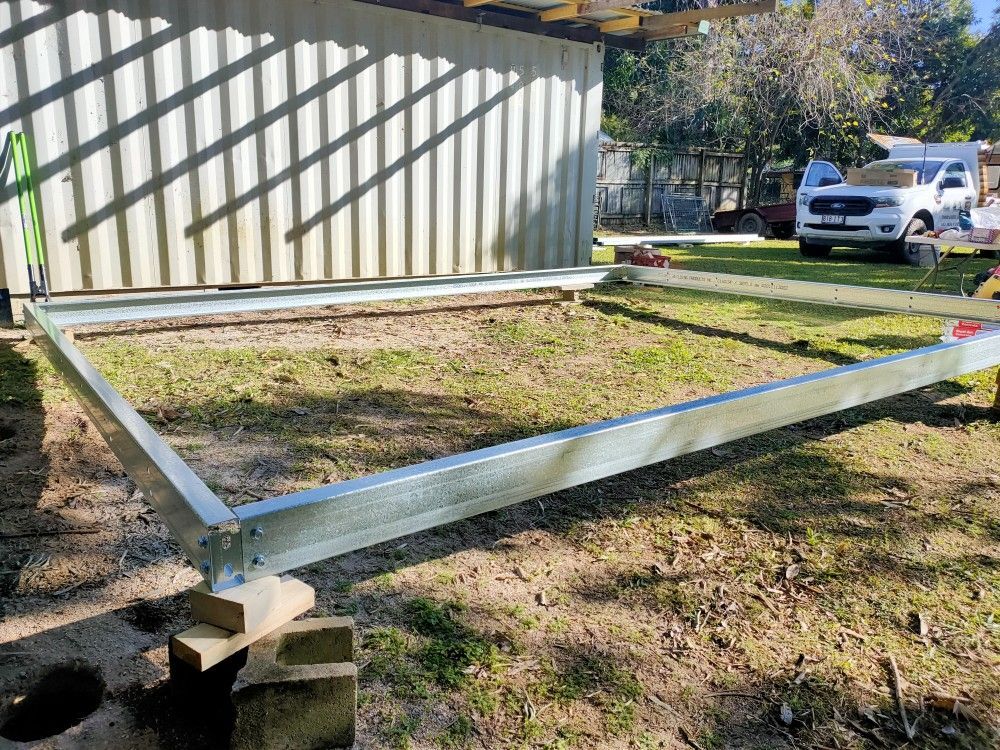
Start of Timber Works
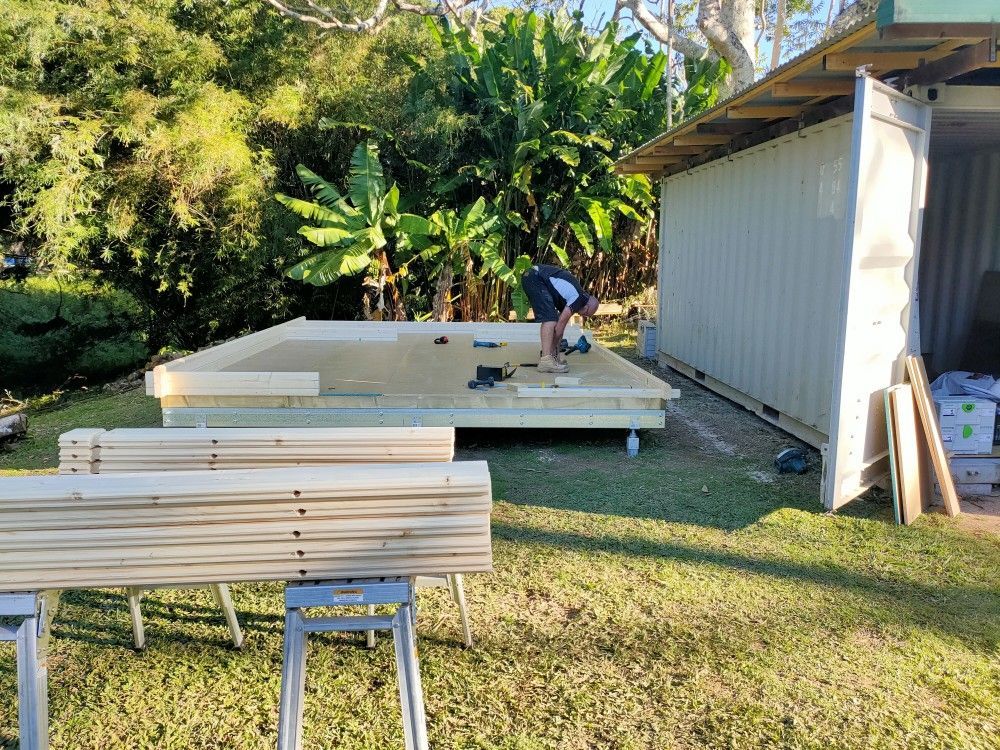
Once the steel base is complete we level it out 100% using the nifty adjustable stump tops we always use.
The treated pine base frame is assembled, squared up and secured to the steel purling base via metal angle brackets. The first layer of logs is placed, electrical holes are drilled through the treated pine base frame (all electrical holes through the centre of the logs have already been done by our factory) in a 45 degree angle to clear the steel purlins.
Once all electrical holes are drilled the first layer of logs is screwed onto the treated pine base frame. Floorboards are next to create a level even working surface.
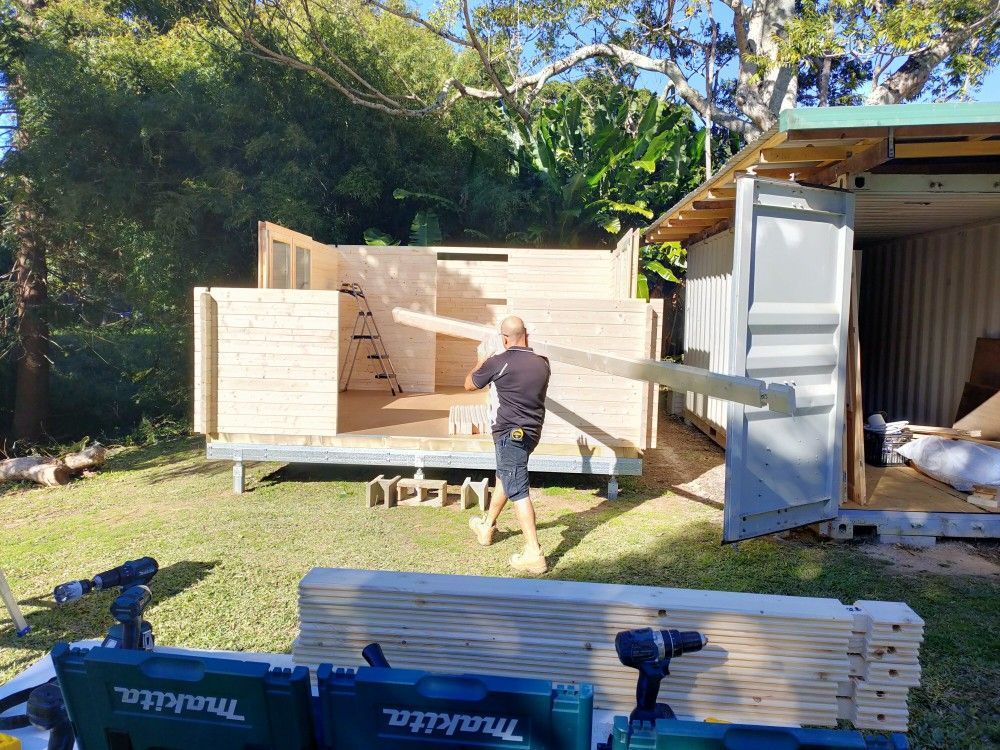
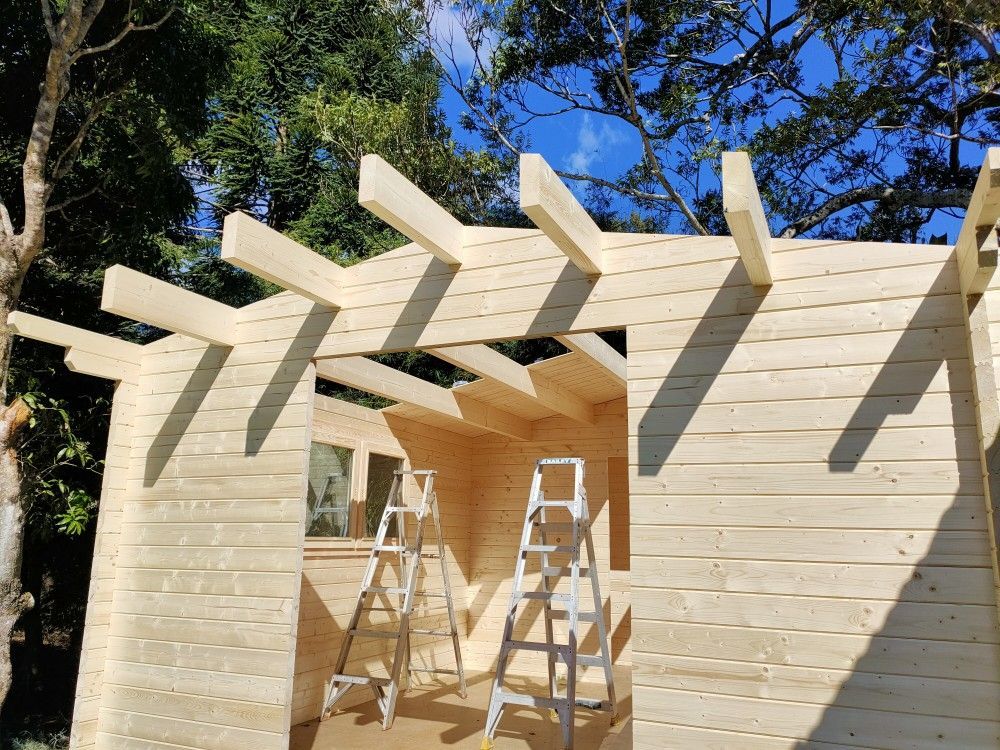
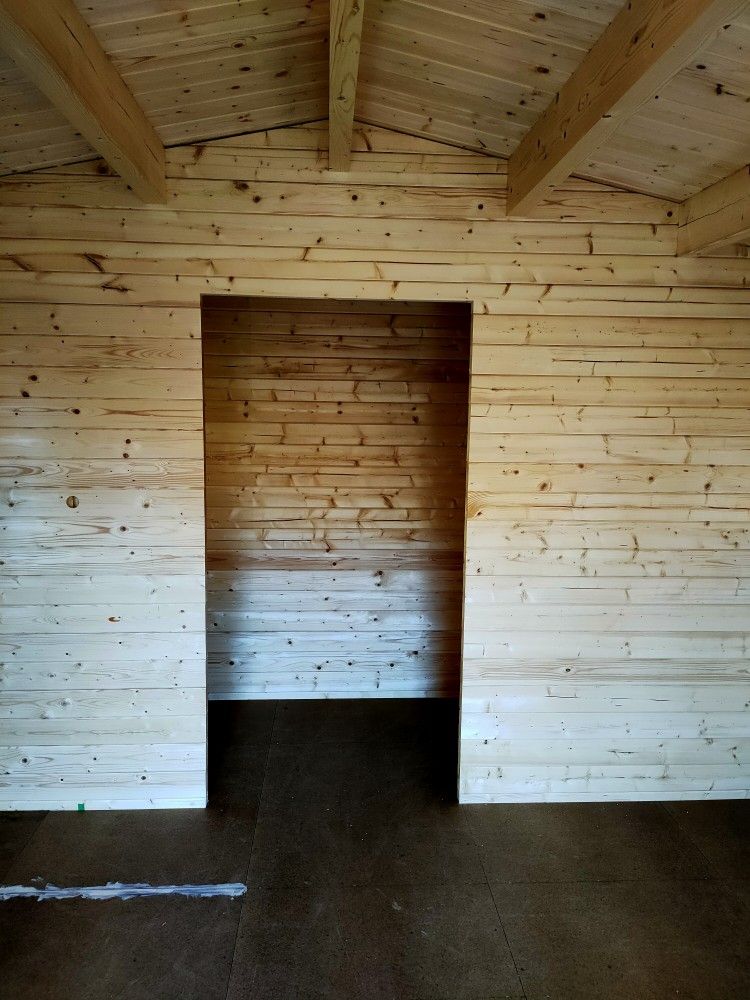
Walls up
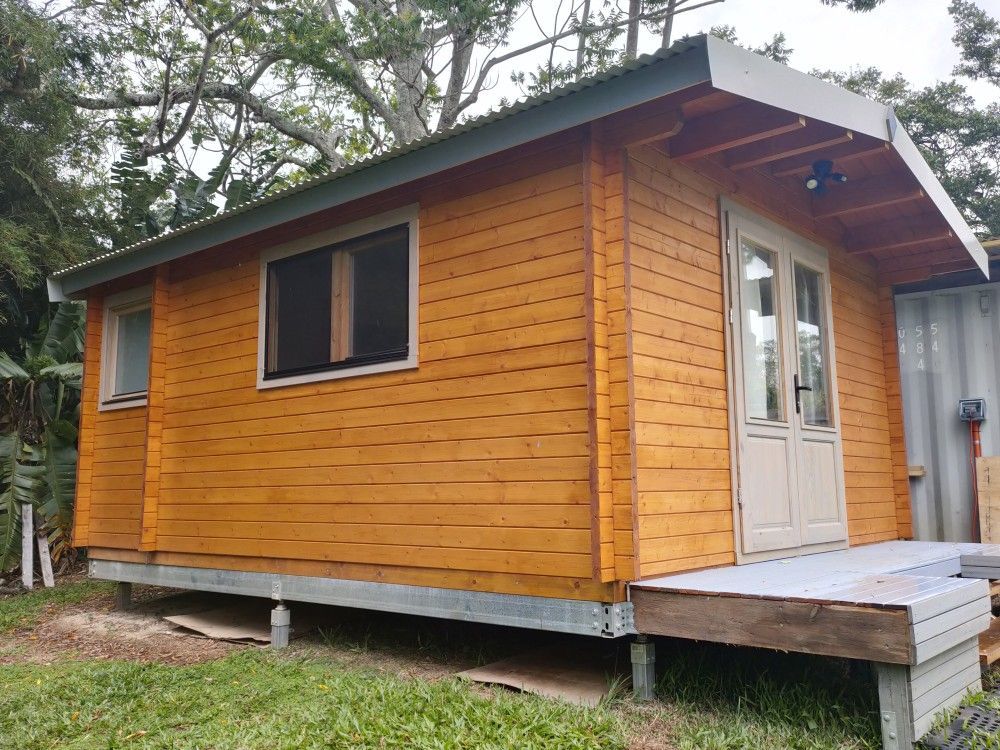
Our new model "ORAN20" has a separate room at the rear, which can be used for storage, bathroom or whatever you like. It comes with a very nice 1.5m wide barn door and a small window with frosted glass.
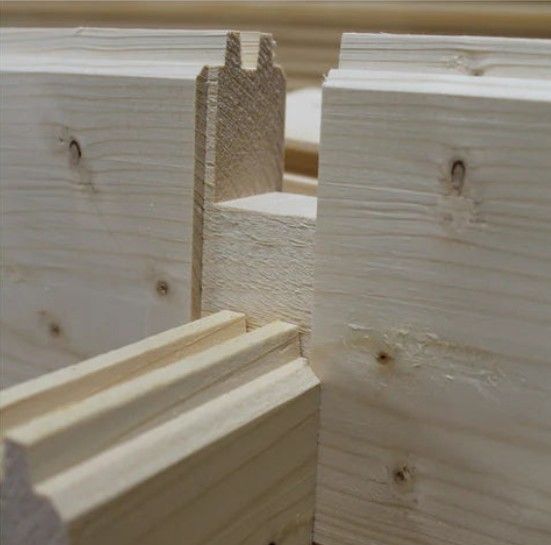
This means that with this cabin kit you get more different types of logs - they are all numbered, so assembly is easy IF you follow the instructions...
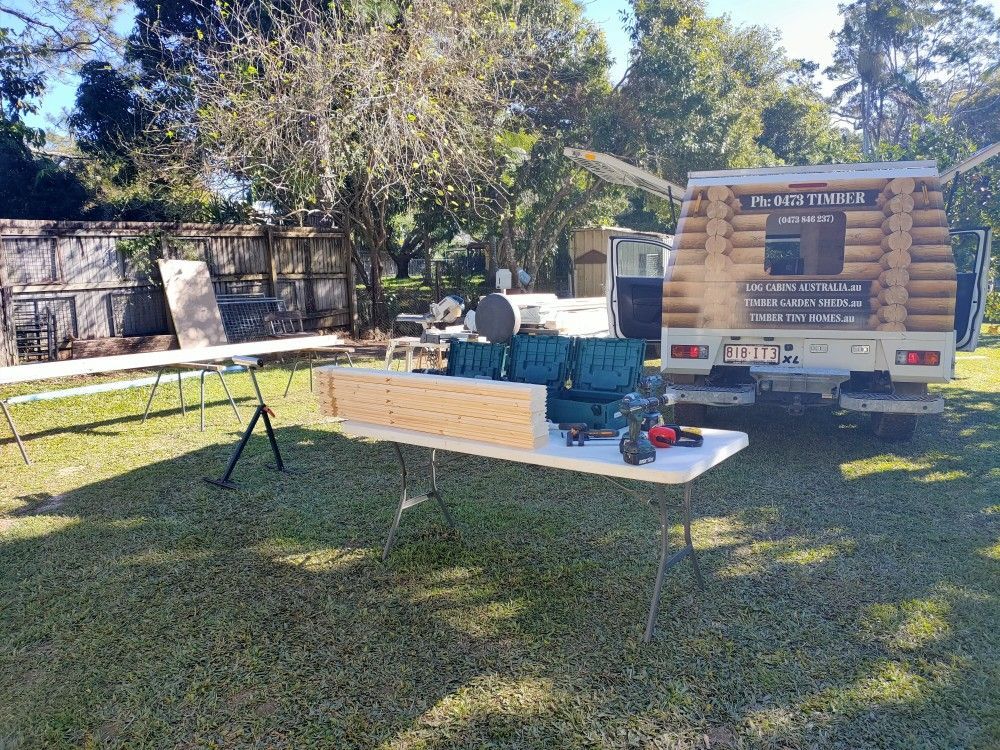
The image on the right shows our typical site setup.
Cabin assemblies are always a lot easier if we can get our vehicles as close as possible. A flat area close by is also great as this makes unpacking, sorting and temporarily storing logs a lot quicker.
Shade is also highly welcome, depending on the time of the year of course!
Some details...
We often receive questions regarding certain details of the construction of a garden shed log cabin when the cabin is being built by the owners.
We are always available on the phone and are also happy to help via video calls.
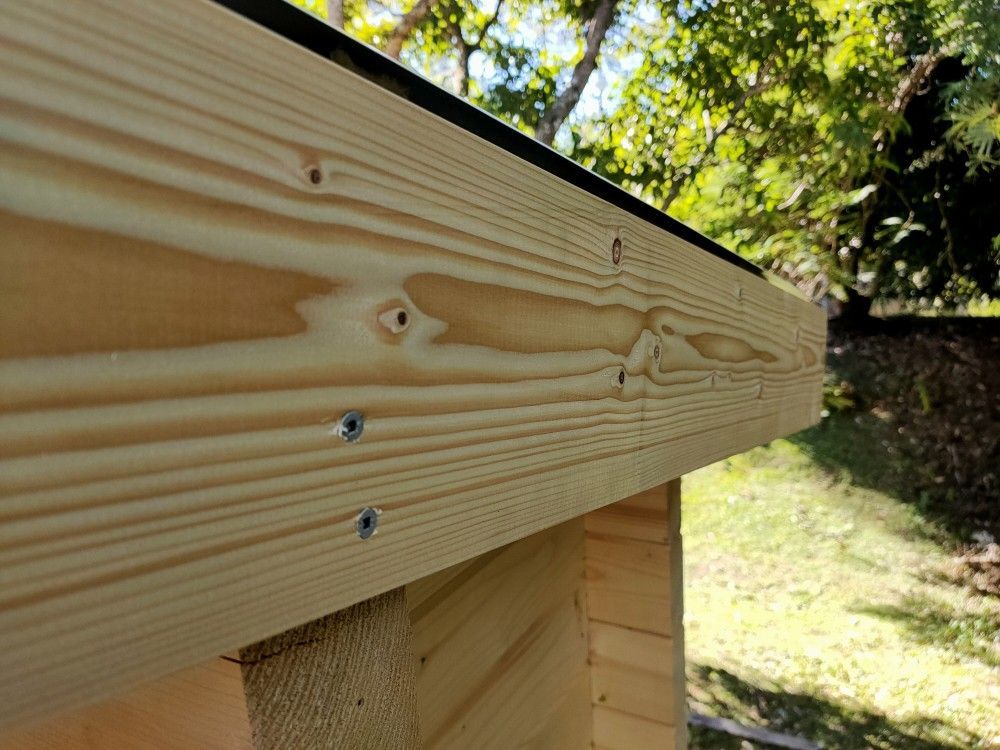
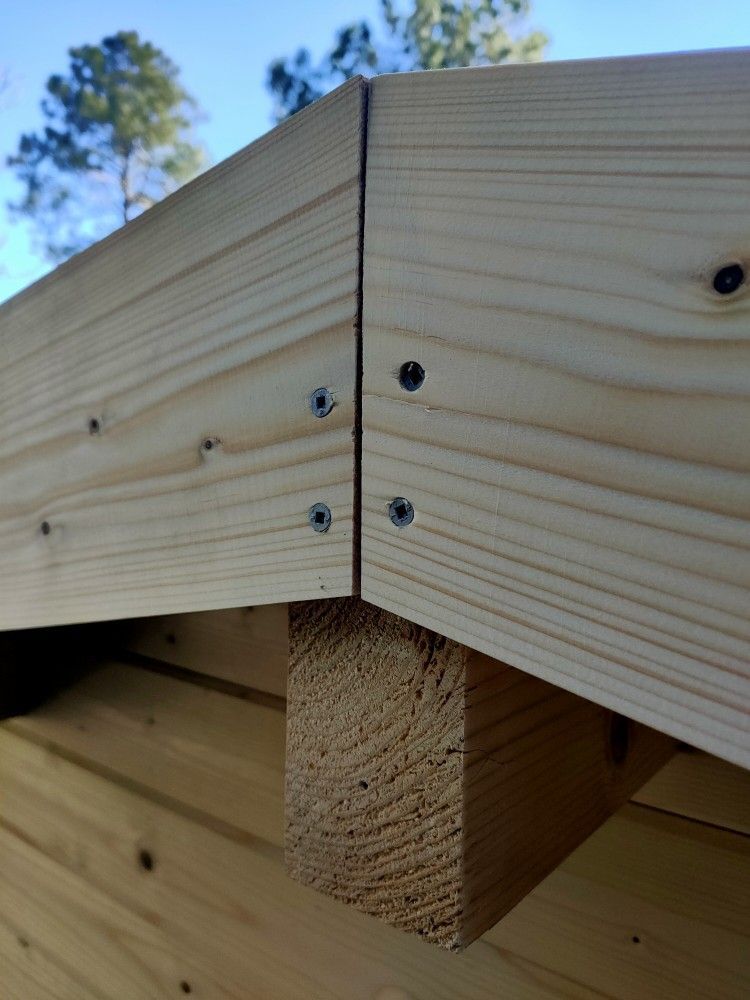
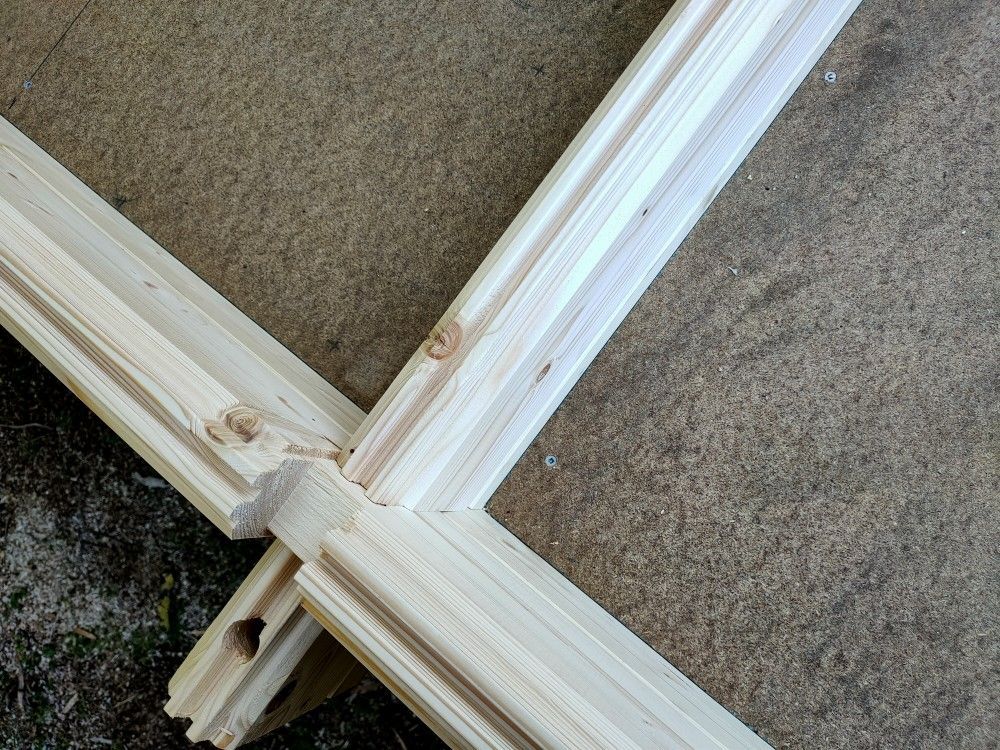
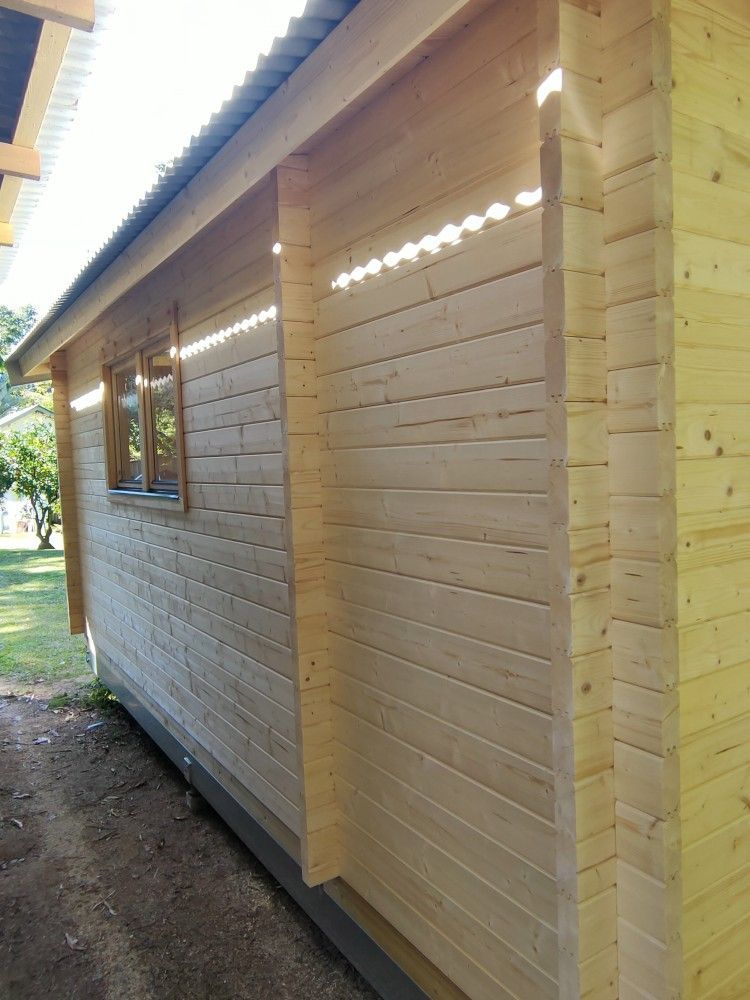
The first two images on the left show how the gable barge boards are attached - this is not all that important as the metal roofing barge boards will cover these.
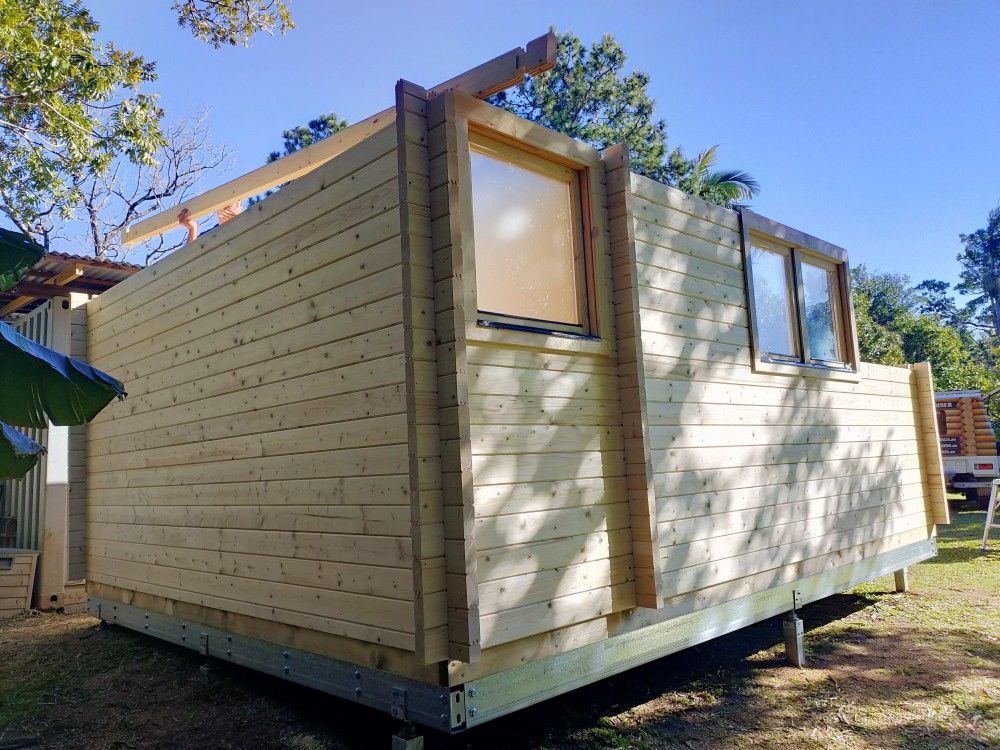
The image of the corner logs shows the neat alignment of the floor boards with the logs - noting that this is NOT always the case, a gap of a few mm is perfectly ok.
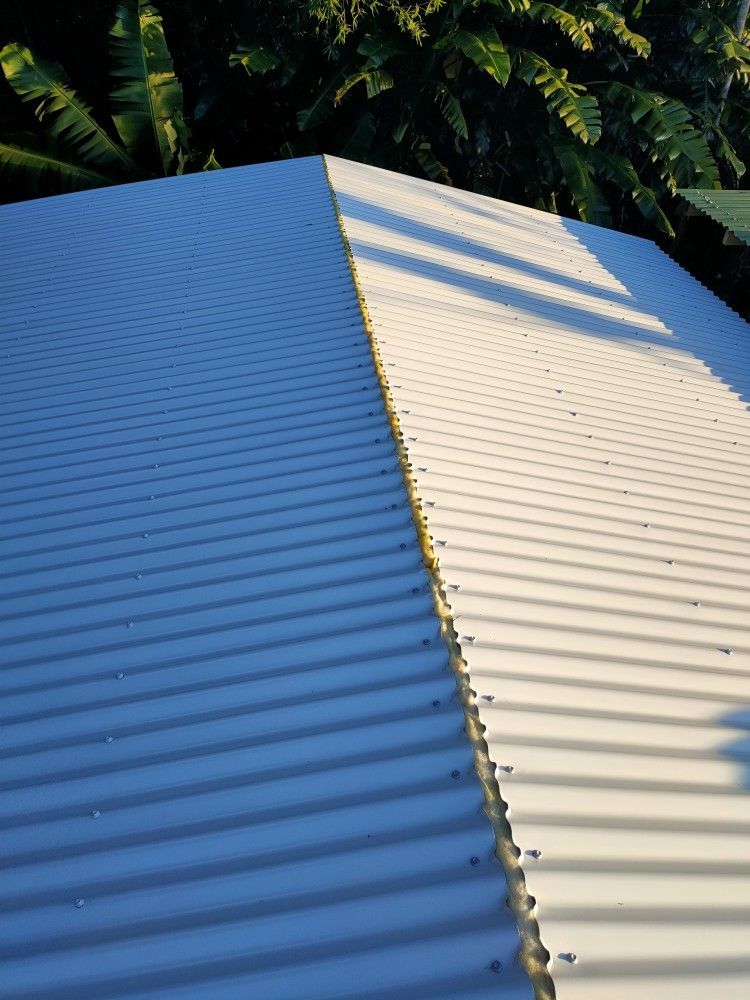
The roofing image shows the proper alignment of the roofing sheets at the top. A small gap is needed to let condensation escape.
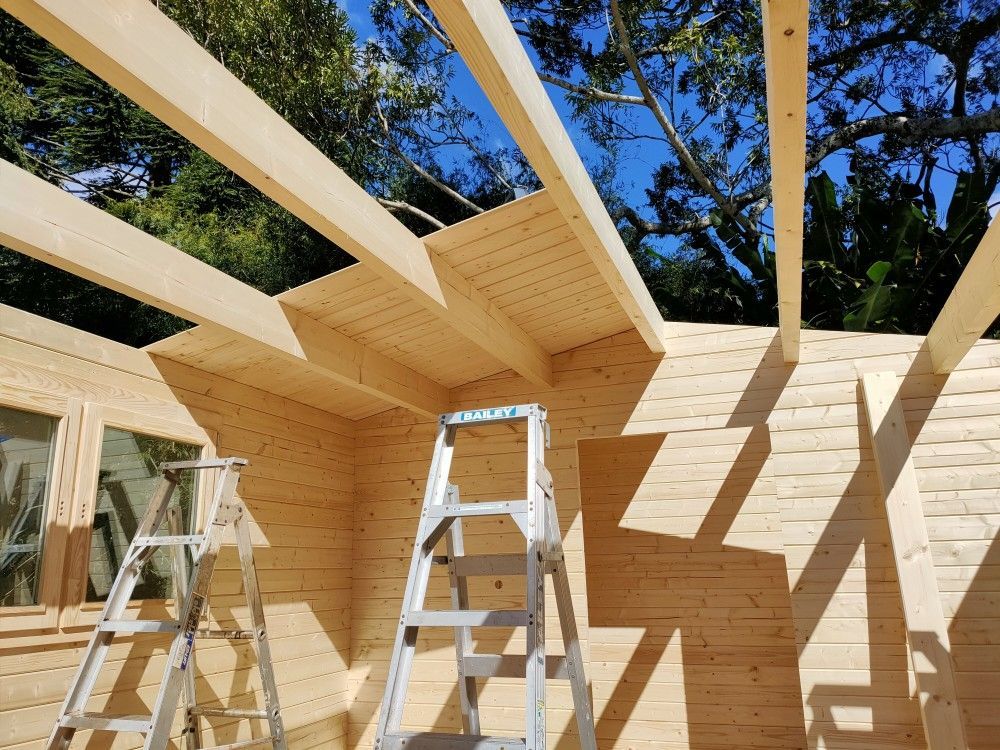
Roof Boards
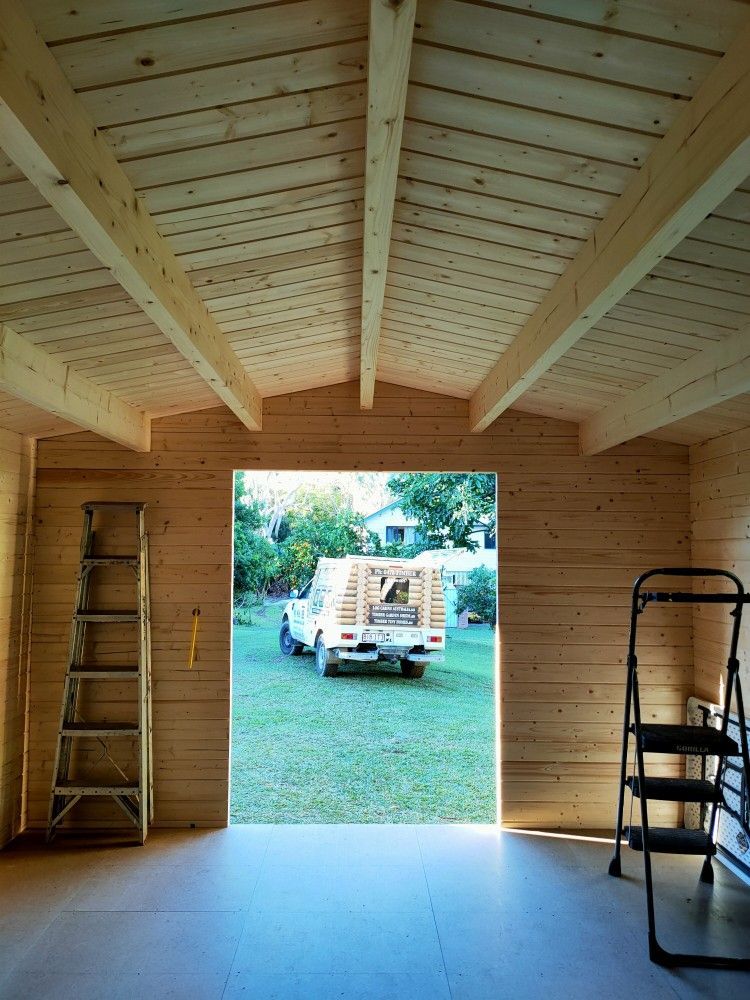
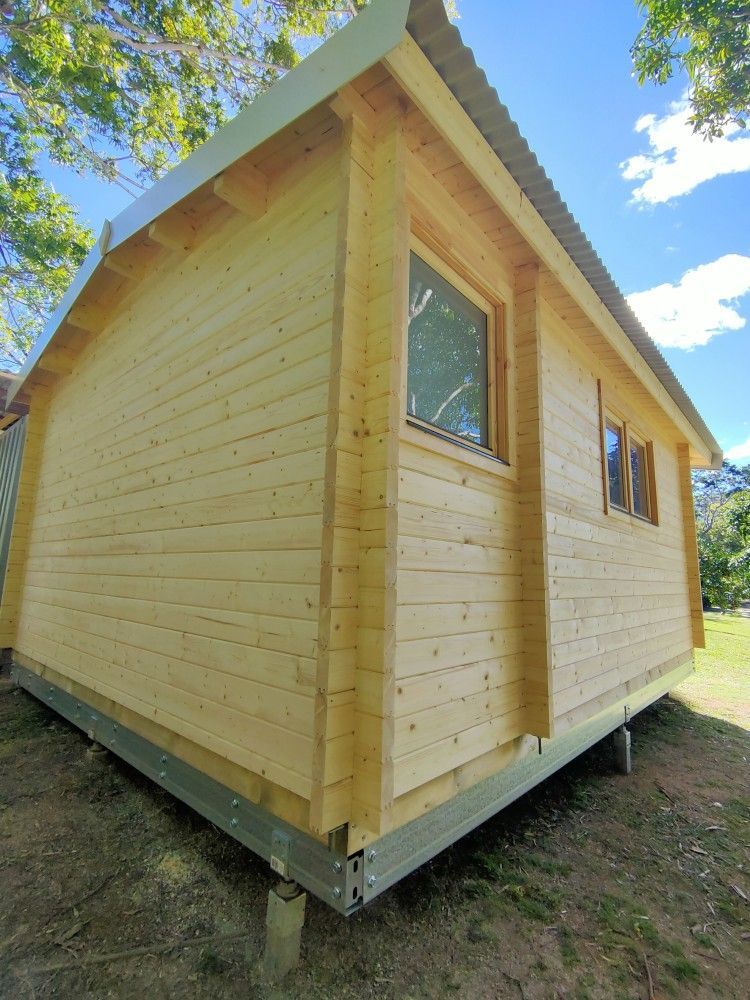
One of the exclusive features of these types of log cabins are is that ALL timber components are included. This means that when you look up inside your cabin you see t&g solid timber roof boards - and NOT the underside of corrugated iron sheets, or rolls of insulation wool or aluminium blankets. We also take the time to screw these down into the roof and wall beams to ensure adequate wind ratings (instead of using nails).
Once the roof boards are installed the cabin is 99% watertight, as the t&g timber boards lock into each other quite tightly. In case the cabin is exposed to rains you will only have a few very minor drip leaks through the inevitable branch knots in the timber.
We LOVE these cabins!
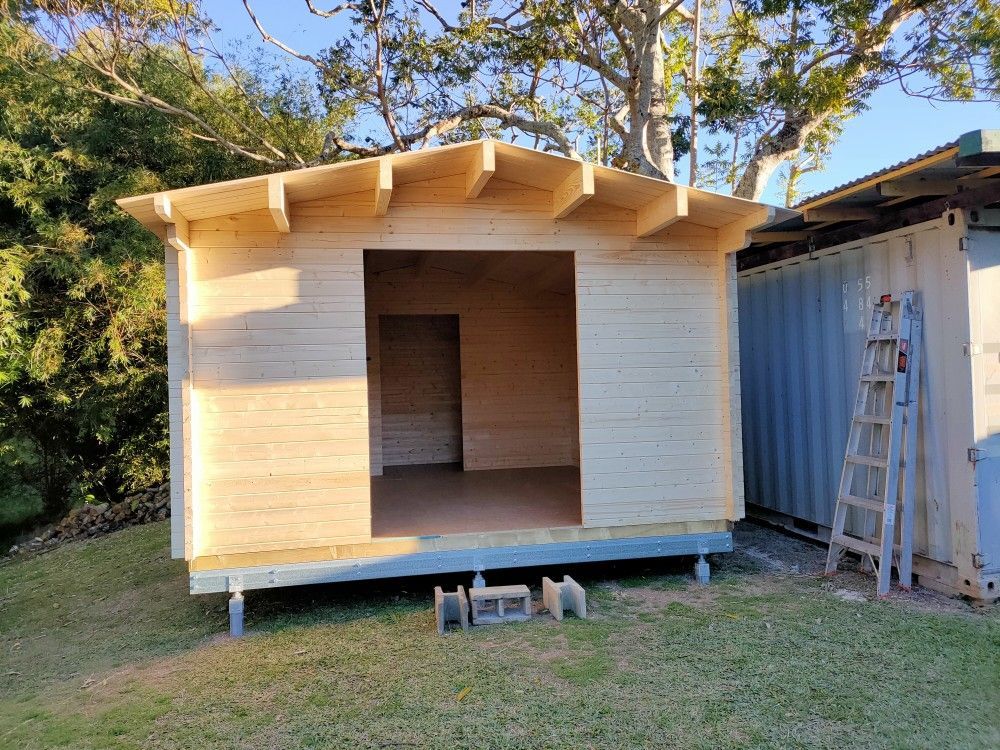
Nearly done...Front door incl. architrave and the internal barn door are still missing on these photos, they have of course been installed soon after...
Oiling or painting your new cabin is a MUST as soon as possible after the build is finished. This guarantees your cabin will give you many years of enjoyment and use.
Our display cabins "SAM10" and OSCAR20" have now been exposed to the elements for 7 and 5 years respectively - and they both still look like brand new. Yes, over that time we have applied several coats of CUTEK oil, which is always a bit of work - but it pays off big time, with no splitting of logs, no structural issues etc.
Painting is initially more work as three coats need to be applied immediately after construction, but after this you can "walk away" for a few years.
LIKE IT? SHARE IT!