Timber Garden Sheds Australia

June 2025
This is our largest build ever - four interconnecting steel base foundations, one for our "OSCAR20" cabin with a front entry deck, and one for our new model "ORAN20" cabin with an interconnecting deck between the two. After three weeks of rain delay we finally had a period of dry weather, enabling us to get these two builds done in one go, with only a few days break in between each.

WET, WET, WET...
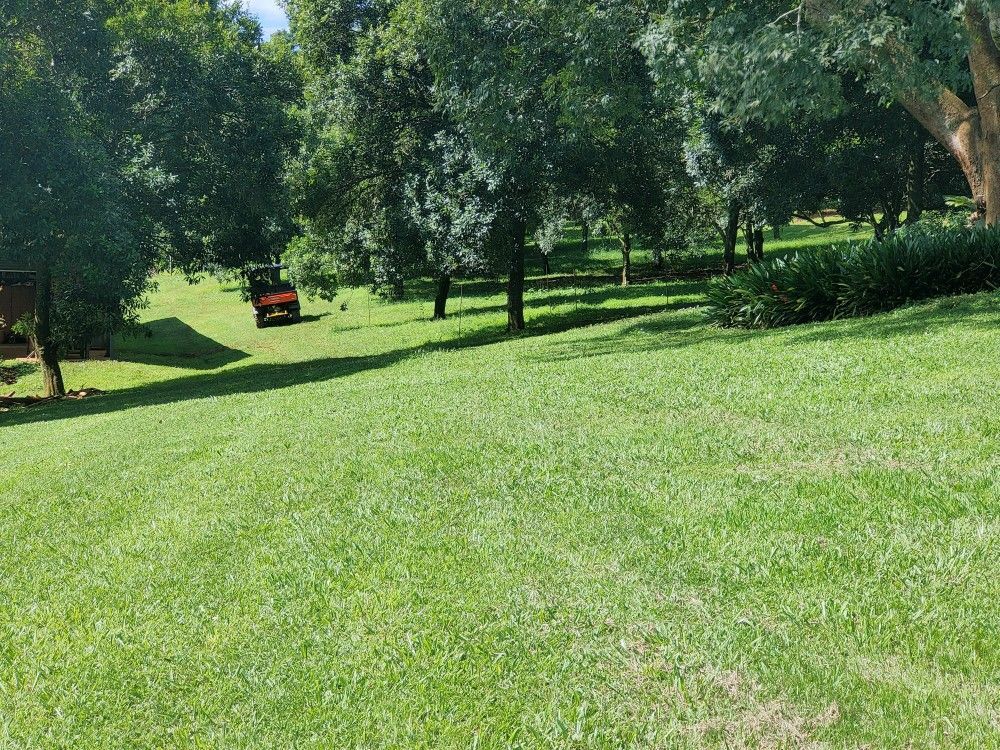
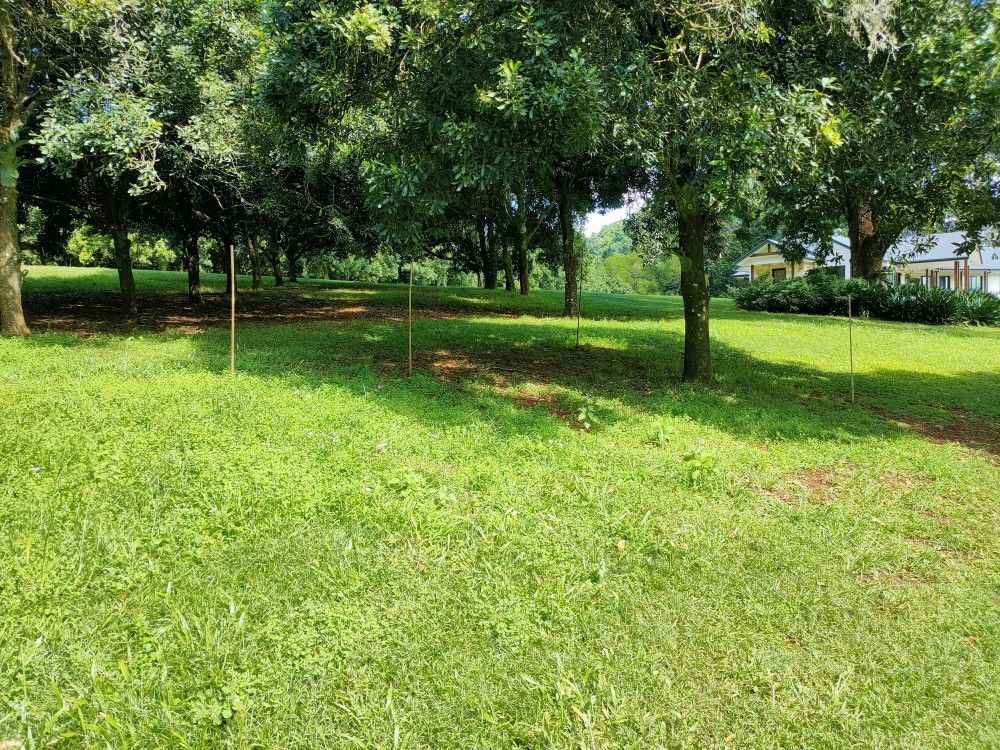
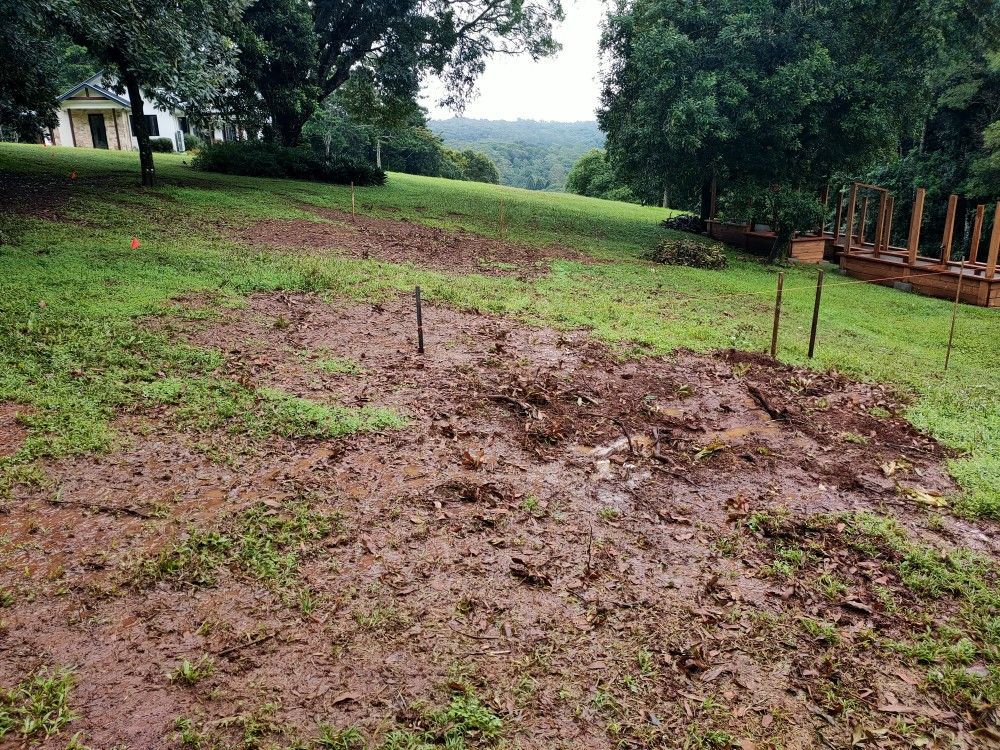
When we first visited the site the sun was out, the grass was green and everything looked picture perfect. The site had been marked out, a couple of trees needed to be removed, but overall access for our vehicles was easy.
Than the heavens opened up, and for several weeks the site turned into a soggy mess, especially where the trees had been removed. The muddy conditions temporarily stopped any construction work, so we used the downtime to build a "SAM10" cabin in Uki (see previous blog entry).
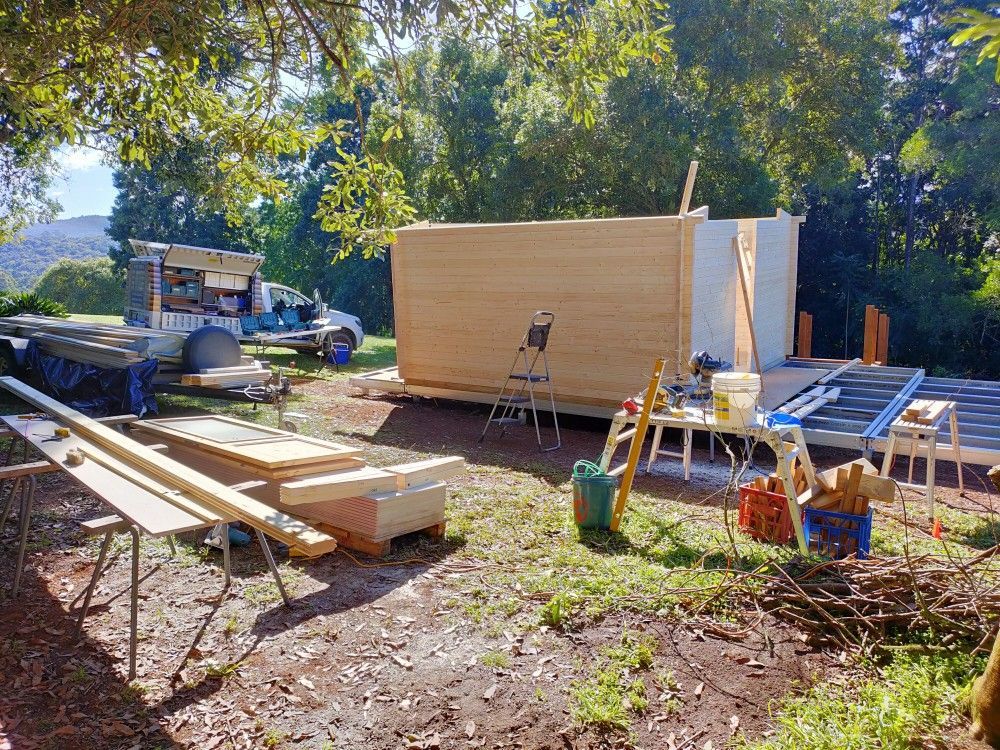
After many days of dry weather the site was finally ready for vehicle and foot traffic. Materials and our vehicles need to be as close as possible to the build site, to keep construction times to a minimum.
Steel Bases
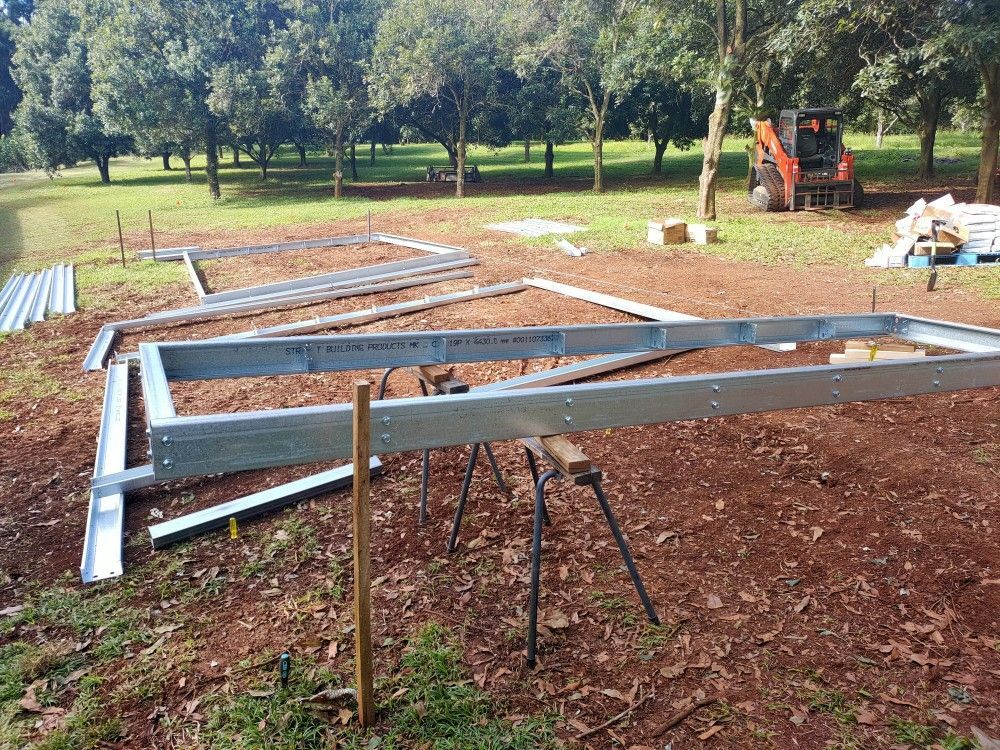
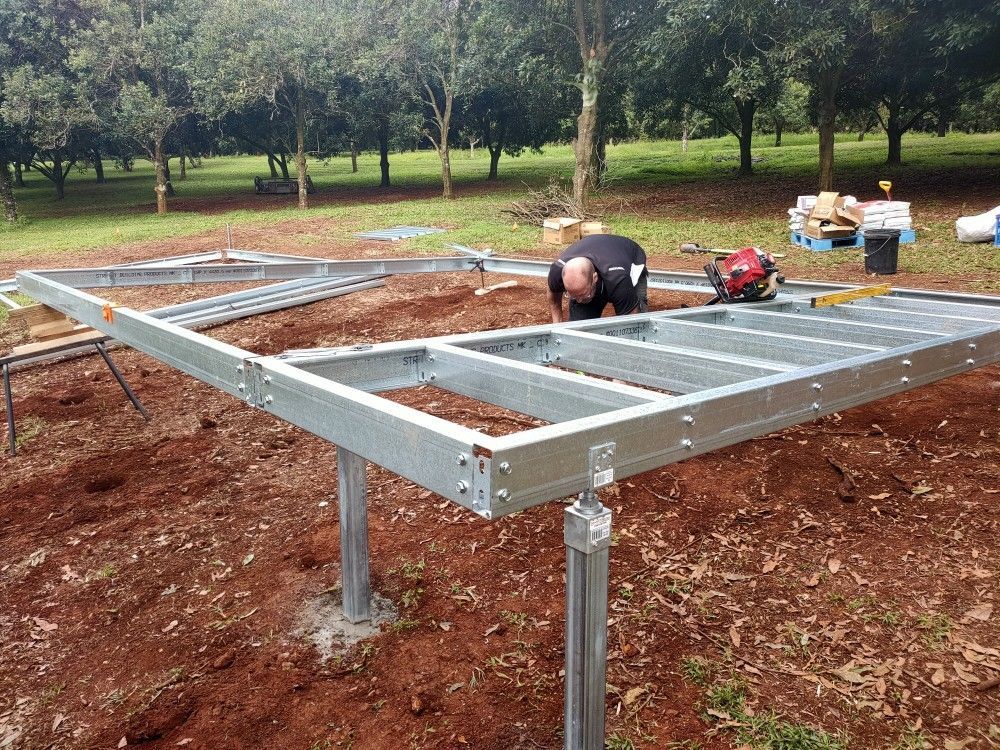
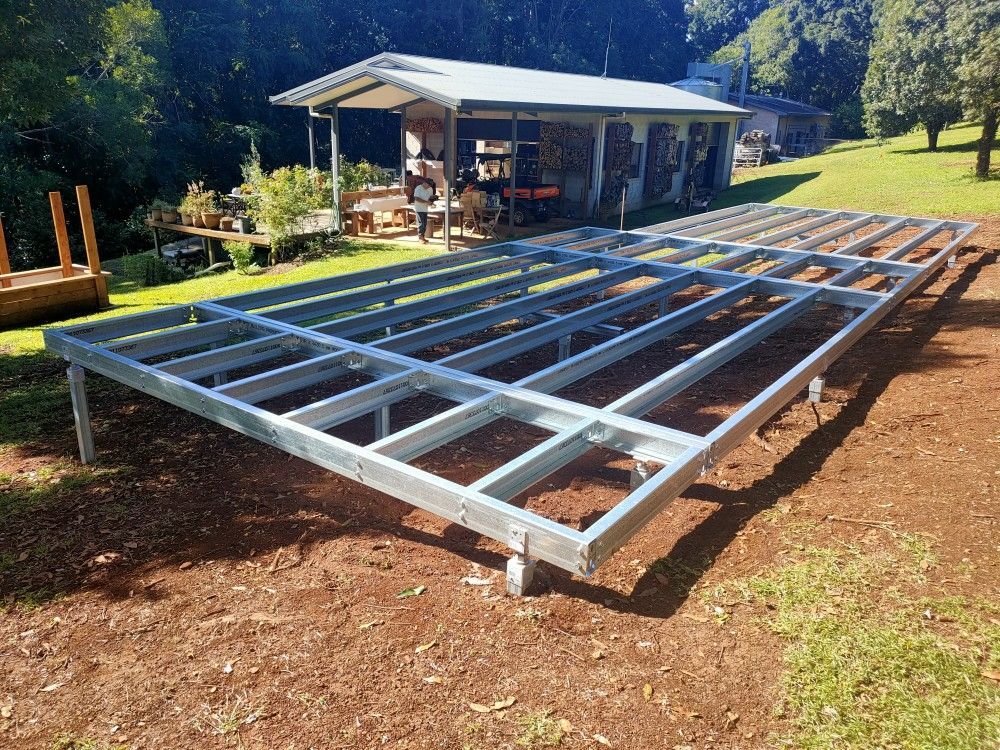
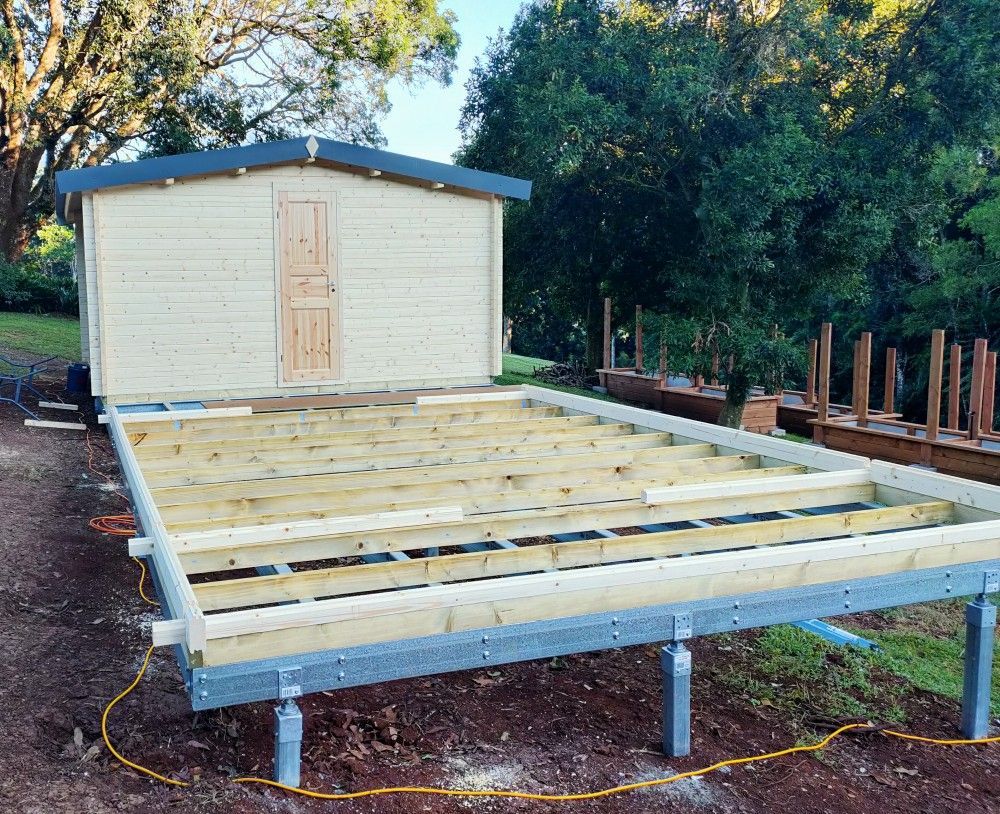
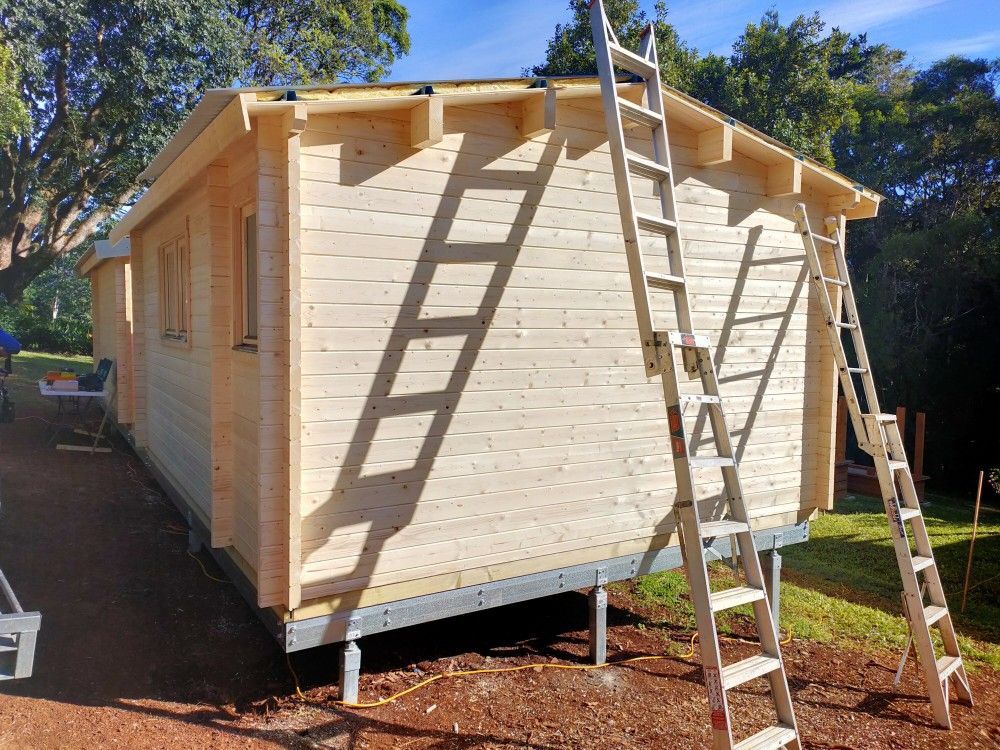
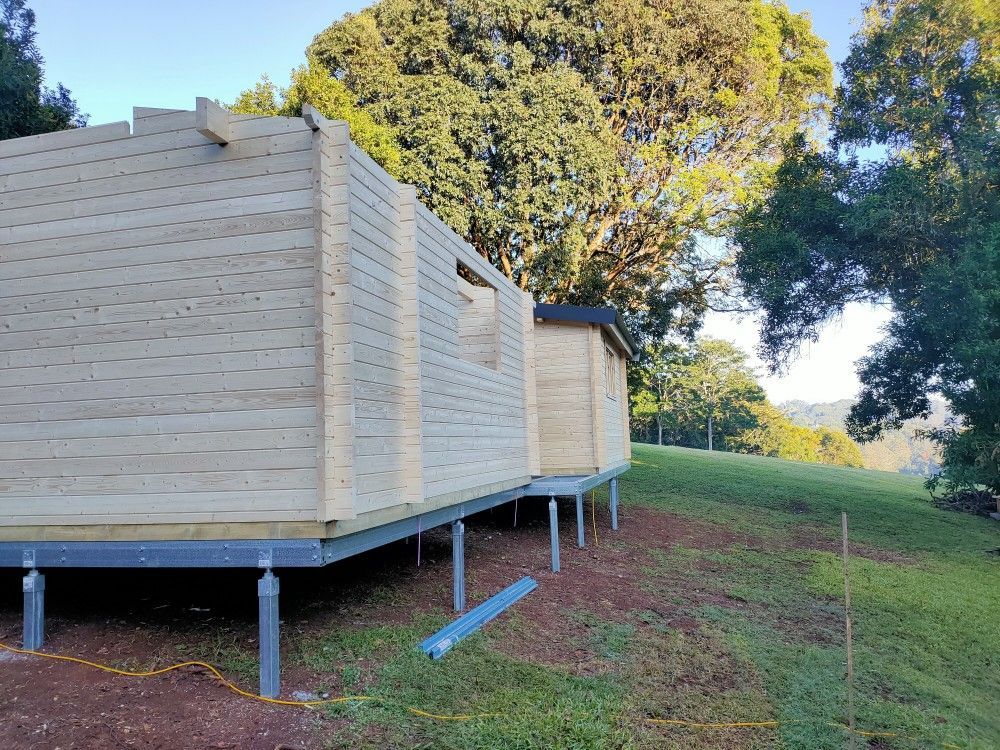
We had to construct a total of four interconnected steel purlin bases. Two for the cabins, and two for the decks. Steel purlin bases are ideal for sloping grounds, as posts can be cut to size as needed, and final height adjustments are done via the stump tops from LEVELMASTER.
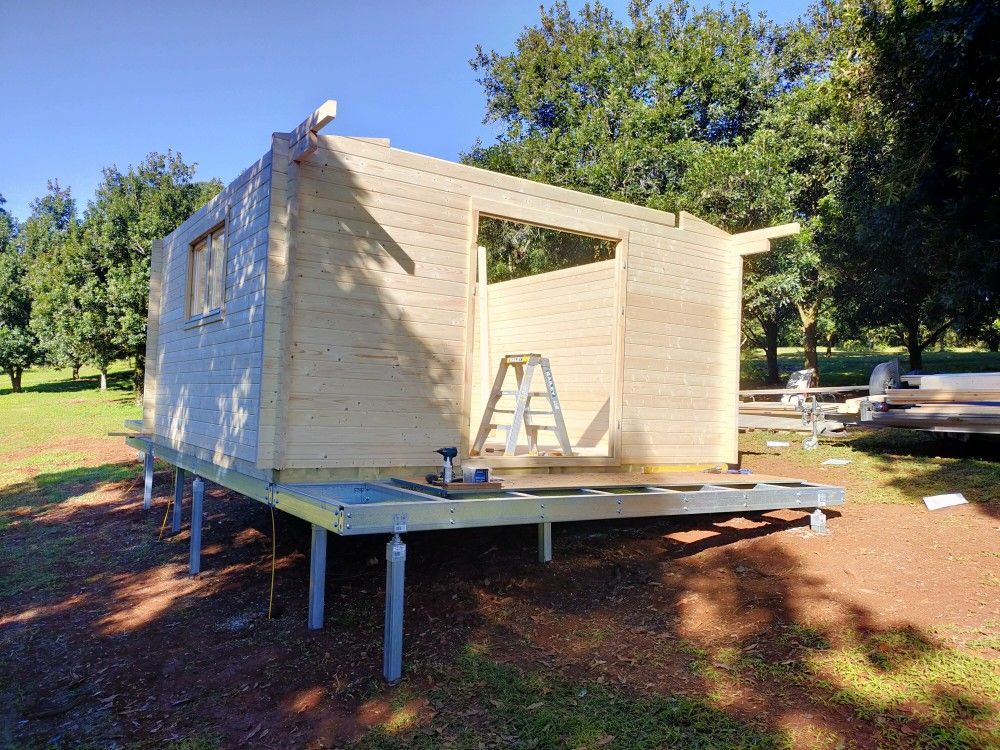
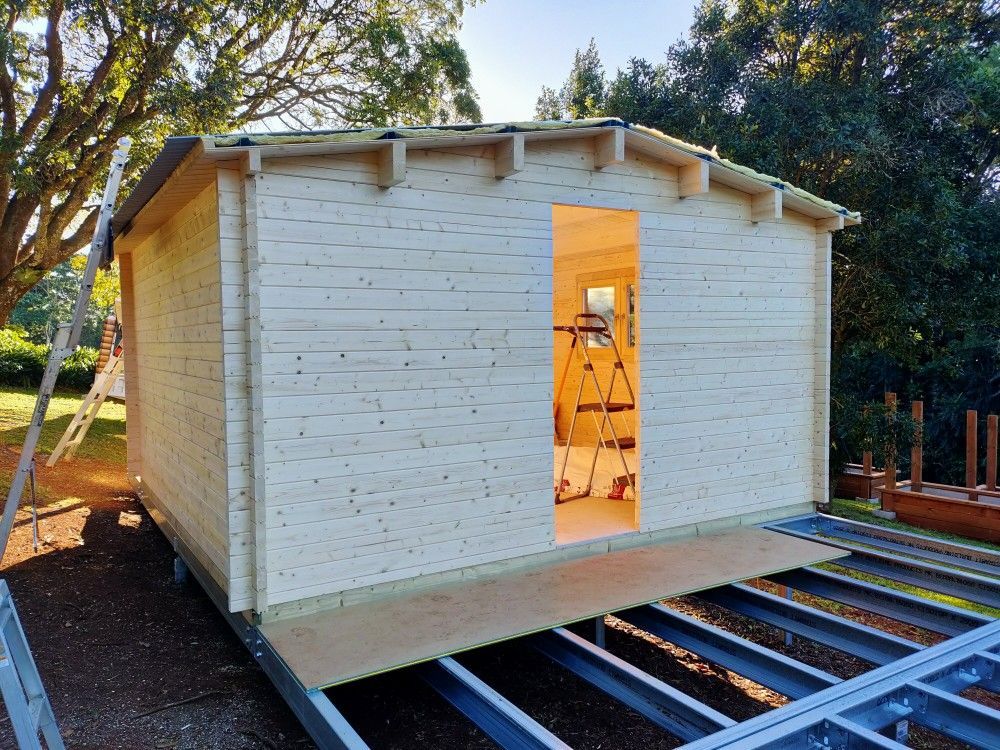
We opted to first construct ALL four bases, rather than only tow and then start building the first cabin. The first base needed to be 100% square and level, as the other three were joined on to the first one. The saw horses shown in the first image on the right were only temporarily holding up the outer frame while we dug the holes for the foundation posts. All images enlarge if you click on them.
Additional Rear Door
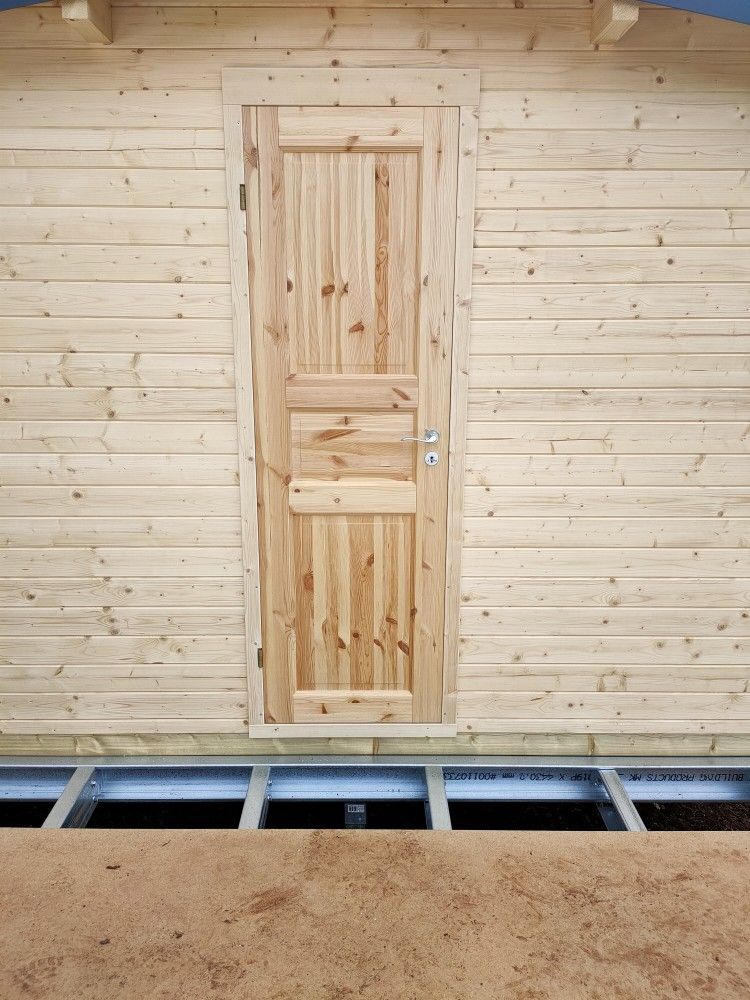
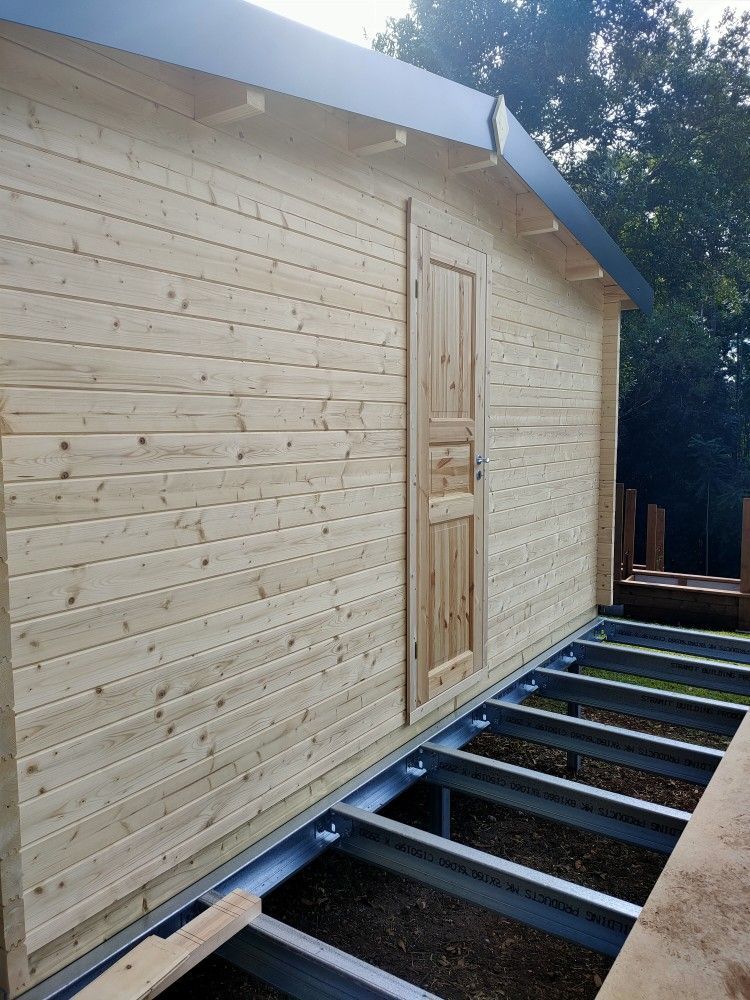
The first cabin we built was our "OSCAR20". A second rear door was needed to connect the cabins via the deck between them.
Fortunately, we had a single solid timber door in stock, leftover from another project, which we were able to install in the rear wall.
This door was initially designed for internal use. This meant that we had to spend a fair bit of time manufacturing a proper architrave. The end result looks great we think!
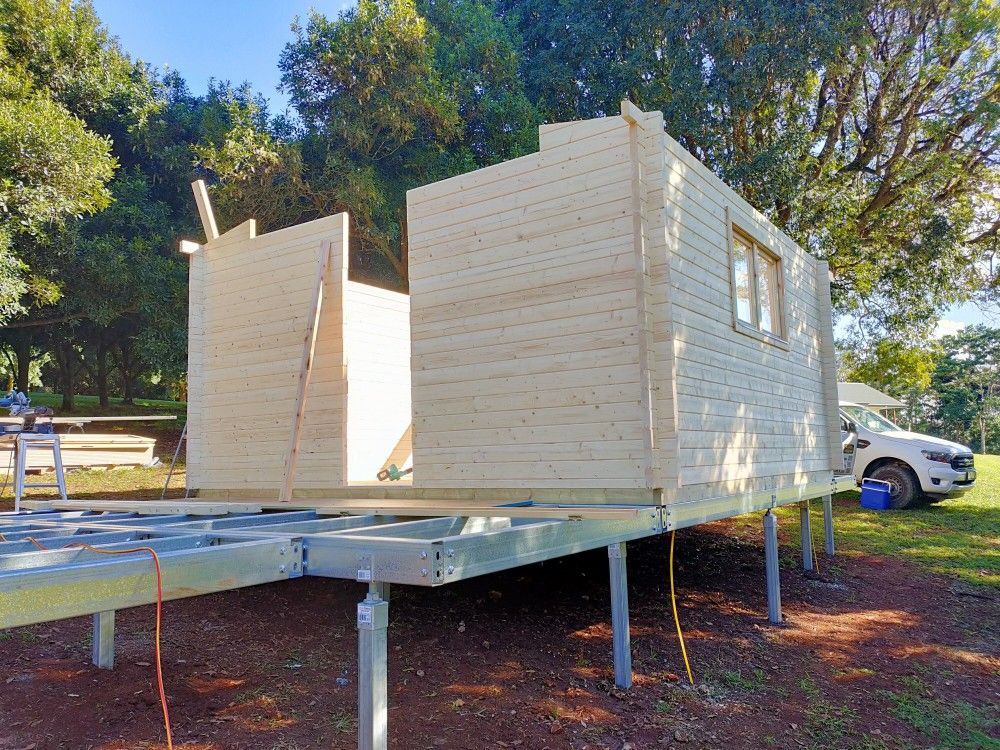
The images on the left show the cabin with walls up, when we started installing the gable pieces and the roof beams.
Roofing
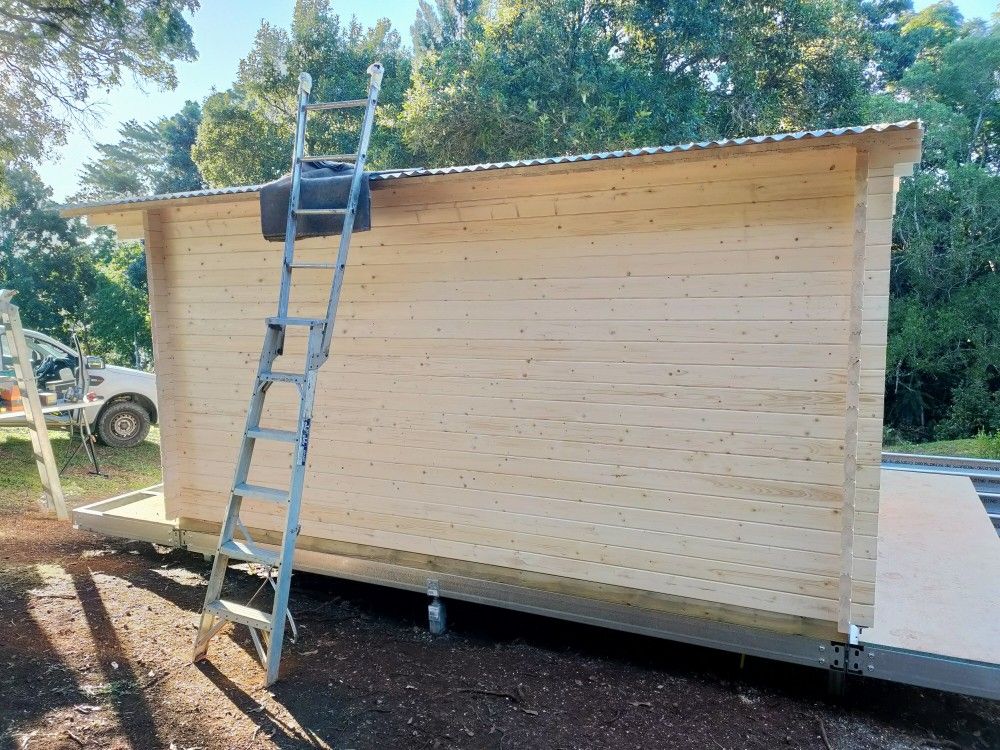
Once the walls and gables are installed, the roof beams are placed. On top of these the timber t&g roof boards are screwed.
The way our cabins are manufactured allows easy walking on the entire roof surface, making the installation of roof battens, insulation wool and the roof sheets much safer.
We also always run electrical cables for the internal and external lighting from the front door switch before we install the roofing. Our superior wall thickness of 50mm allows our factory to pre-drill electrical cable holes all throughout the cabin, so you will never be short of power points.

One down - one to go
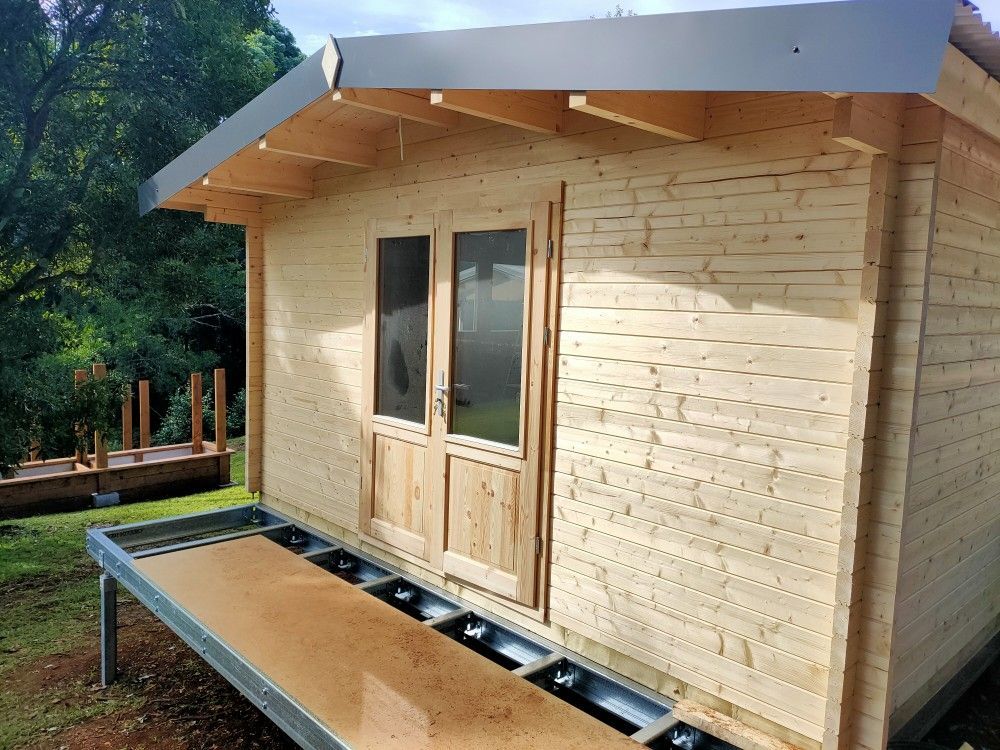
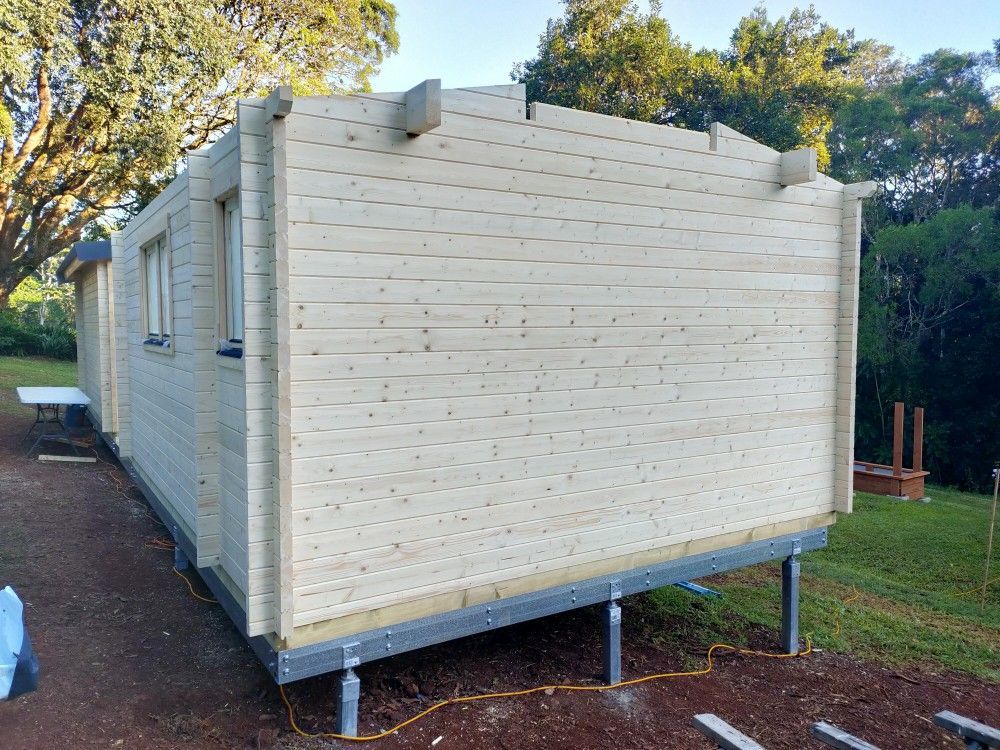
Another top-notch cabin built completed!
Door hinges are adjusted, door jambs are plumb and locked into place (whilst still allowing for log settling) and the doors can be securely locked.
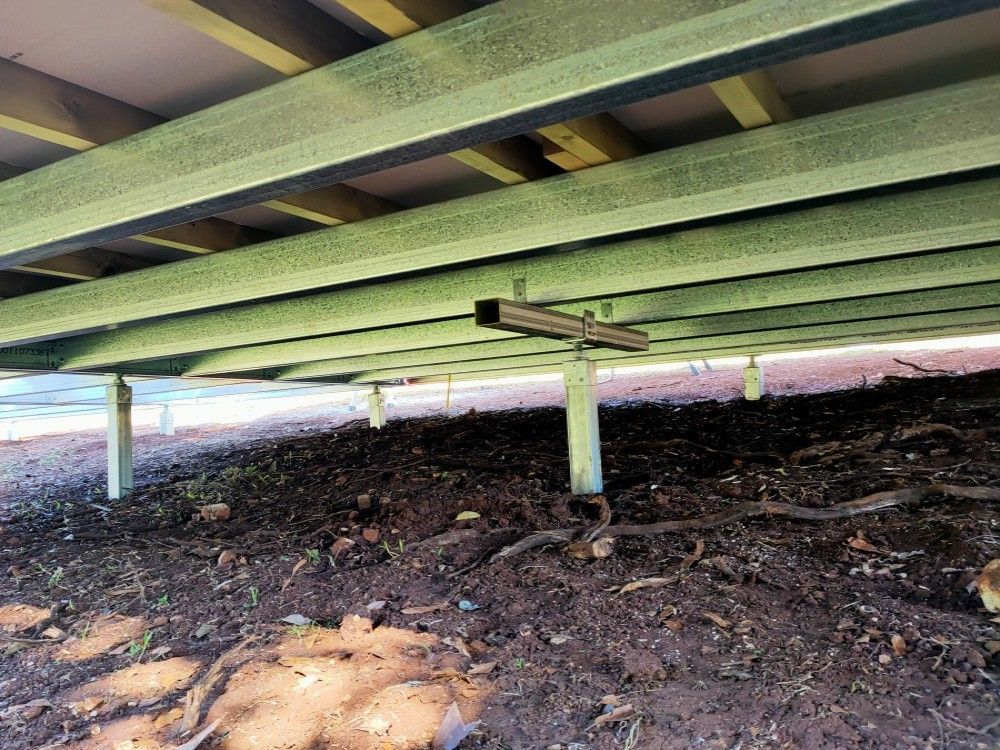
We also decided to post here an image of the sub floor construction. The centre post has a cross beam as there is an uneven number of steel purlins. As always, all post tops are height adjustable, so any seasonal movements due to various ground conditions can easily be negated.
After this first of two builds was completed, we took a couple of days off and prepared for the installation of the second cabin a few days later.
Info regarding the "ORAN20" install is below.
"ORAN20" - our new two-room cabin
We always get excited when constructing a new cabin model for the very first time. Specifications for both the steel base and the roofing need to be worked out and ordered.
As the steel base had already been constructed, installation of the second cabin progressed well.
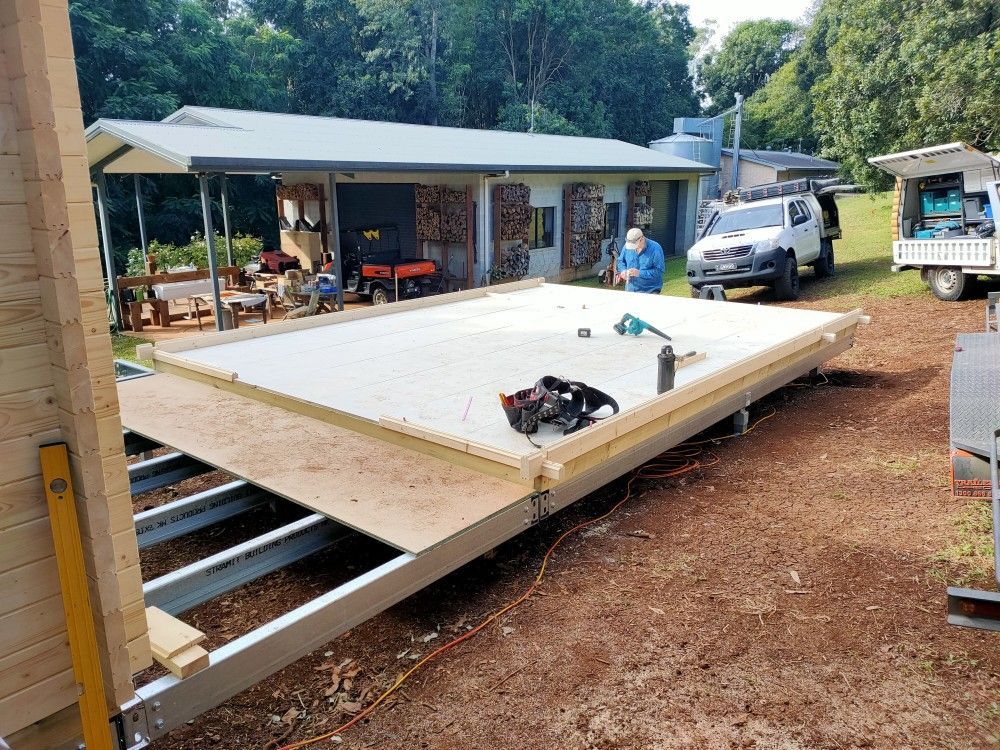
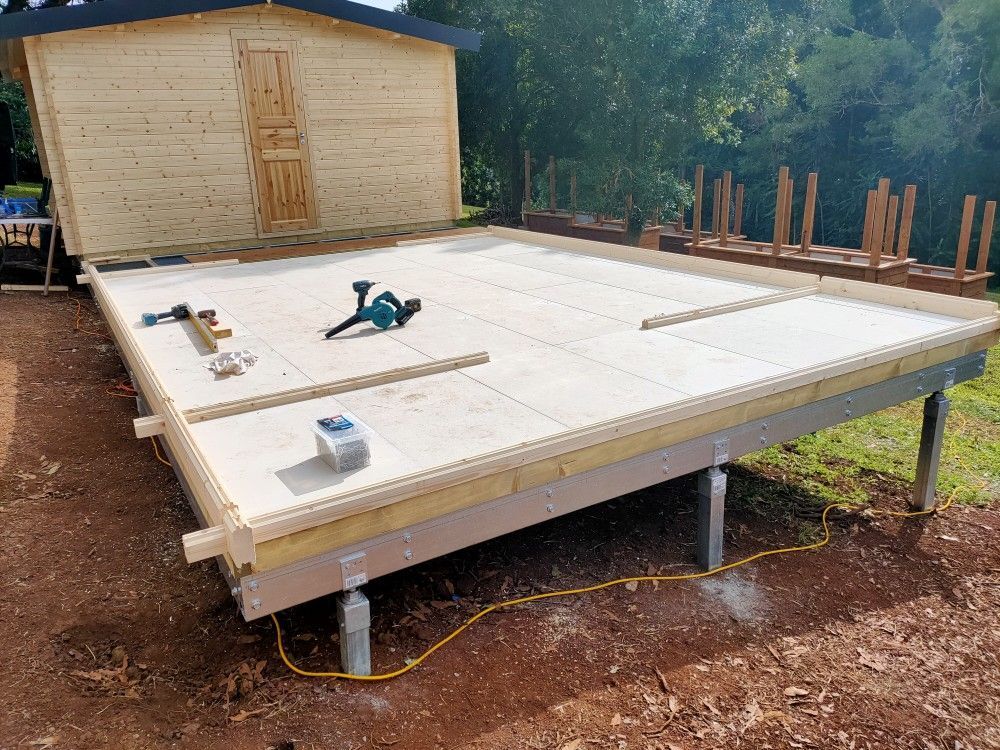
Installation of cement sheet t&g flooring took much longer than anticipated. We normally do not work with this type of flooring, we prefer TERMIFLOOR particle board flooring, which is lighter, easier to cut and quicker to install, but for this build owner Frank asked us to use cement sheeting.
For ease of access we temporarily installed particle board sheets in front of the entrances.

Drying in
For obvious reasons we always try to get cabins dried in as quickly as we can. Once log walls are installed the gables, roof beams and roof boards are next.
Than it's onto roofing work - metal top hat battens, running electrical leads for the lighting both inside and out, place installation wool and screw down the roof sheets. Once the sheets are installed we always breathe easier as rain can no longer get inside the cabin.
Than come the finishing touches - timber eave supports and barge boards, followed by metal sheet barge capping and ridge capping.
And the usual pack-up at the end of the last day.
LIKE IT? SHARE IT!