Timber Garden Sheds Australia

April 2026
A few words about these "Completed Project" posts (as well as about this website in general). The text and images are NOT created by AI - full stop. As a matter of fact, we take great pride in creating these blog posts ourselves - yes, we know - "old fashioned". We just can't stand "fake" texts that are soaked in AI created populist phrases like "seamlessly blending", "craftspeople", "carefully curated" and so on...Our team of shed builders are real people - as real as this website. We are down to earth, we genuinely care about the products we sell, and we share your excitement when handing you the keys to your new log cabin!
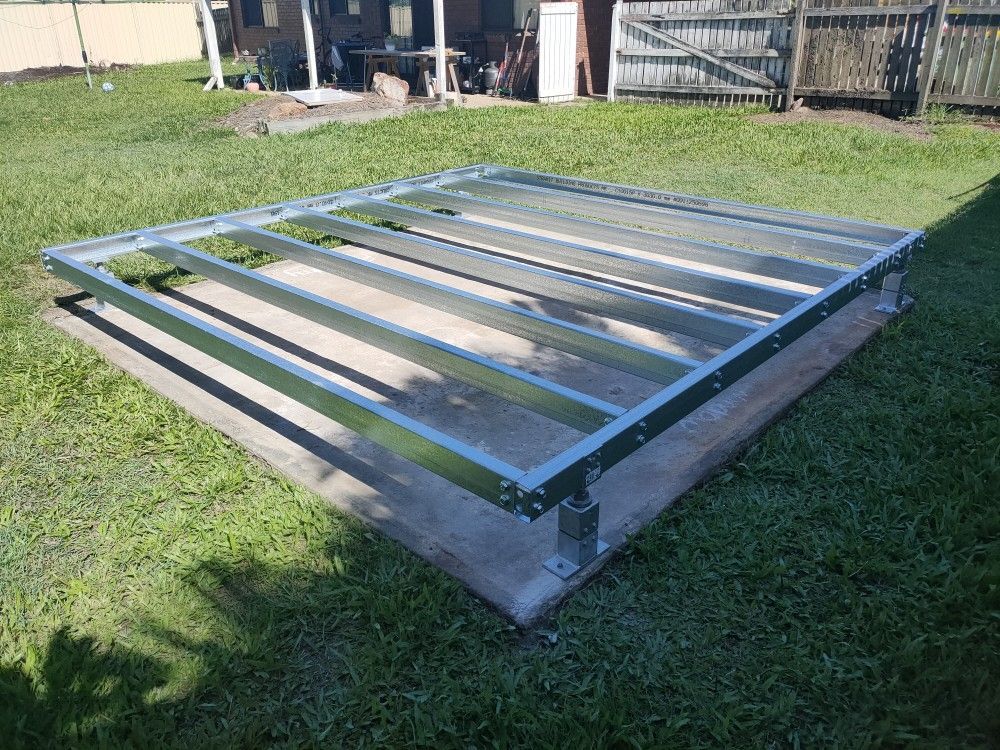
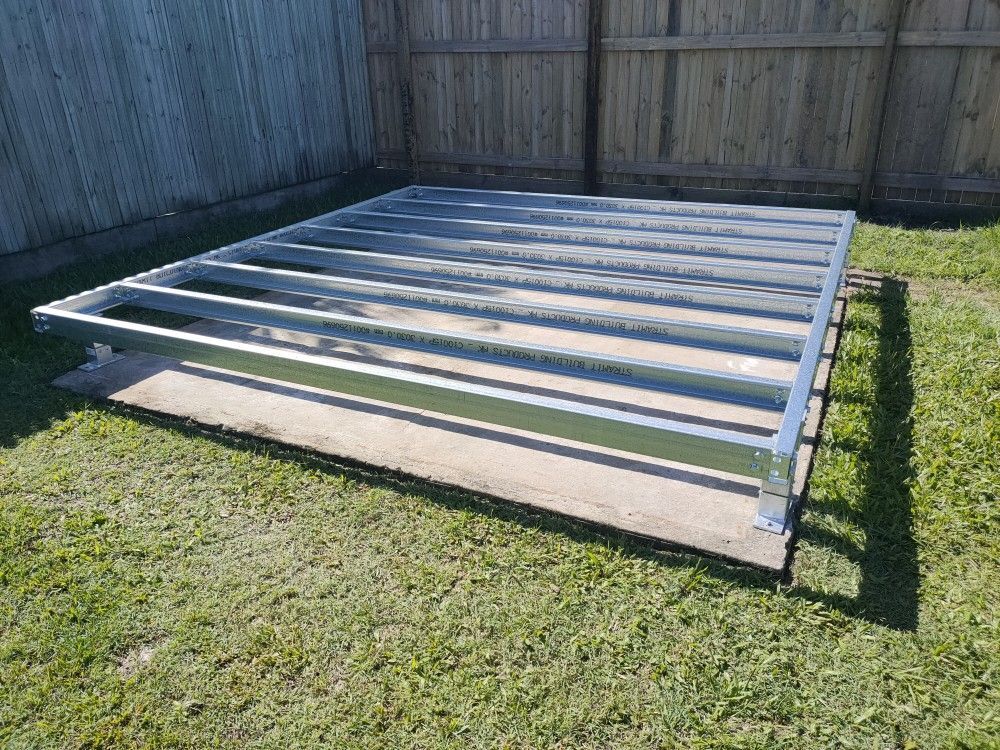

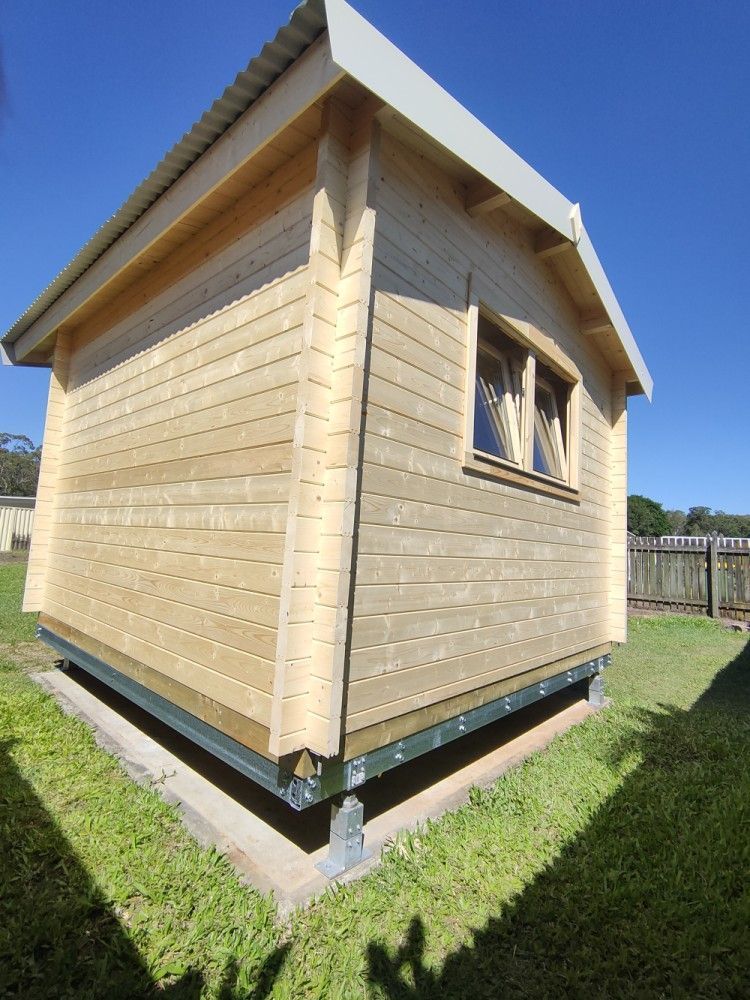
Existing Concrete Slab
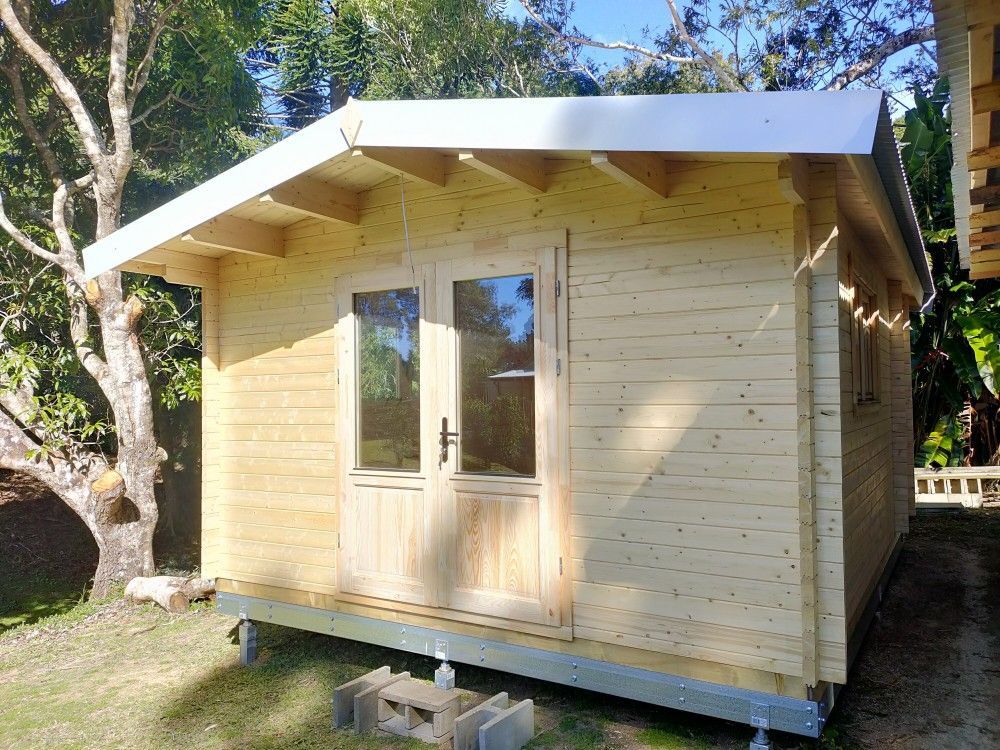
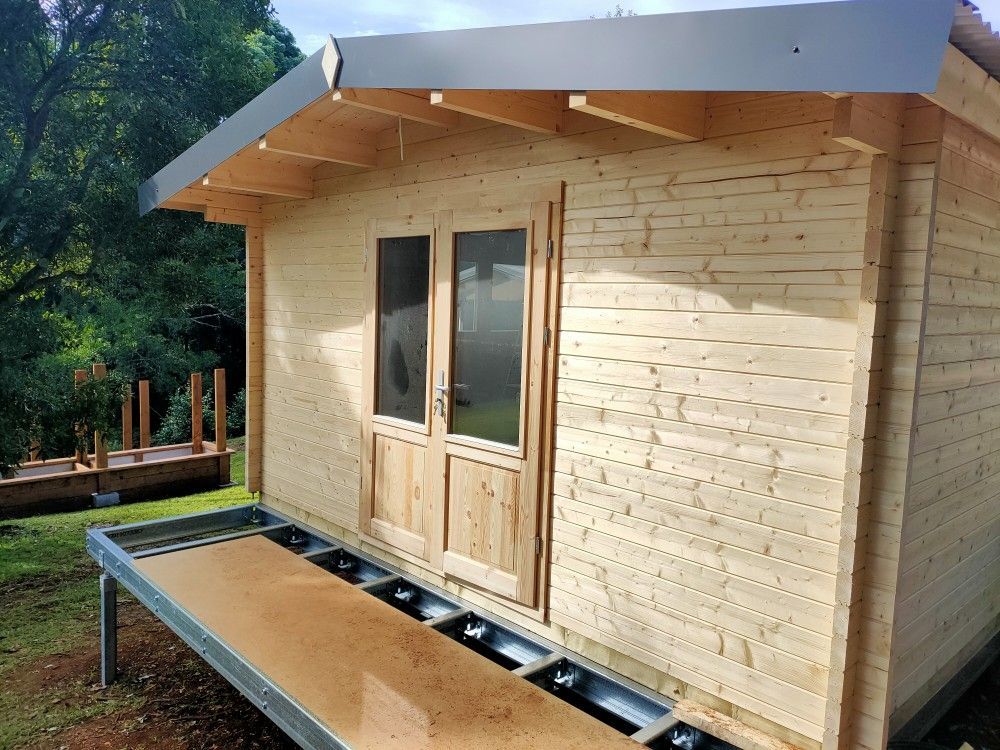
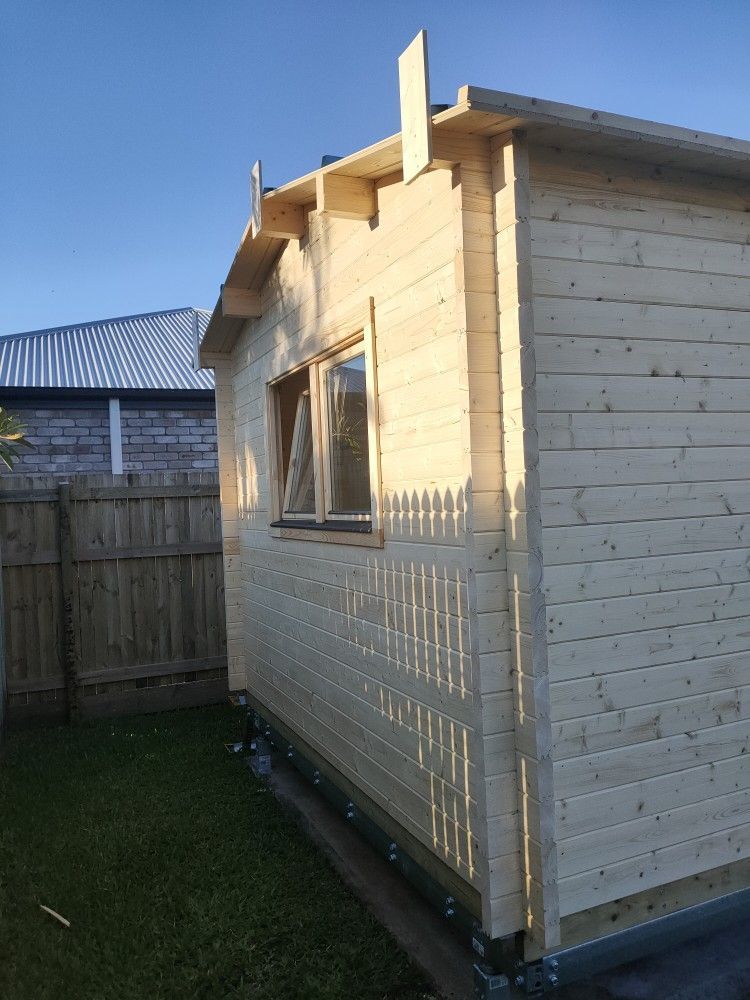
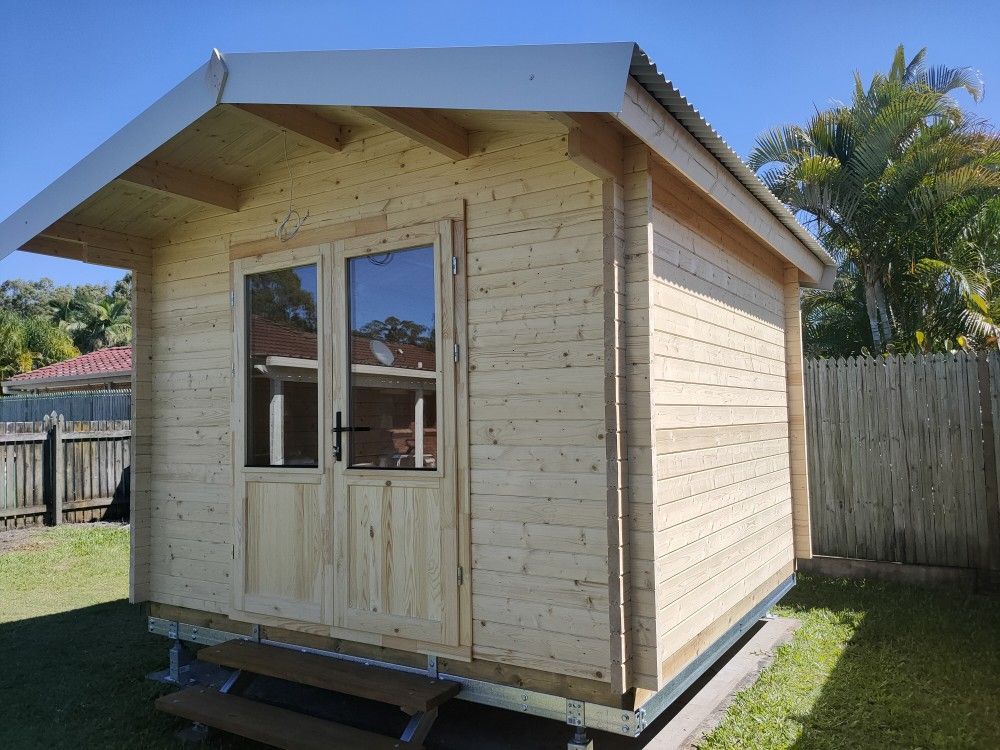
By pure coincidence, the old concrete slab at Eileen's place was the exact same size as the footprint of our "SAM10" cabin. Whilst this, in theory, meant that no additional foundation was needed, Eileen opted to raise her new office cabin off the ground by installing one of our popular steel purlin foundations. This eliminated any possible future flooding issues.
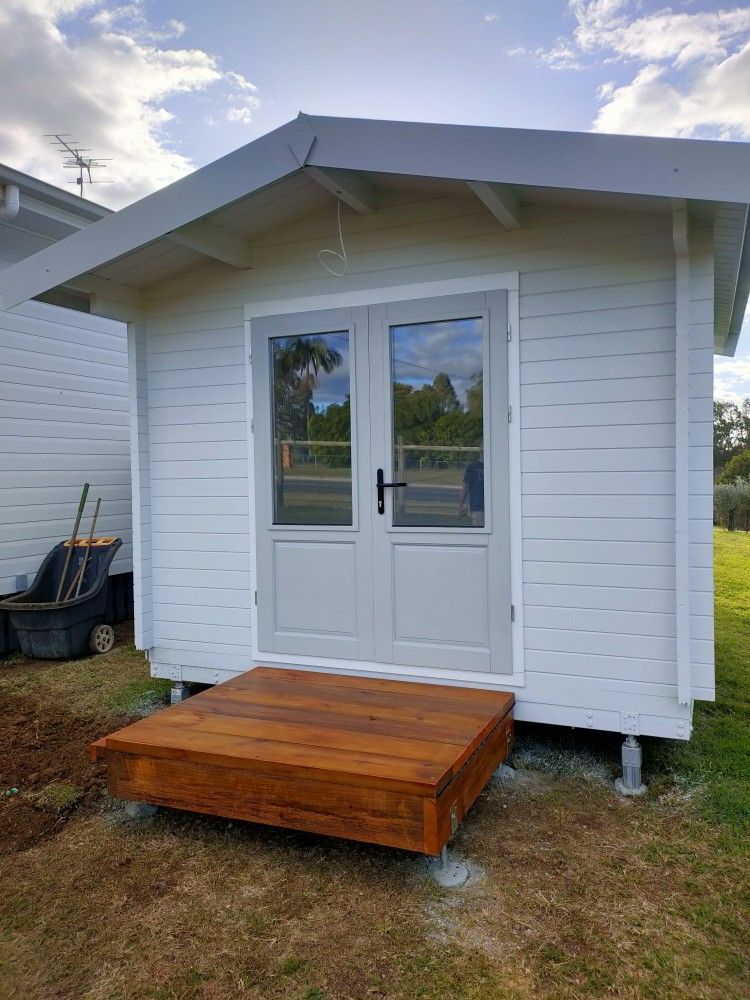
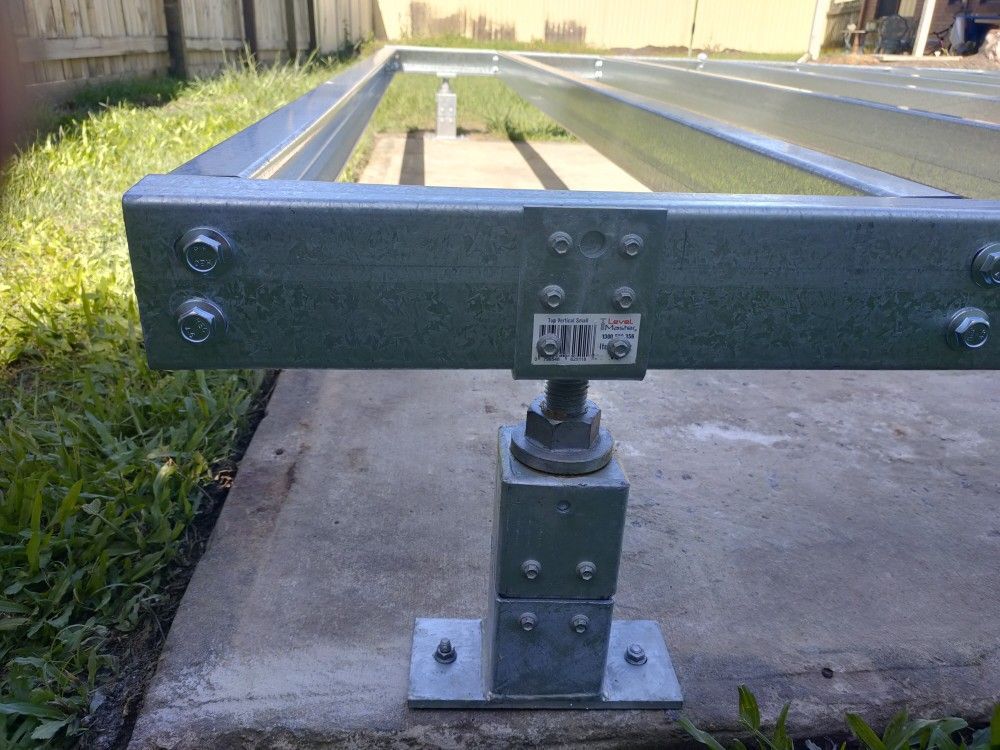
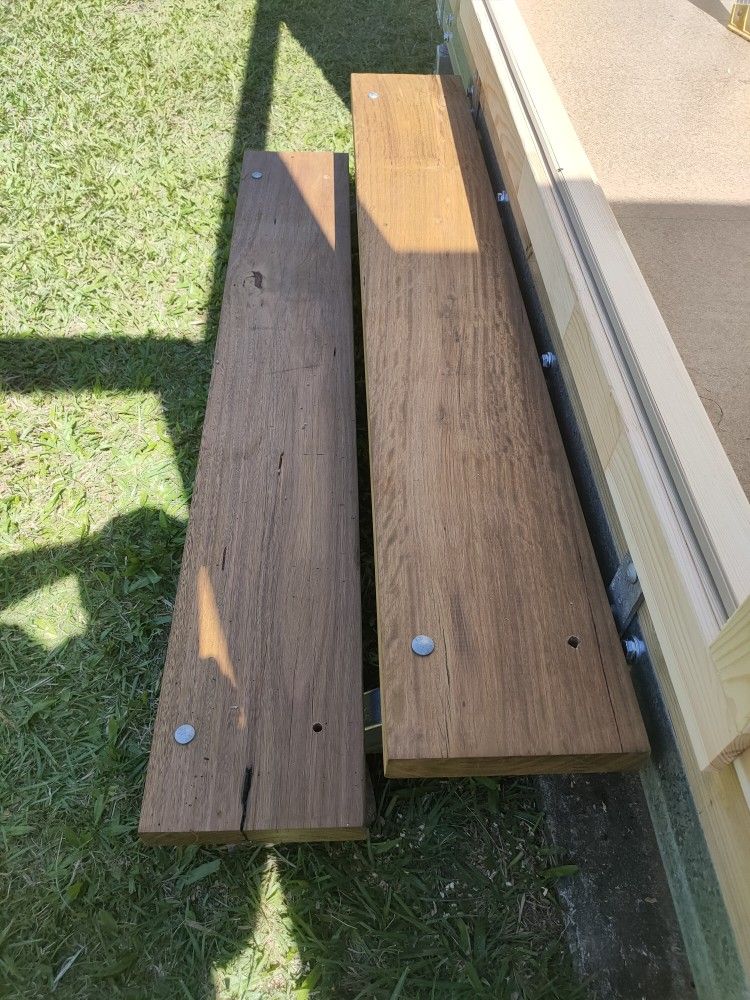
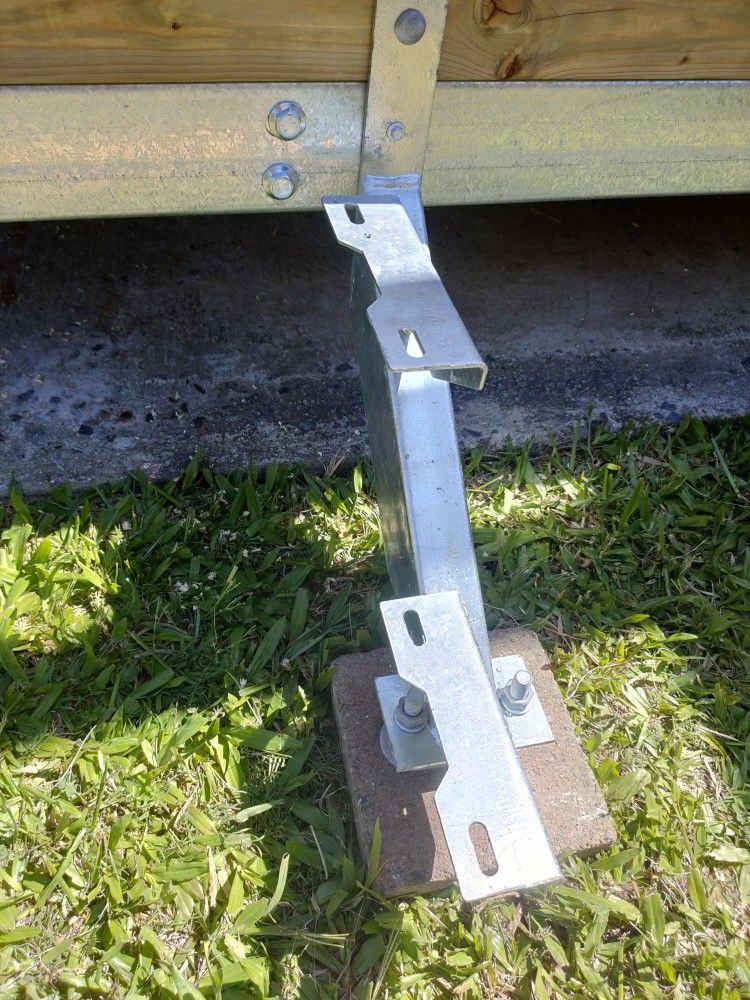
Instead of concreting the four support posts into the ground, we used bolt-down feet, still using height adjustable post tops. This enables Eileen to raise the entire cabin by a further about 200mm in case of local flooding. For ease of access to the cabin we also installed a 2-step stringer and 1.5m wide hardwood steps. The stringers are also height adjustable, so can be raised together with the cabin if need be (see below).
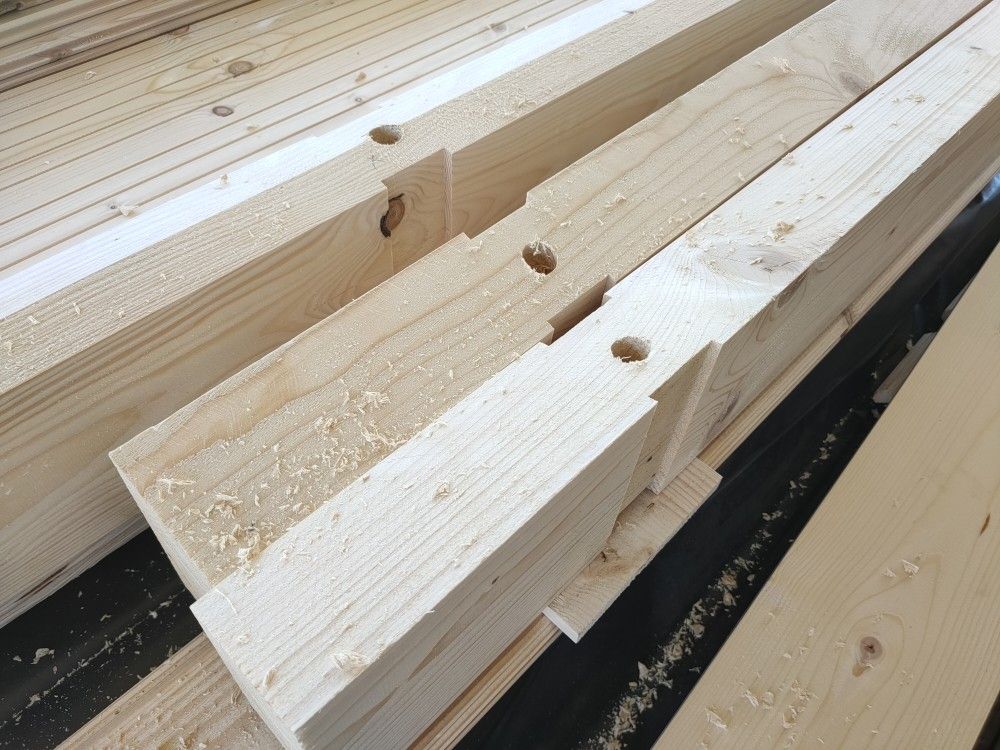
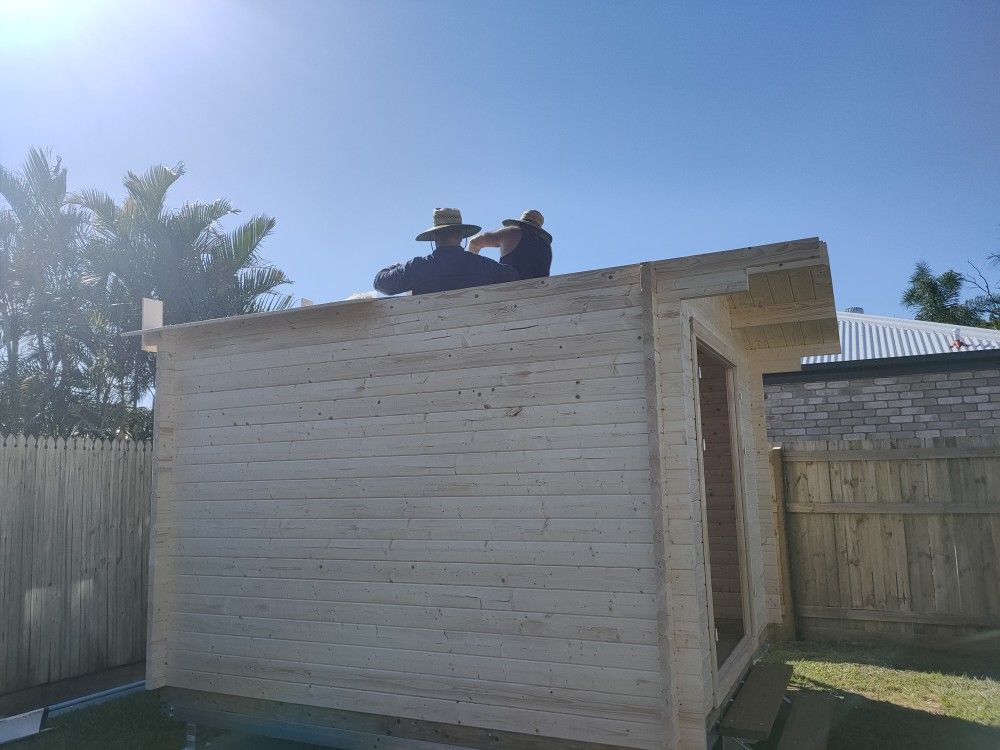
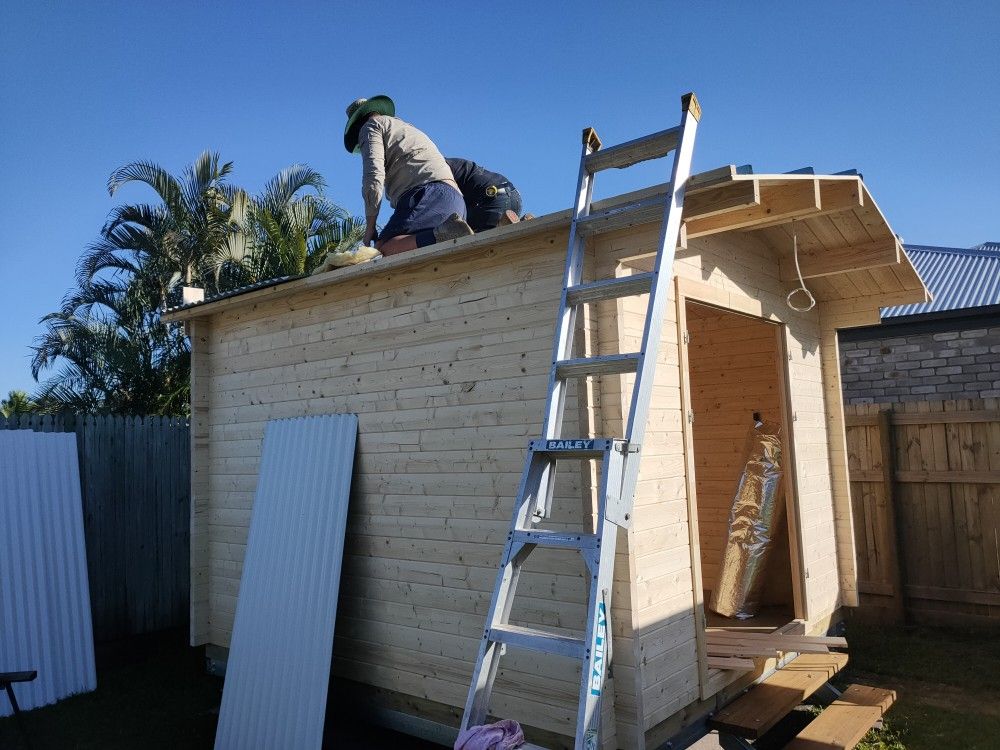
Roof beam attachment to log walls....
Over many years of installing these type of cabins, we have continued to refine and improve the installation procedure. Often, these adjustments are based on feedback we receive from you, the log cabin owners!
Recently, we started to affix the roof beams to the log walls using 200mm HD gal steel batten screws. These are normally NOT needed, as the roof beams are rebated and fit neatly into slots that have been routed into the wall log. The rebates show nicely on the image on the very right. The holes through the centre of the roof beam joints are rebated, allowing the batten screw heads to sit below the top of the roof beam.

Roof Boards
All our cabins come in either 28mm or (like this SAM10 cabin) in 50mm wall thickness, with t&g roof boards in 18mm thickness. Thinner boards of 19 mm or even as thin as 14 mm are NOT suitable for any garden shed wall construction.
We opt screwing these boards down using galvanised outdoor screws of 45mm length, we do not use the chrome coated shiny nails often supplied with European made cabins. Our strong winds and tropical cyclones necessitate different construction methods than what is used overseas.
We also always use metal top hat battens, instead of timber battens. Metal battens are much stronger and provide total peace of mind during storms etc.
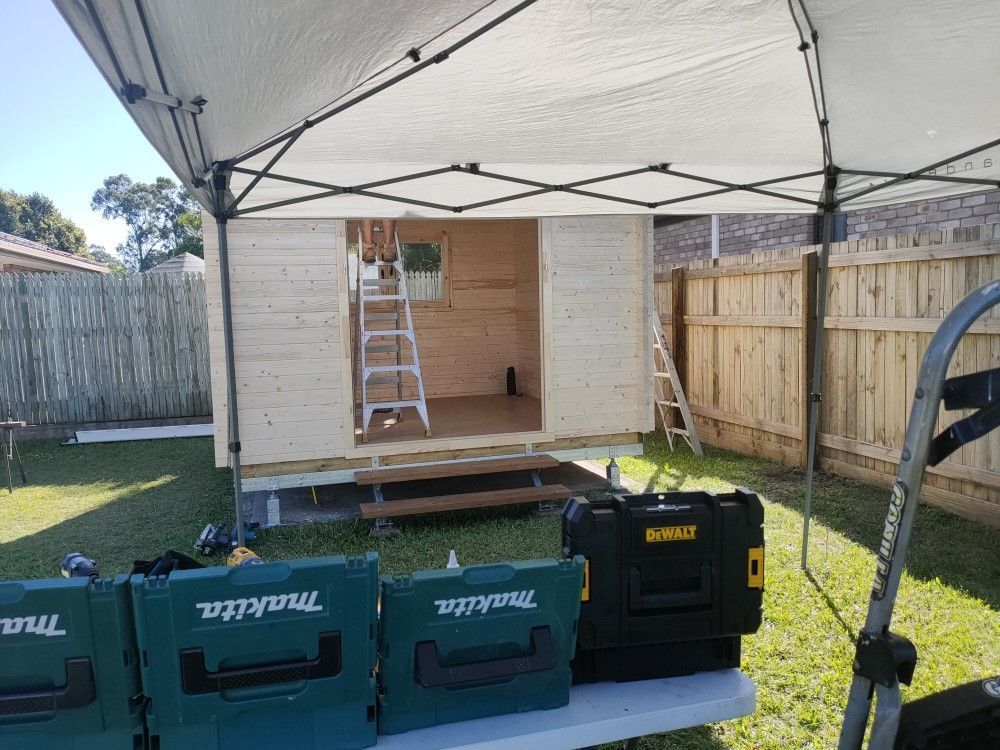
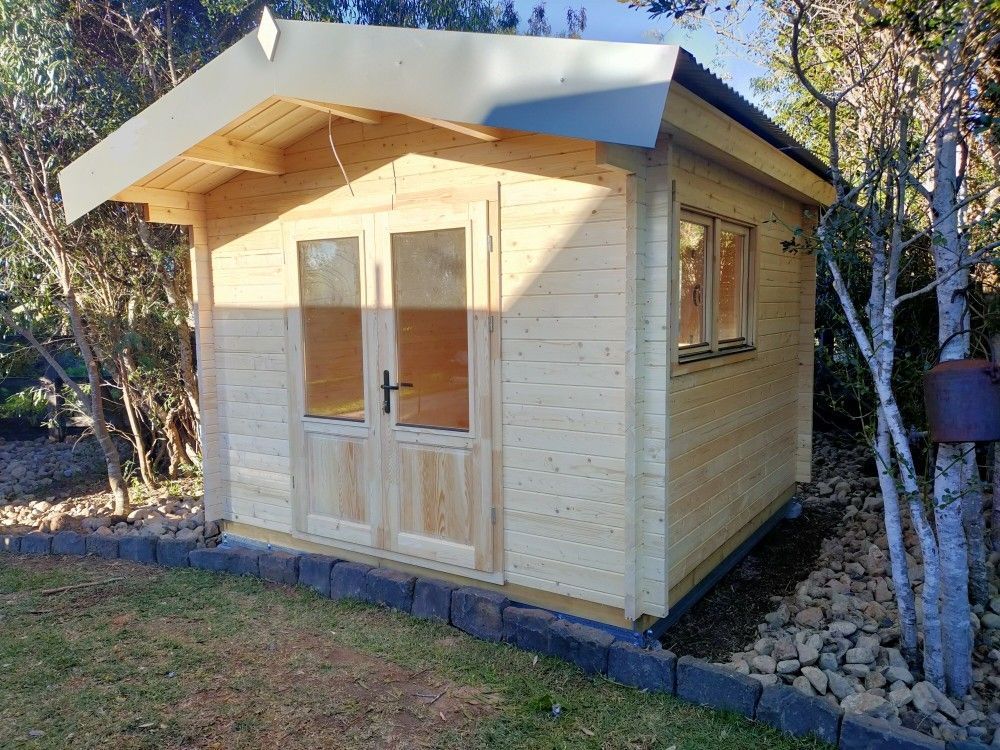
Roof Alignment
To guarantee everything lines up nicely, it is essential to start with a 100% level and square foundation. Installation of all following cabin components are then very easy.
Both the timber roof boards and the corrugated iron roof sheeting need to be squared up. This is made a lot easier by first installing temporary vertical scrap pieces of timber at the rear end of the two outer roof beams and the centre roof beam. This is shown nicely in the centre image on the right. Just push the roof boards and than later the roof sheets against these stops before screwing them down. This ensures that everything is square, making for a neat finish.
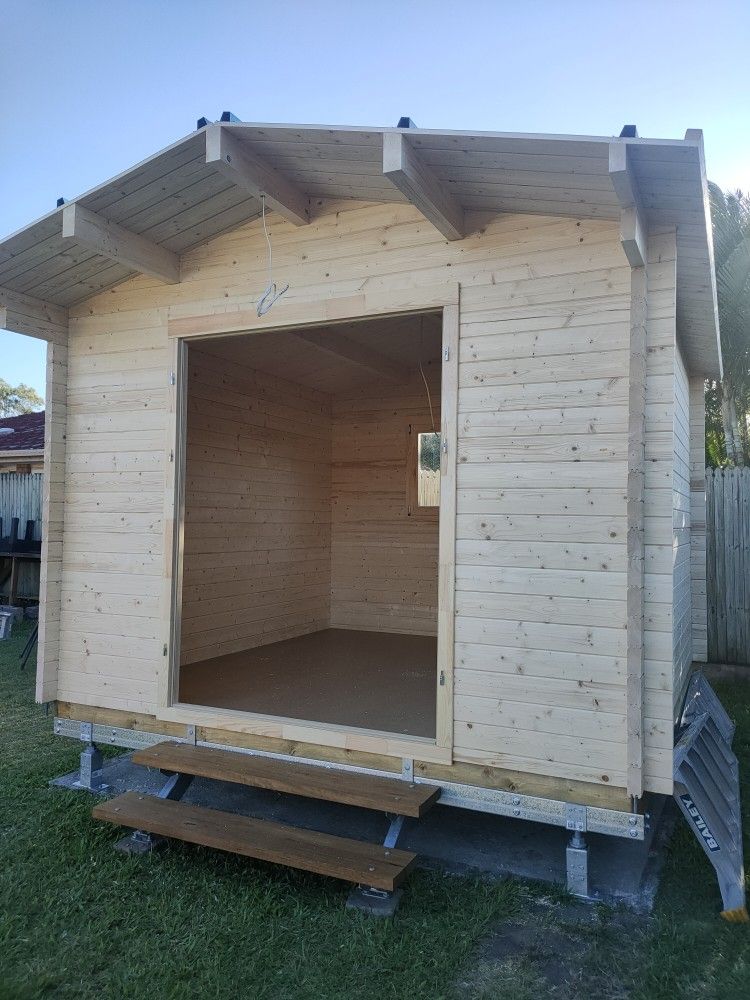
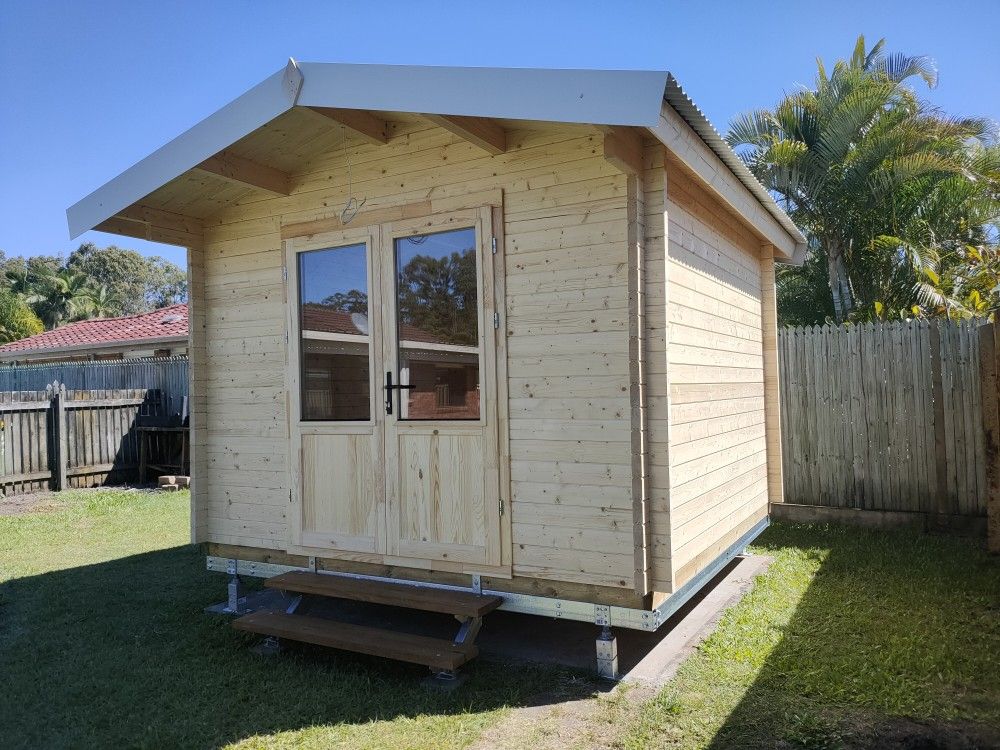
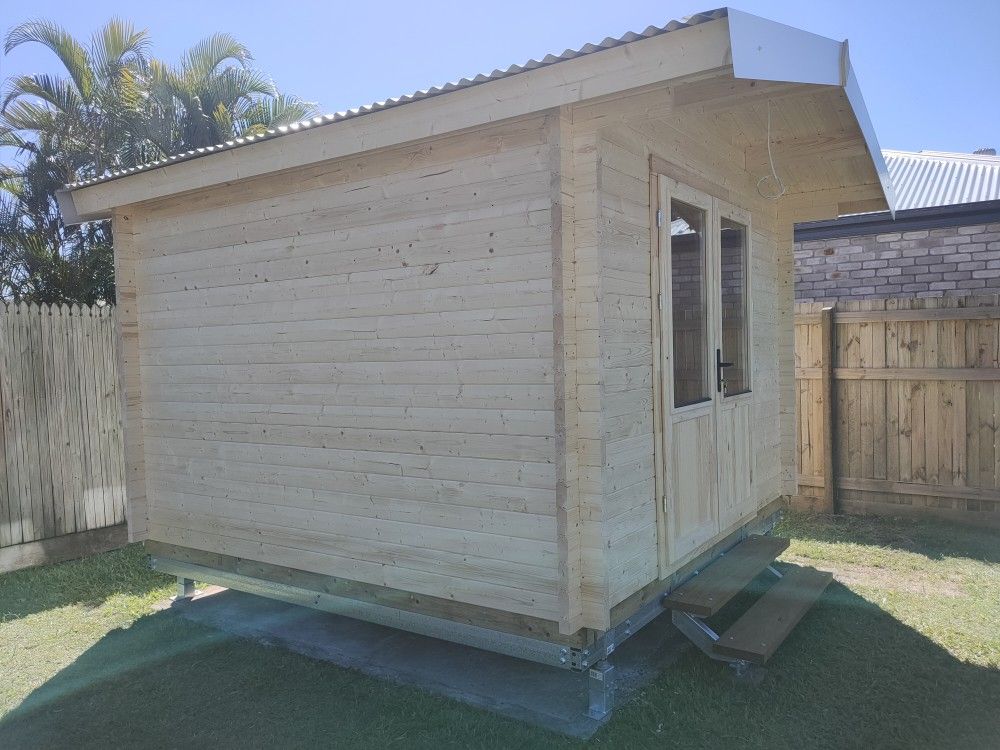
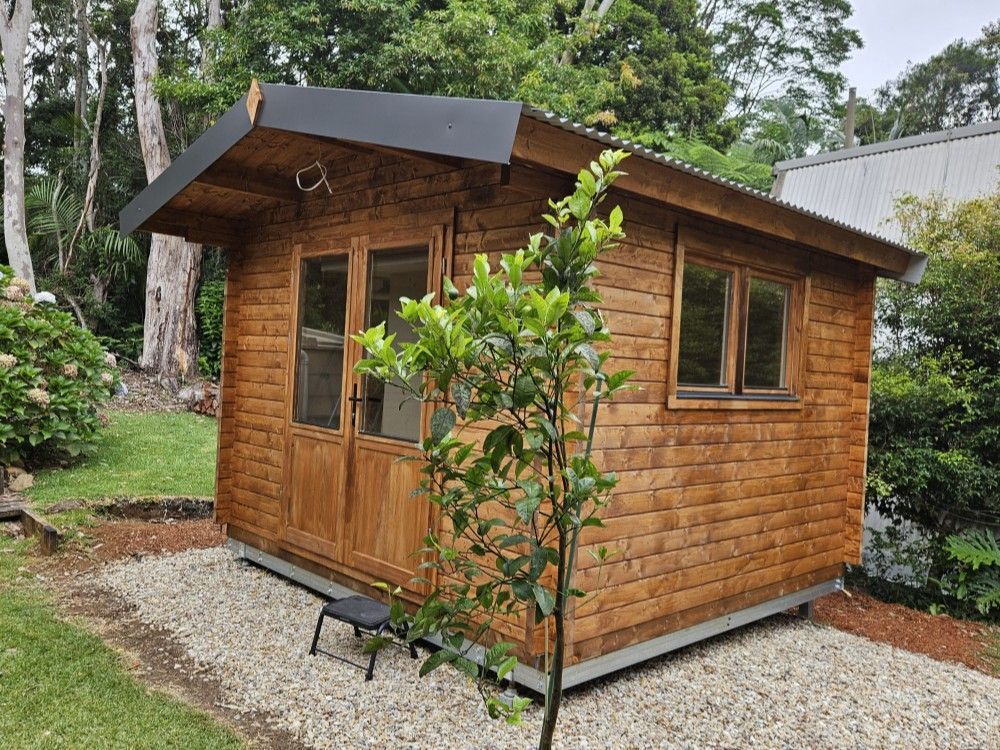
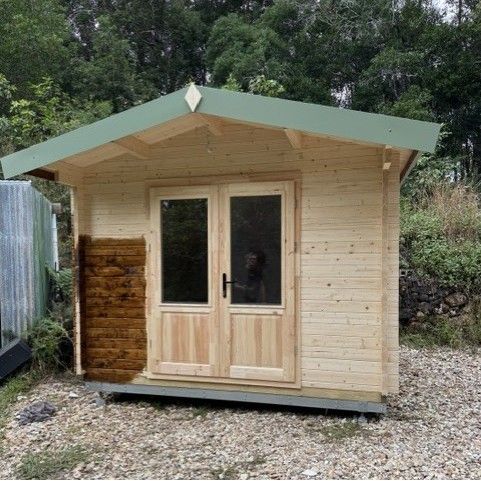
Another happy log cabin office owner!
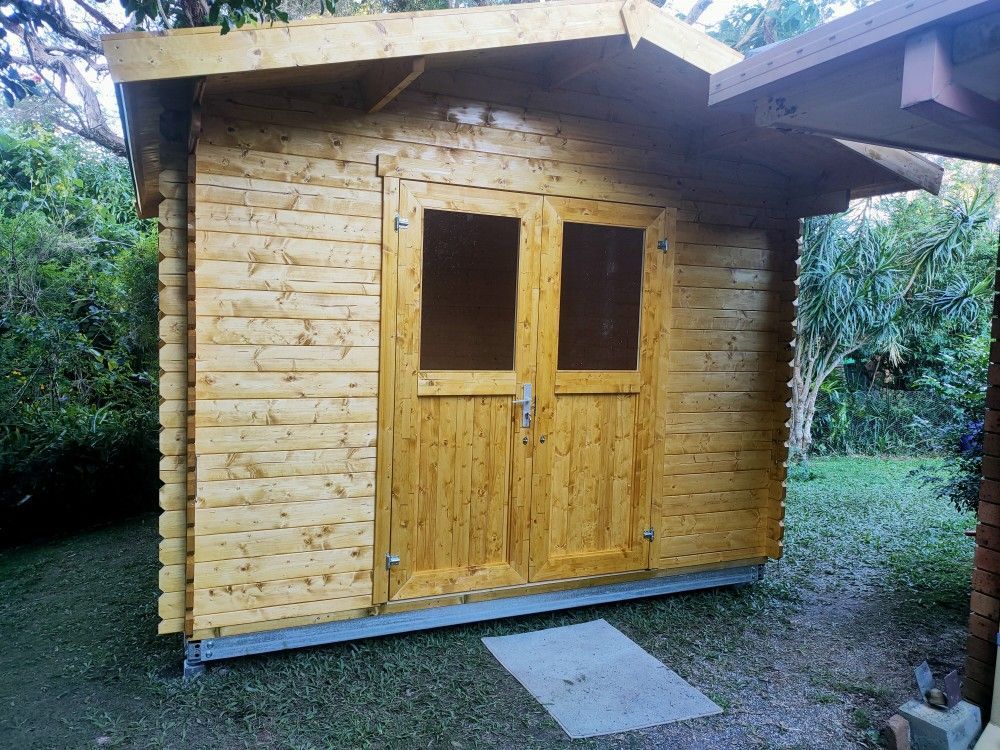
To fit the cabin doors sometimes poses a few challenges. The two doors need to line up to enable the European multi pin locking mechanism to work without any effort.
Alignment of the doors are achieved via the hinges. These are three-way adjustable - up and down, in and out as well as left and right. With a bit of patience the doors will always line up 100%.
They will need re-adjustment shortly after the initial install, as the timber dries out and settles.
To accommodate this movement the door architrave is not screwed into the wall logs. This, however, sometimes causes the entire door frame to move to a side, which happens when one door is closed while the other door is open, so they pull both in the same direction instead of counteracting one another. To avoid this, we insert two small holding screws into the wall logs, on the inside of the cabin, at the side top of the architrave.
LIKE IT? SHARE IT!