Timber Garden Sheds Australia

February 2026
Our second build after the Festive Season. As mentioned previously, we do not normally build any cabins during the hottest period of the year, however, due to the inevitable backlog of cabin builds we decided to "tough it out" and do a couple of builds before the temperatures start dropping as we approach Autumn.
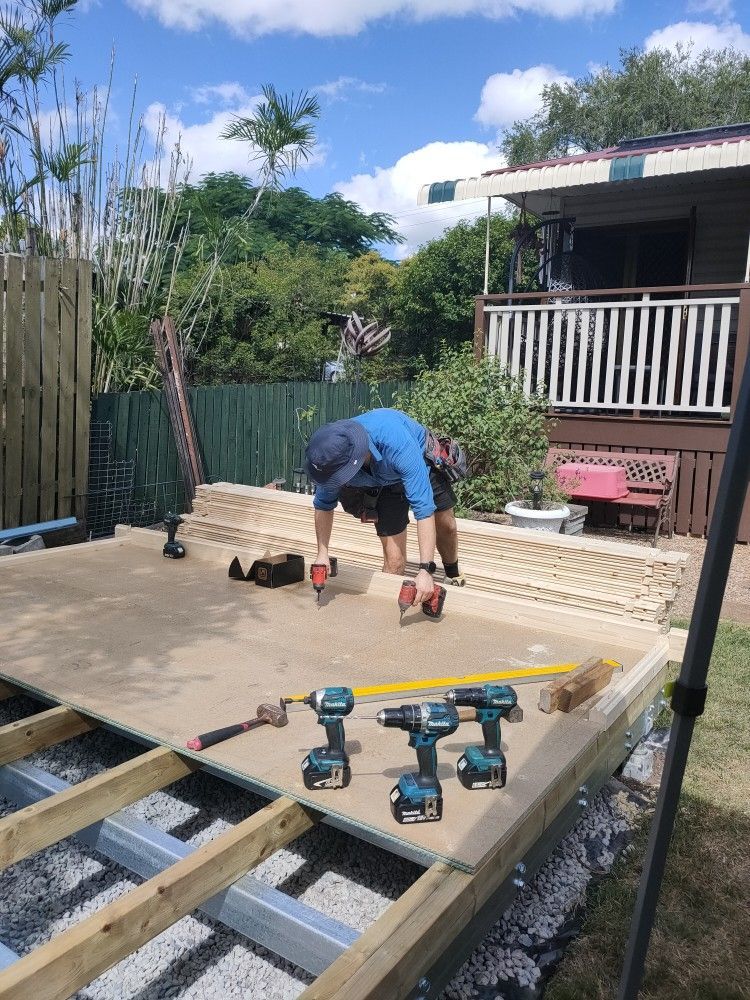
Access to the rear of Debra and Jeff's property was a little tight, to say the least. But we love a challenge, we managed to park our 8m trailer with the cabin pallet close to the build site, and set up our tools and workshop right next to the build area.
Ground Preparations
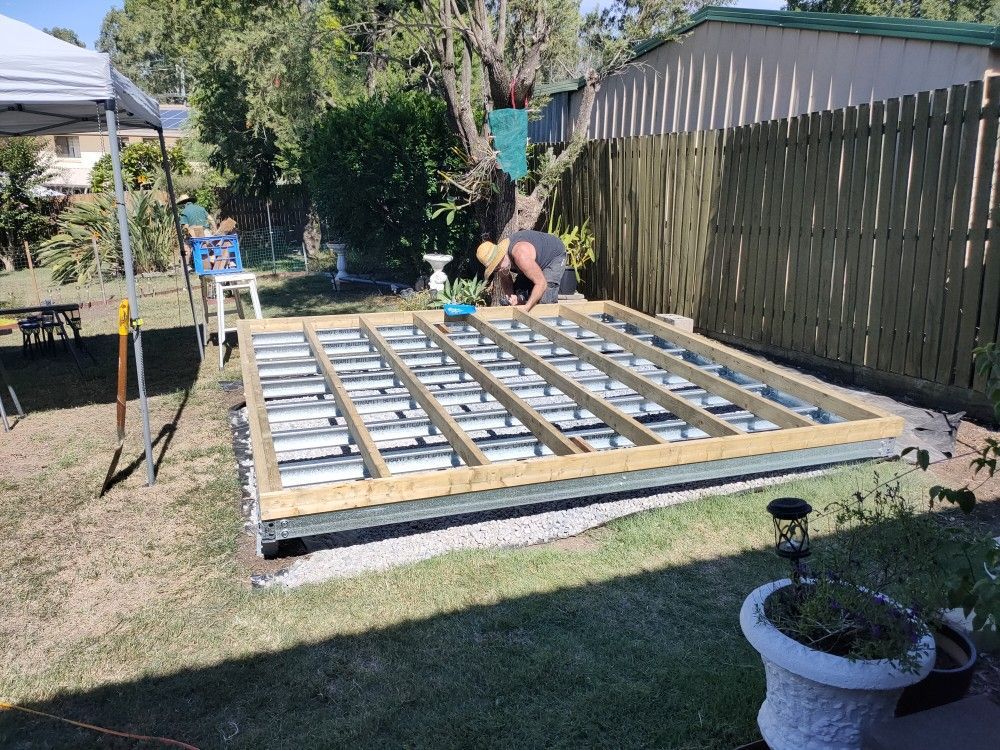
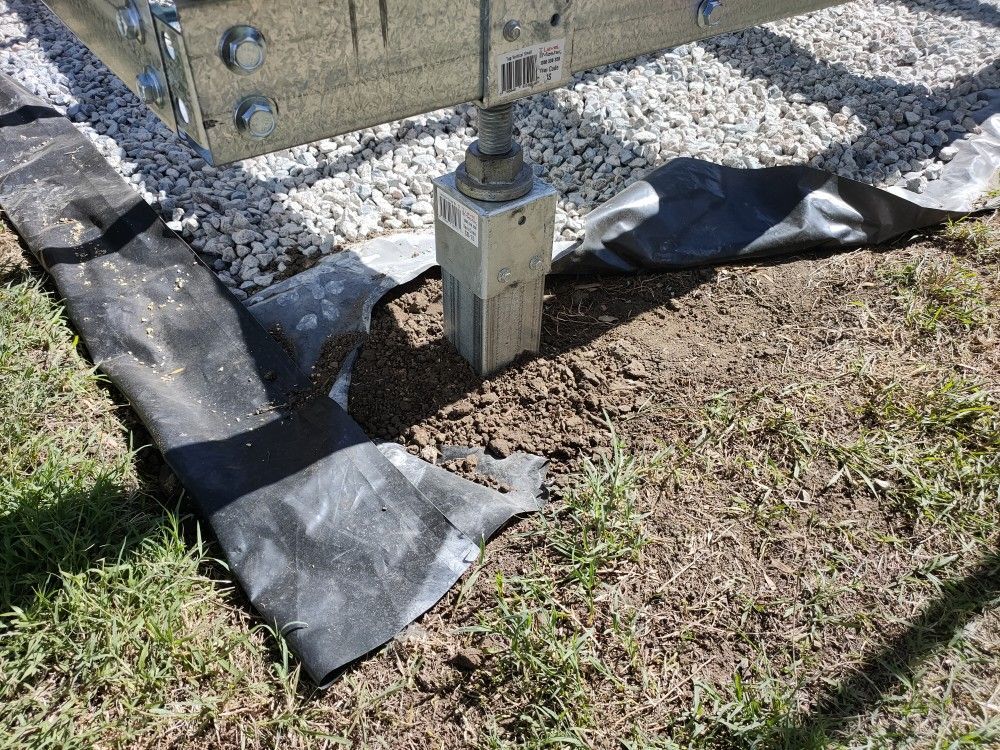
Ideally, before any cabin building or steel purlin foundation base installation, there needs to be some work done to avoid any vegetation growing back underneath the cabin.
The owner Jeff did a great job preparing the build site. Jeff removed the grass, leveled out the site, placed builder's plastic on the soil and topped this with a layer of white gravel - it looked great when we first arrived on site.
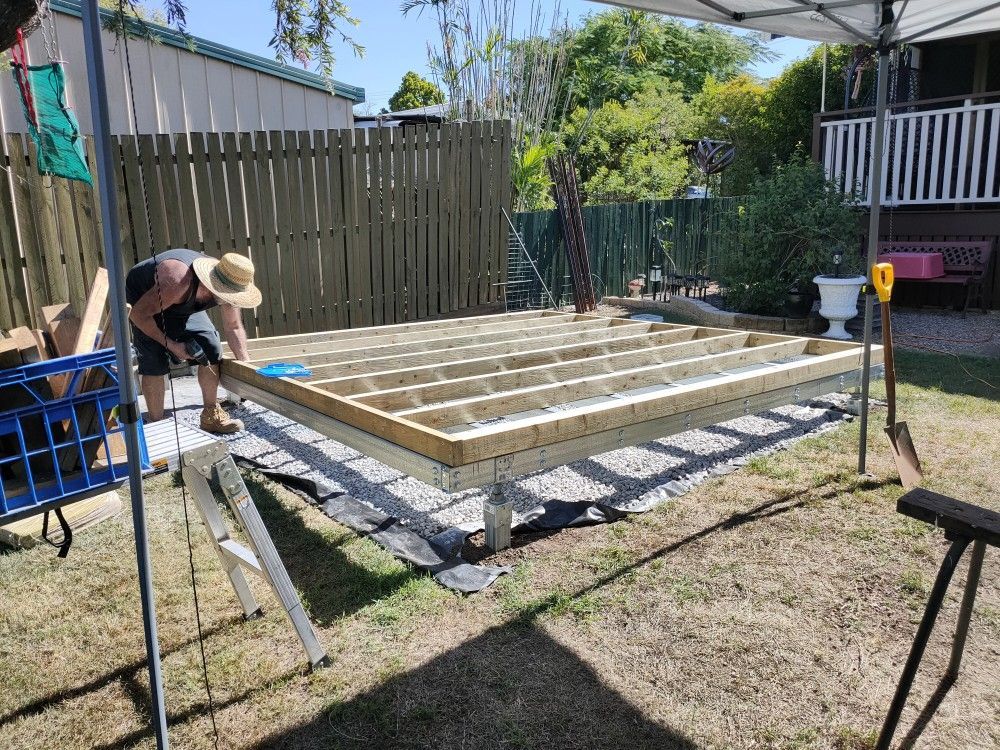
We installed both the steel purlin base and the treated pine base on day one of the build.
The detail image of the gal steel stump shows soil already being placed back on top of the concrete underneath. The plastic cut-out was then replaced and topped with white gravel.
Our preferred brand of power tools is MAKITA, as you would have guessed when looking at image 1.
Still learning and trying....
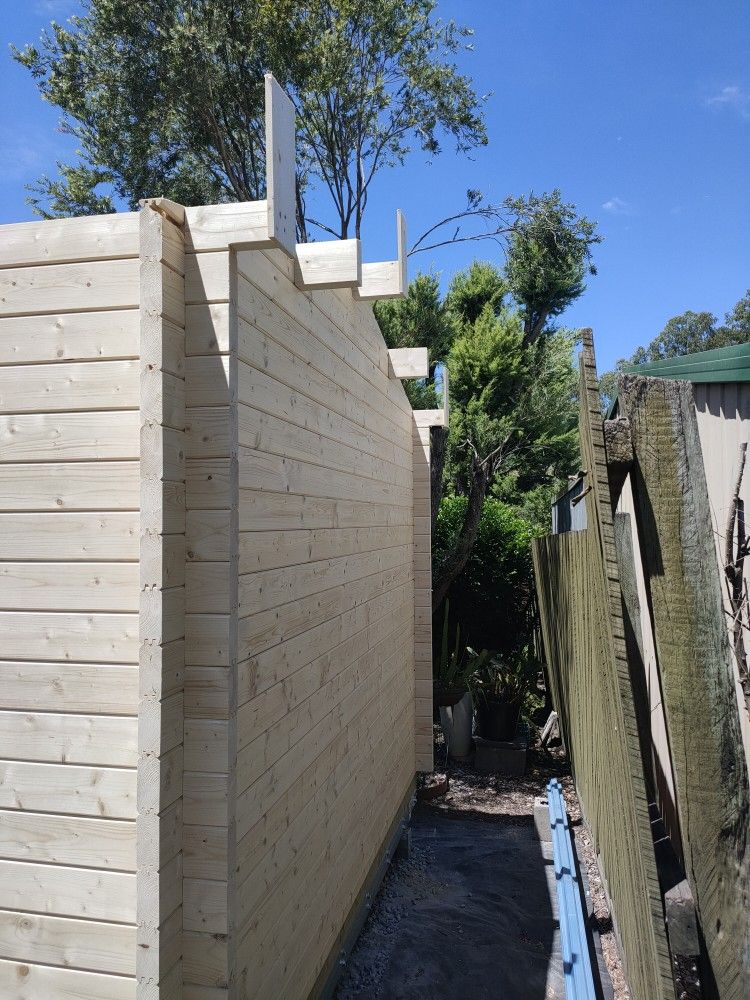
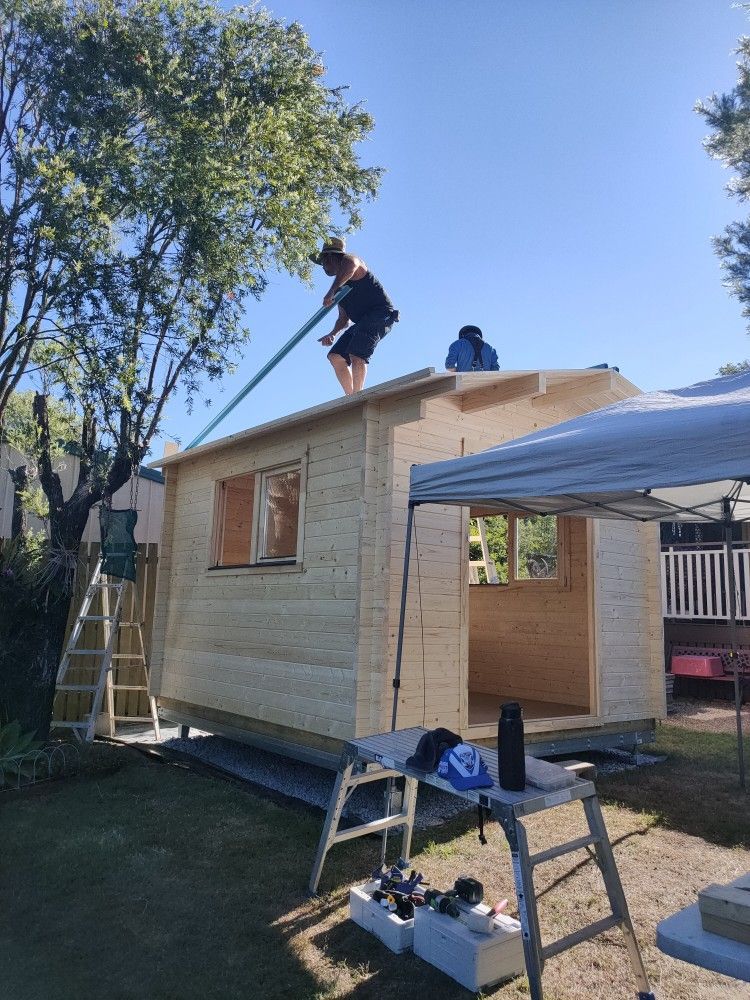
Once the roof beams have been installed, roof boards are next. When screwing these down, they can easily get out of alignment when installing one after the other.
To ensure that the first board is 100% squared up and aligned with the end of the roof boards, we recently started installing temporary vertical braces at the end of the roof beams (shown on the centre image on the right). These scrap pieces of timber not only guarantee that the first roof board is properly positioned, they will also do the same for the corrugated iron sheets.
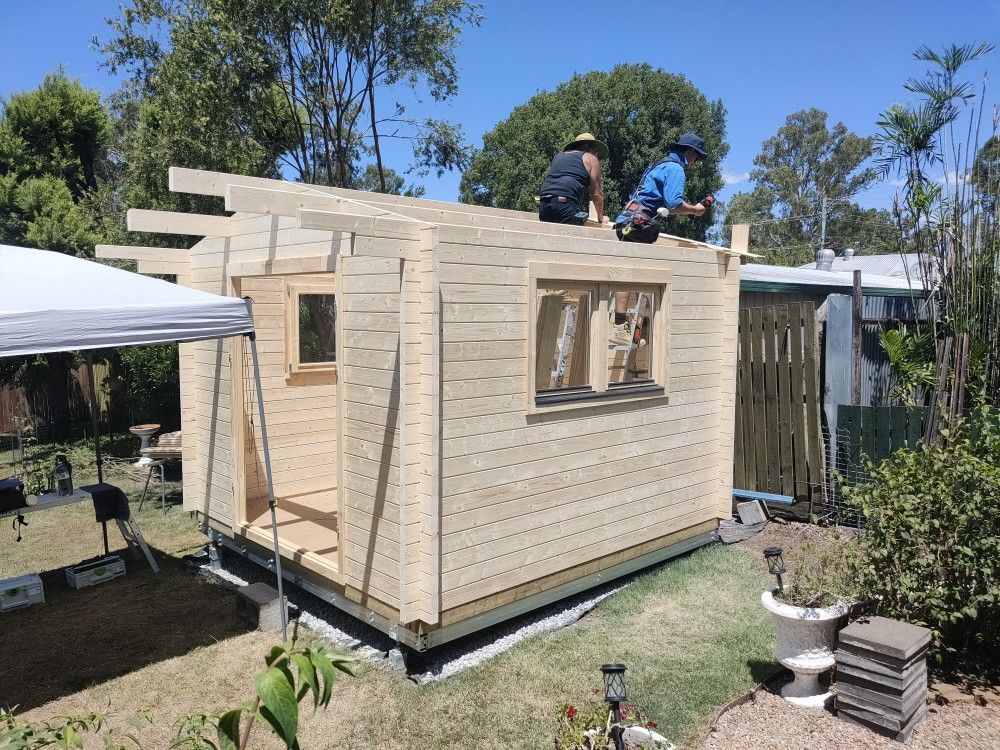
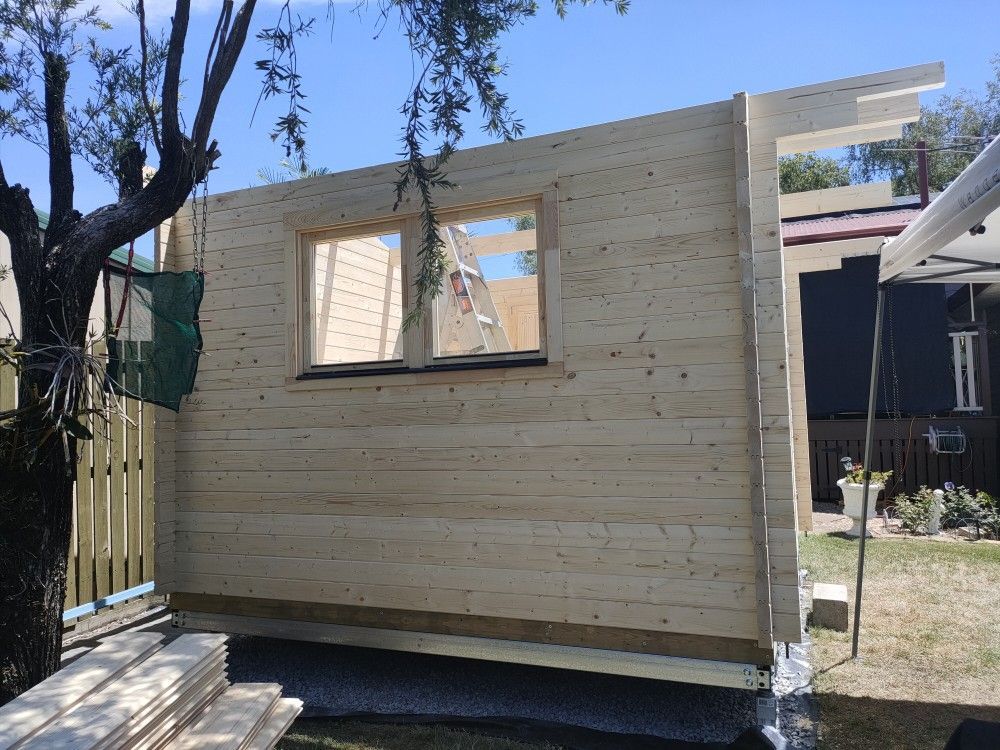
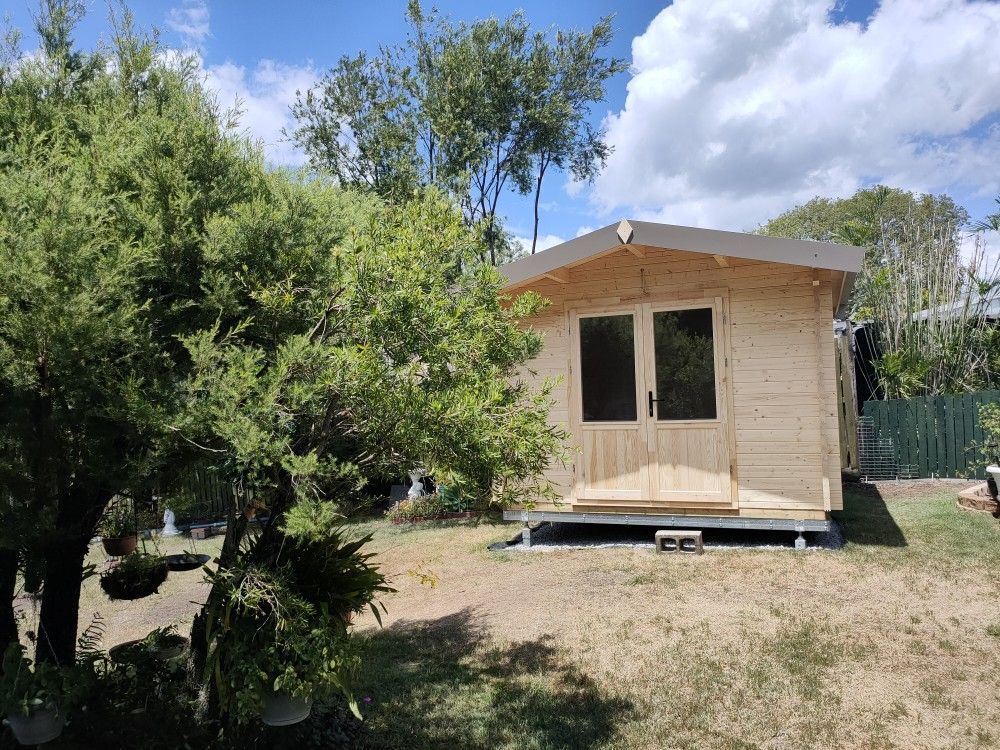
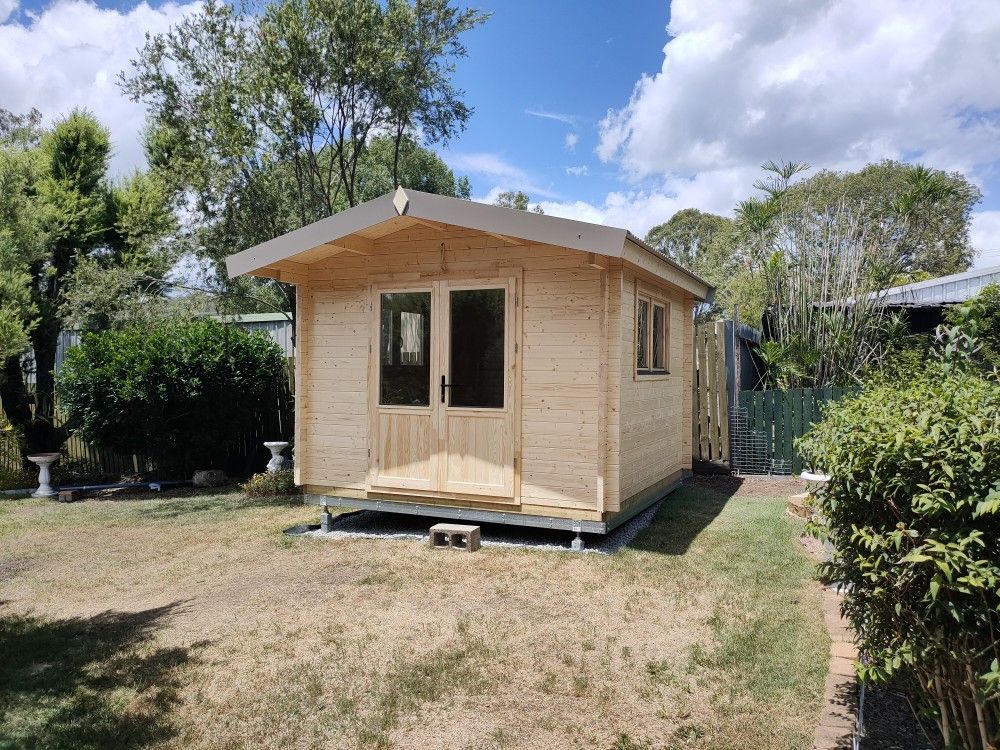
We also installed a second window with this cabin. One window is always included with the cabin, and can be placed in any of the three walls. A second window helps with cross-ventilation and lets more daylight into your cabin!

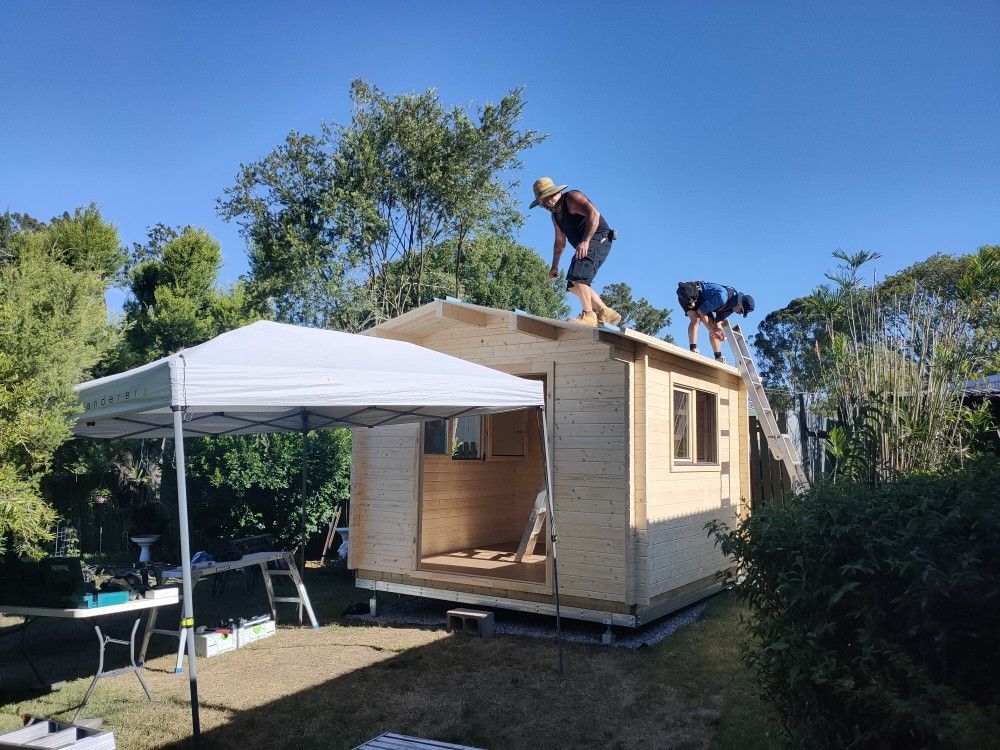
Roof Boards
All our cabins come in either 28mm or (like this SAM10 cabin) in 50mm wall thickness, with t&g roof boards in 18mm thickness. Thinner boards of 19 mm or even as thin as 14 mm are NOT suitable for any garden shed wall construction.
We opt screwing these boards down using galvanised outdoor screws of 45mm length, we do not use the chrome coated shiny nails often supplied with European made cabins. Our strong winds and tropical cyclones necessitate different construction methods than what is used overseas.
We also always use metal top hat battens, instead of timber battens. Metal battens are much stronger and provide total peace of mind during storms etc.
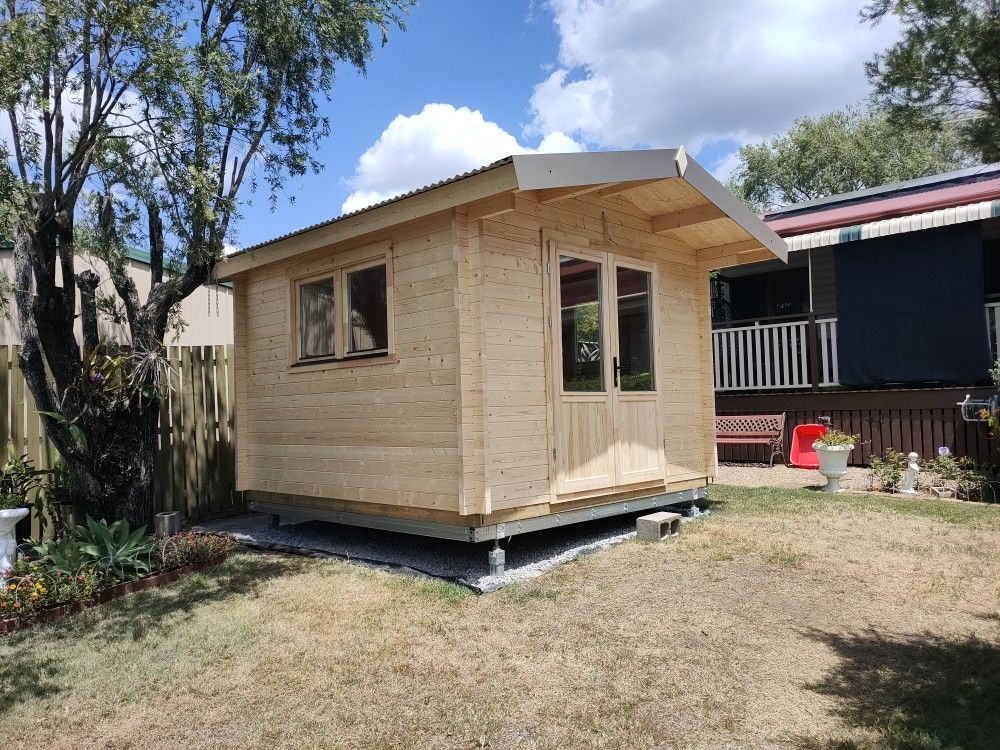
Done and Dusted
It is always very rewarding for our crew when everything comes together nicely.
Installing the very last bits on the last day of the install is the final exciting step towards handing over the keys to the proud new owner.
We managed to install the metal battens on a Saturday late afternoon, and decided to go back to site at 6am the next morning to avoid the worst of the heat, trying to install all roof sheets by lunchtime.
It took our experienced crew only just under 2 hours to install both the sheeting and the insulation! All other bits like the barge capping, the gable top diamond shaped timber pieces and finally the ridge capping followed closely.
We will soon be installing another cabin like this!
LIKE IT? SHARE IT!