Timber Garden Sheds Australia
September 2022
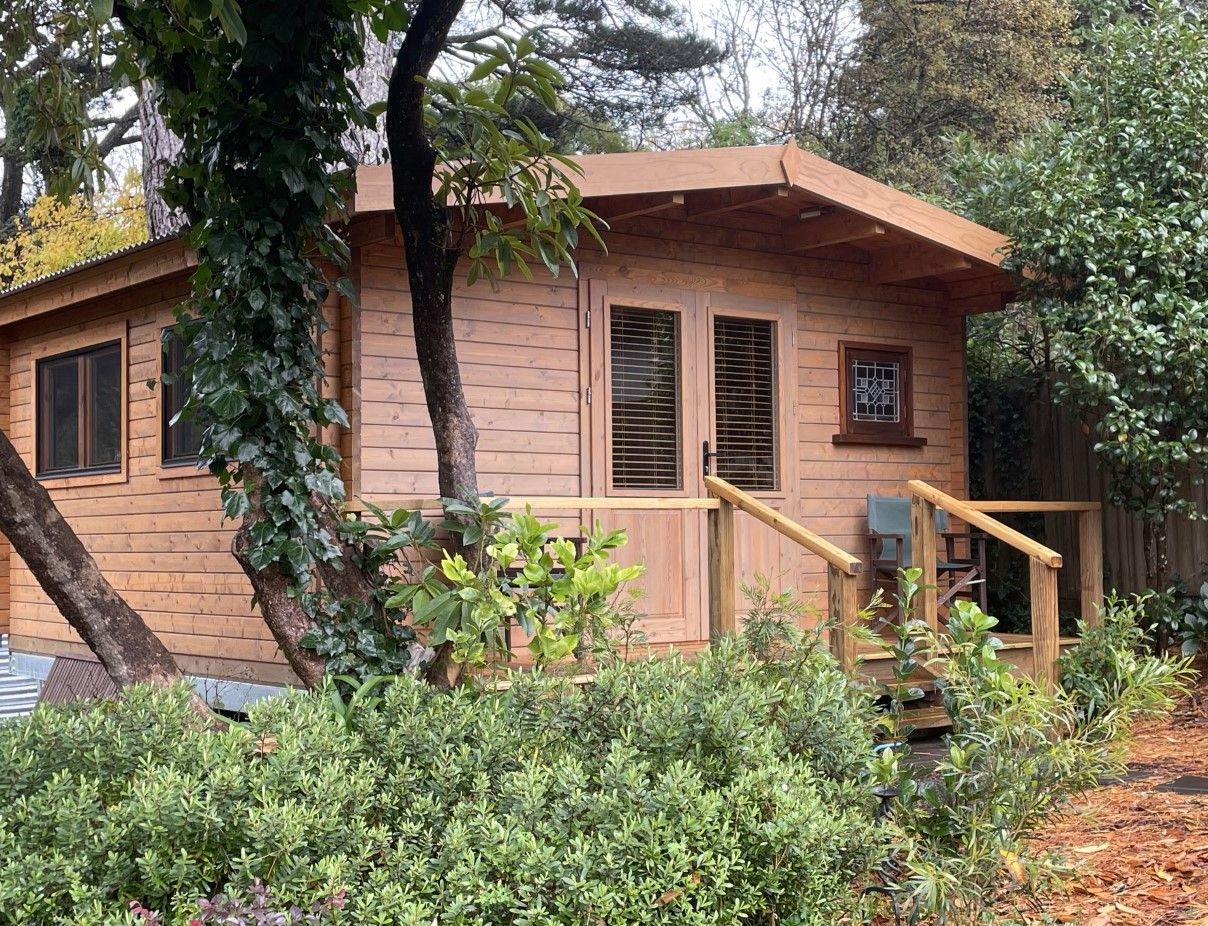
Kate and Tom live in one of Australia's colder climate zones. The "Blue Mountains" west of Sydney are well-known for the mountain beauty and rugged steep terrain, but are still located relatively close to the Sydney basin itself, with the Sydney CBD being only 100km away. The township of LEURA is just a short distance located from the slightly better known town of Katoomba, both located about 1000m above sea level.

GROUND PREPARATIONS:
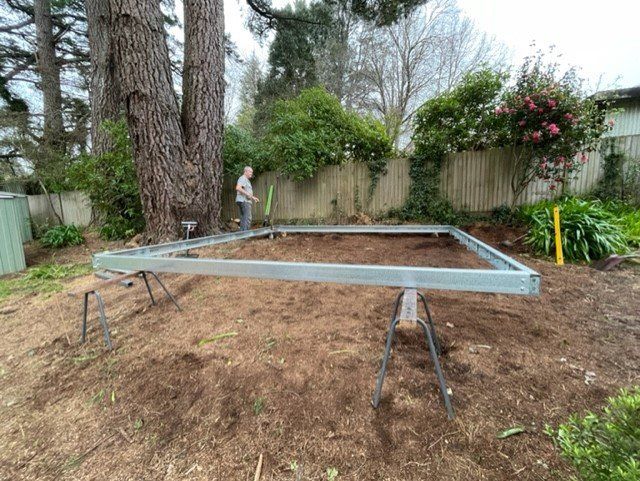
Vegetation Clearing / Steel Base
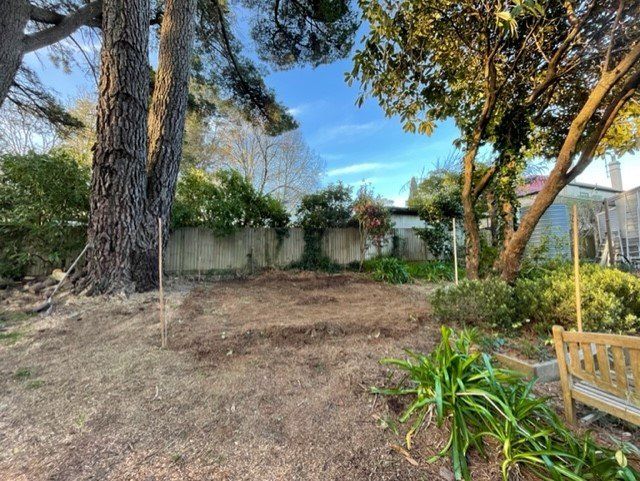
Tom did a great job clearing the site well before we arrived - after all the drive from our "home pad" was over 1000km! Large branches of the tree close by had recently been removed by an arborist, reducing the chances of any mishaps at some time in the future.
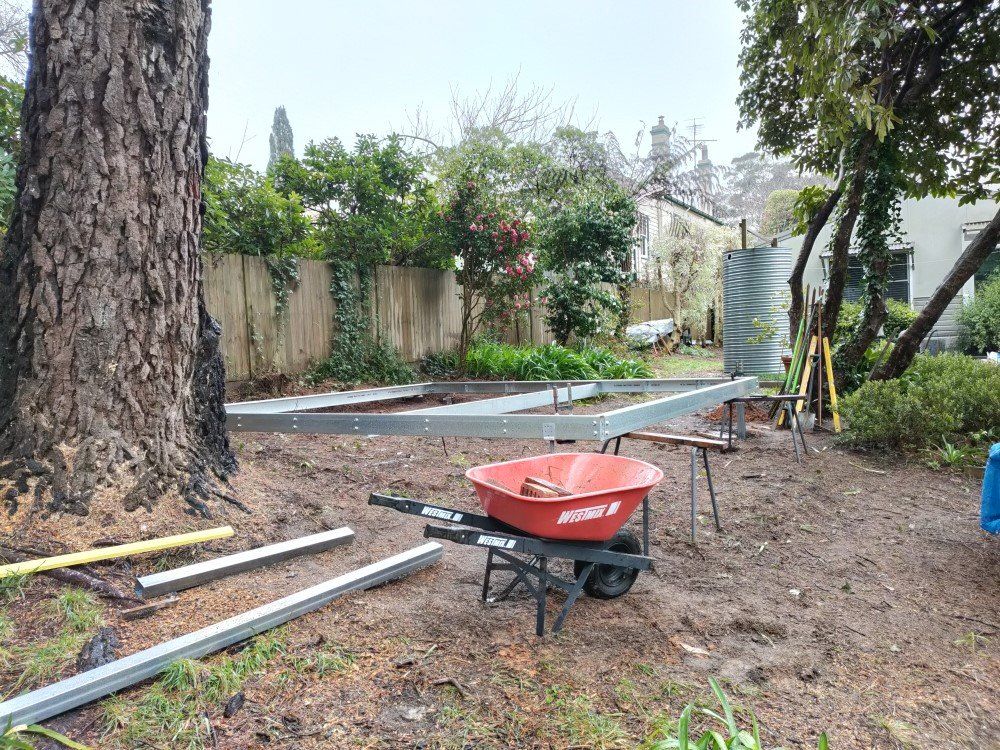
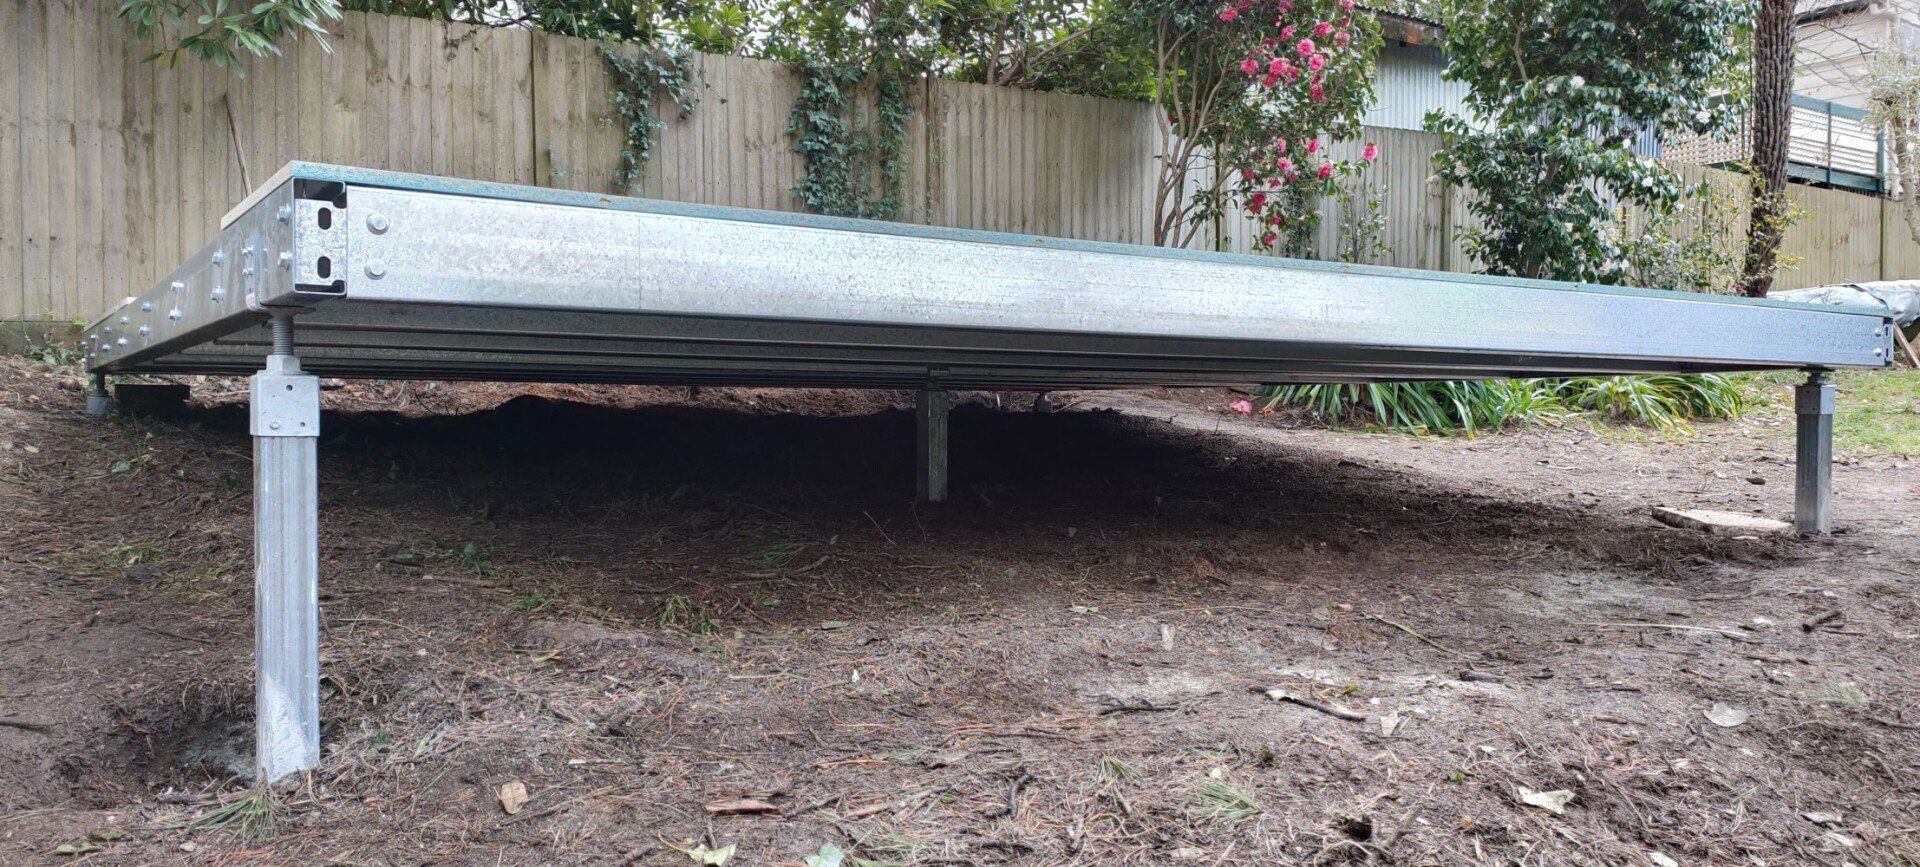
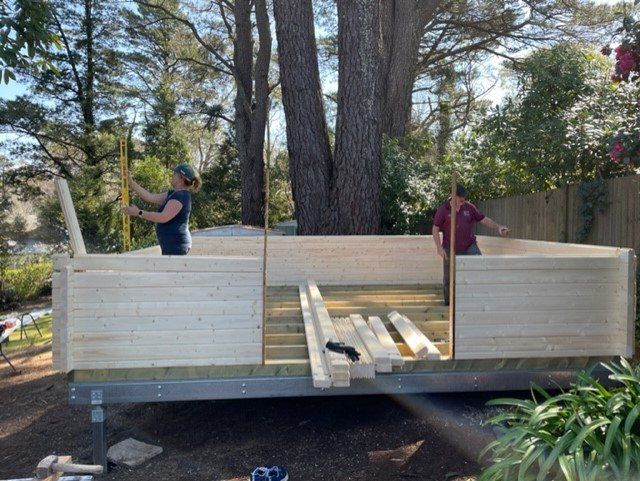
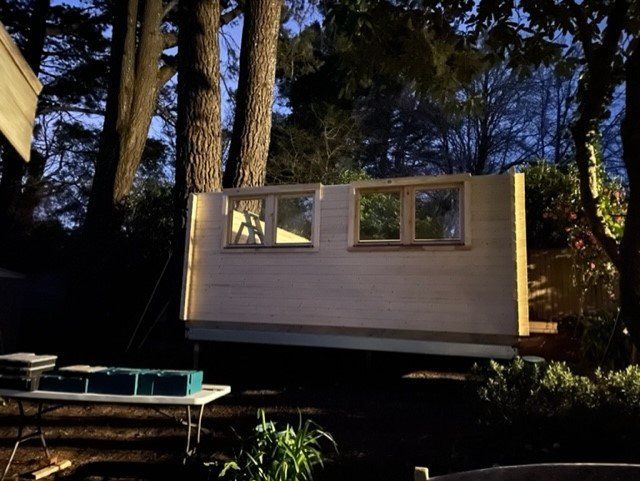
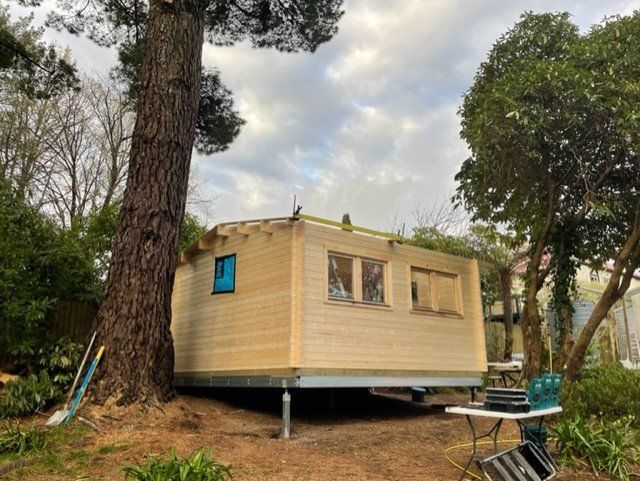
The excellent "ground work" done by Tom enabled us to start on the steel base straight away, assembling the outer frame also helps getting a much better feel for the size and the positioning of the cabin within the backyard.
Once the outer frame is roughly leveled and properly squared up post holes are dug and steel posts are set with rapid set concrete, using adjustable post shoes supplied by LEVELMASTER.com.au.
FOUNDATIONS:
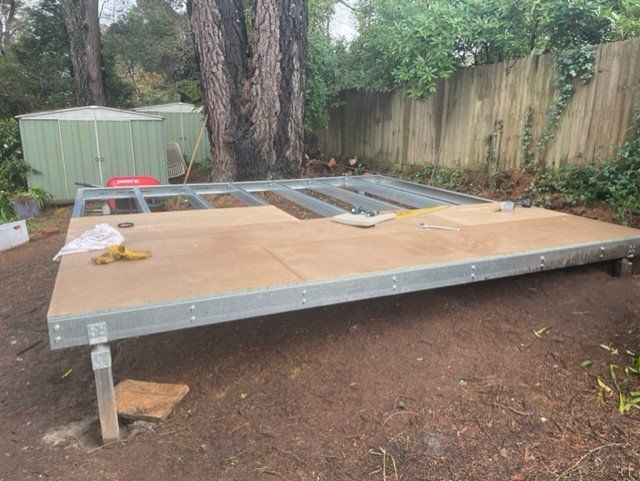
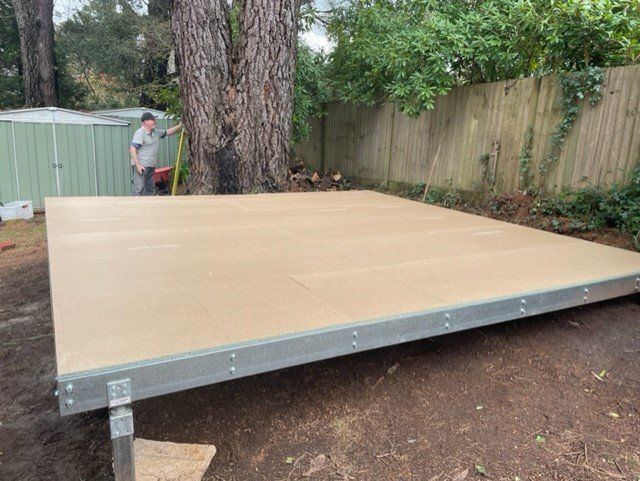
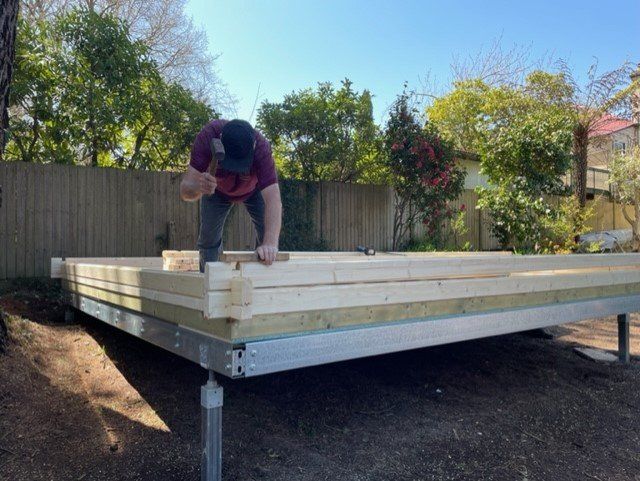
TERMIFLOOR - base layer
While the the most cost effective foundation is simply placing the treated pine base frame on top of road base and pavers we do strongly recommend to consider a steel base frame to lift the cabin off the ground which is not only ideal for sloped sites, but also provides better termite protection.
Due to the much colder climate in the Blue Mountains Tom requested an insulated floor for his cabin - no worries! The images on the right show the installation of the base layer of termite treated "TERMIFLOOR" particle board flooring . This was attached to the "C" purlins of the base frame via special self-drilling screws. Note the fifth post in the centre of the cabin!
FOUNDATIONS:
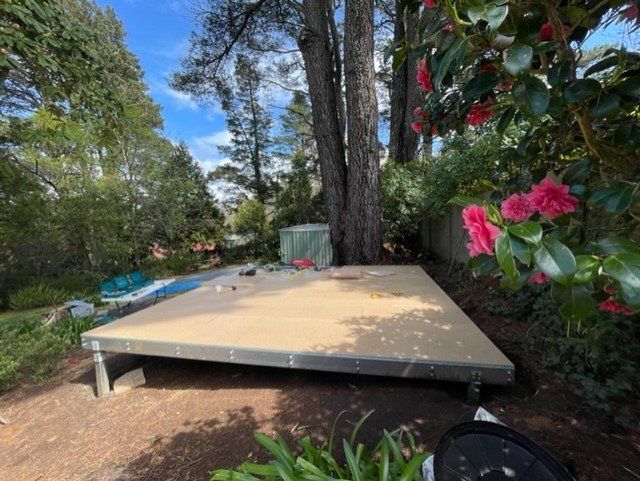
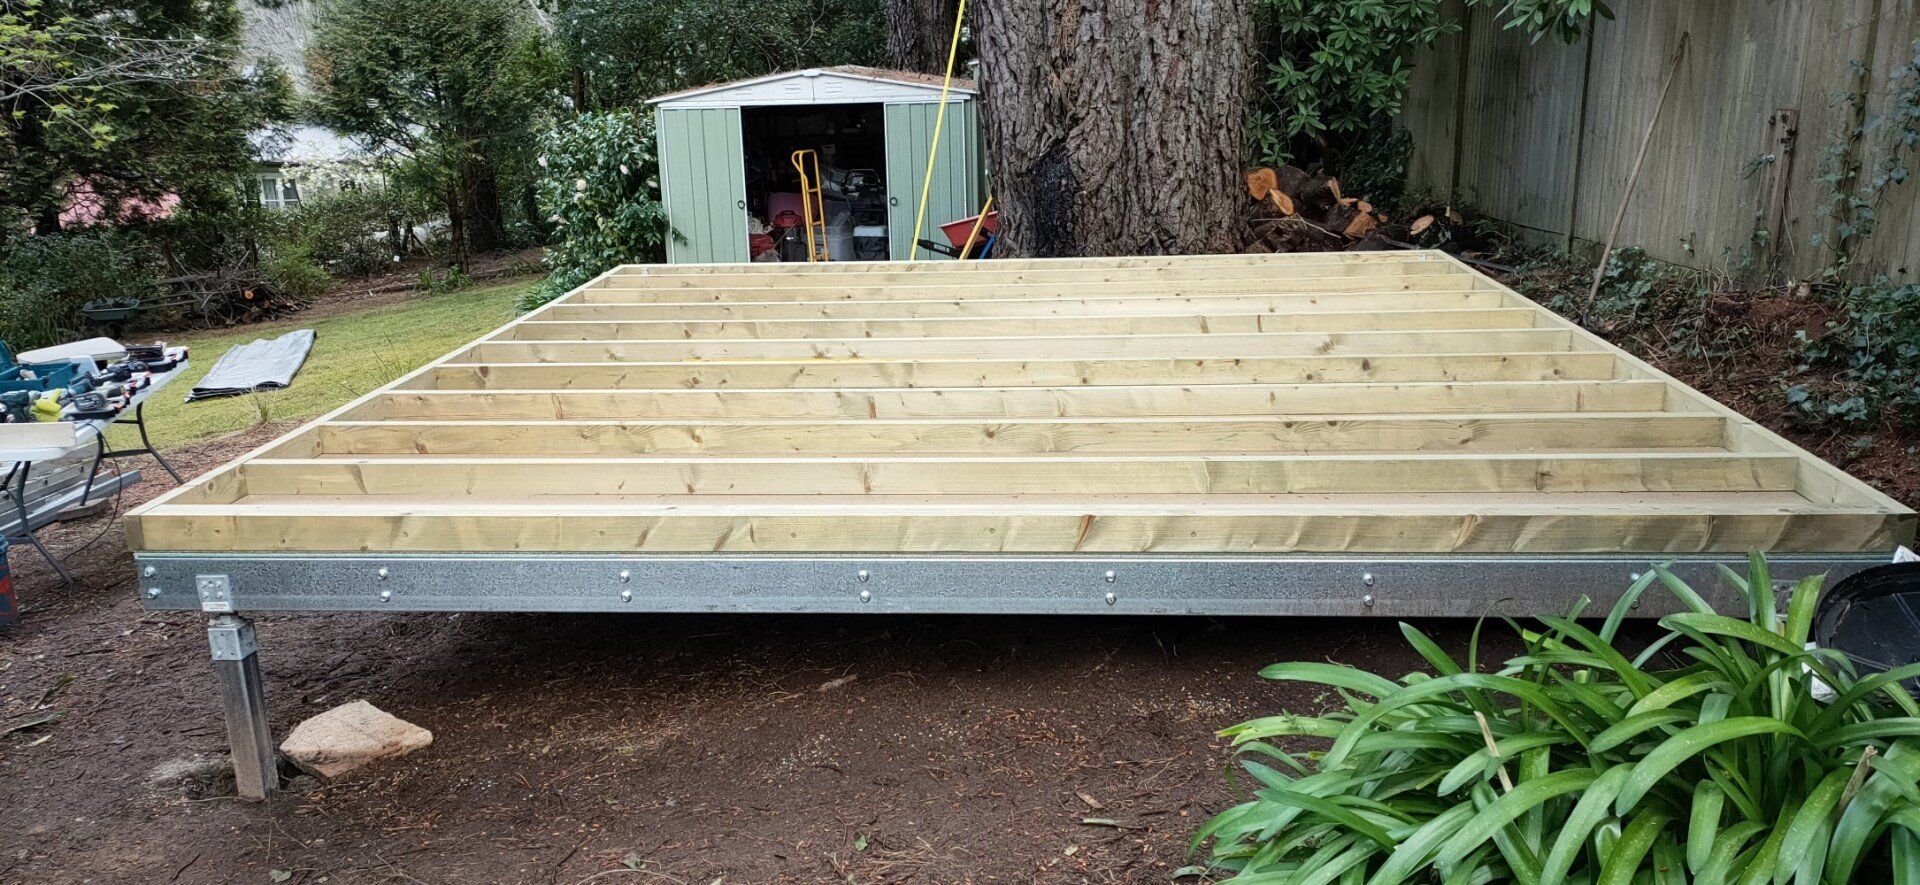
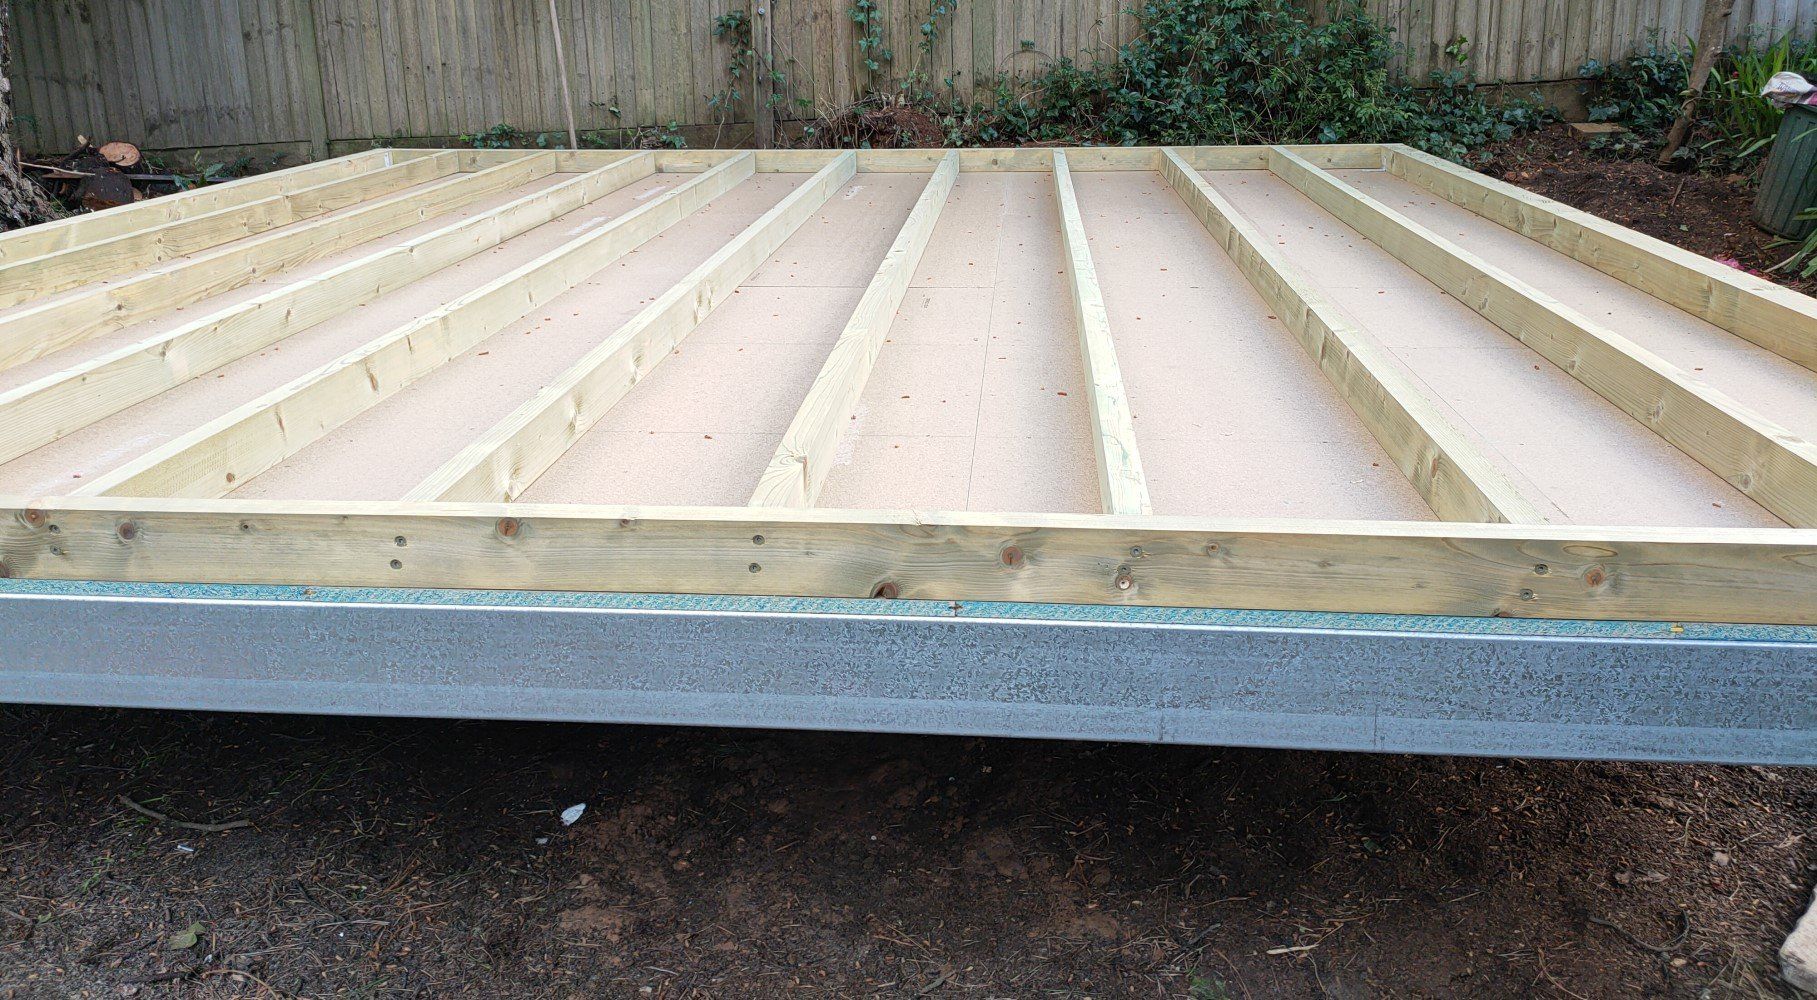
H2 Treated Pine Base Frame
To enable the installation of acoustic floor insulation bats, we created a 95mm gap between the two layers of particle board flooring by installing the treated pine base frame directly on top of the first layer of particle board flooring.
This gap was also used for running electrical leads
for power points, switches and data cables.
In part the bearers were affixed by screws inserted through the floorboards from UNDER the cabin - typical "spider man work" ! But certainly needed and worthwhile for structural integrity of the floor construction.
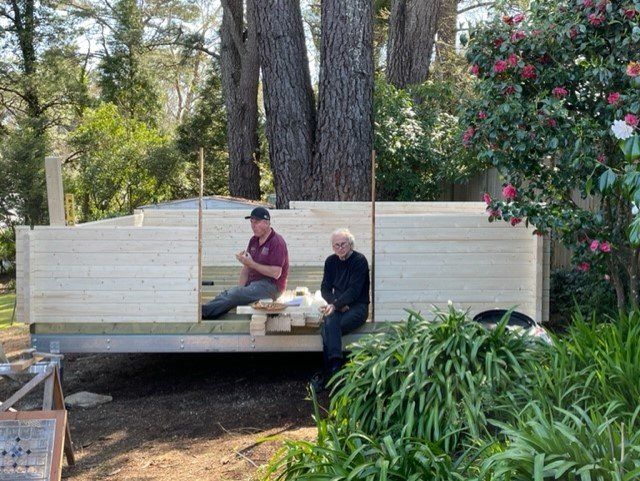
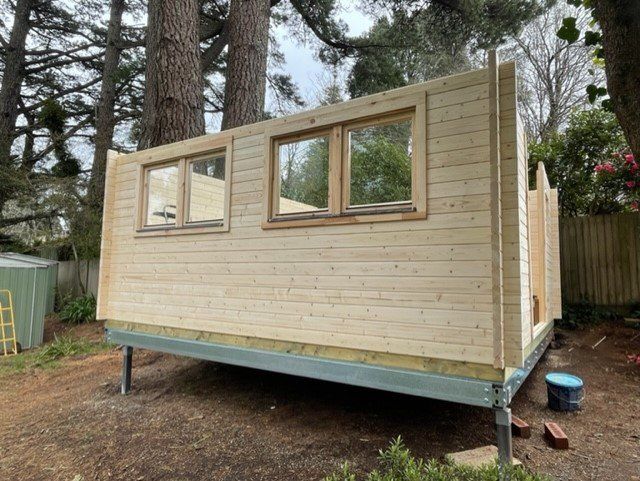
THE BUILD: Walls
The first row of logs MUST be securely fastened to the base frame, to guarantee structural strength in even the strongest of winds.
The following layers of logs can than simply inserted into their rebated log end points, in an offset fashion.
Logs are easier to settle in their correct position by using a mallet and a scrap piece of timber. Some logs are warped or twisted, and need a little patience to "convince" them to insert correctly.
We have not come across a single log that could not be correctly positioned.
The opening right hand of the double entry door is for one of the lead-lights.
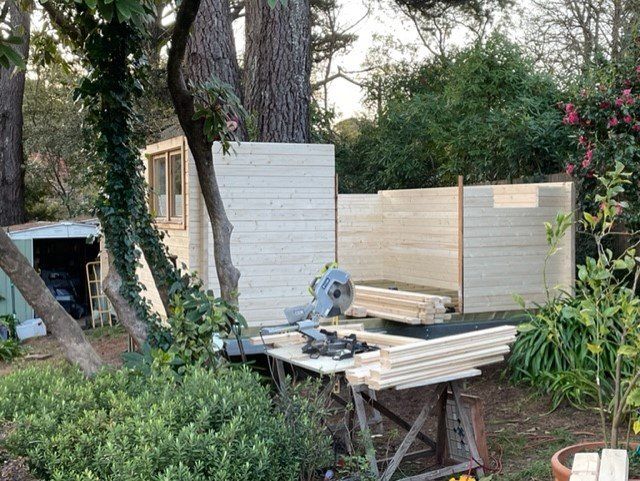
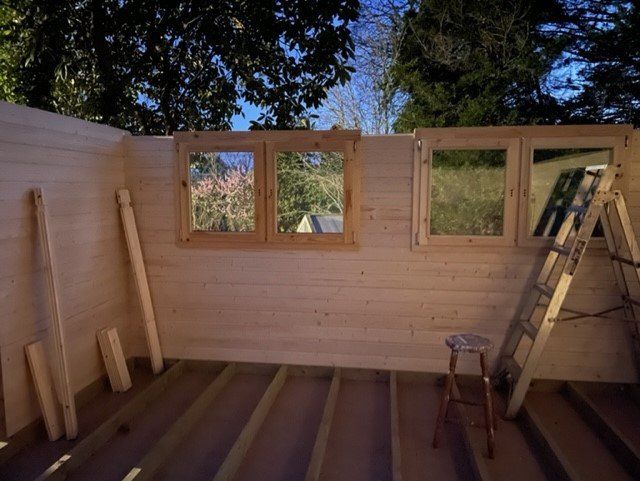
WINDOWS: Custom Configuration
Tom and Kate opted for the installation of an additional window (as well as adding two lead light windows!) on the left side wall of their new cabin. For this the logs supplied with the cabin needed to be cut to size, and the off cuts were used to create the wall logs between the two windows.
The height of the windows was also altered by moving a log that would normally sit underneath the window(s) to sit on top. This makes a height difference of about 110mm.

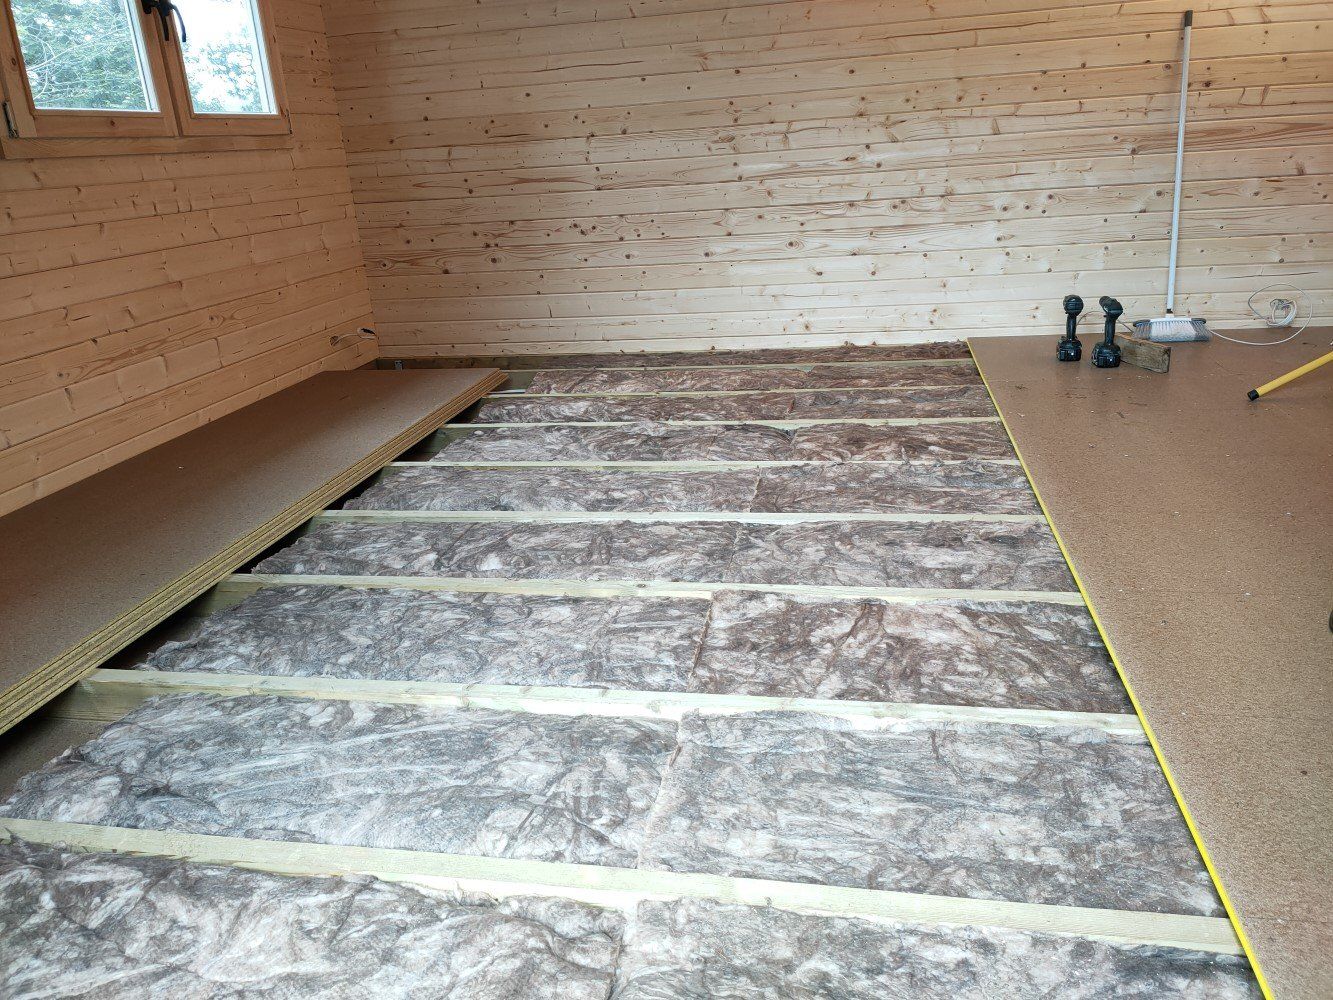
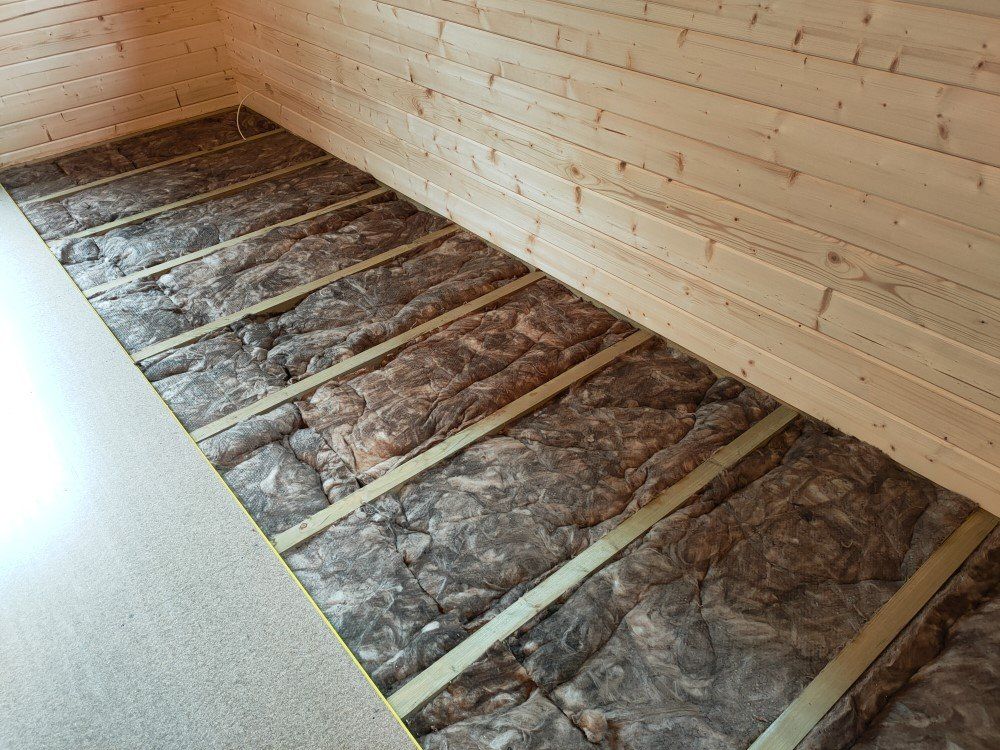
FLOOR INSULATION
For the installation of the acoustic floor insulation bats we used the 95mm gap that was created by installing two layers of particle board flooring with the treated pine base in between.
The bats need to be cut to size, as they are manufactured to fit Australian standard joist spacing, but this really is very straight forward using a sharp long snap-off blade utility knife.
We were very happy with the end result, as this construction method guaranteed a fully insulated cabin floor, certainly needed for the cold Blue Mountains winters!
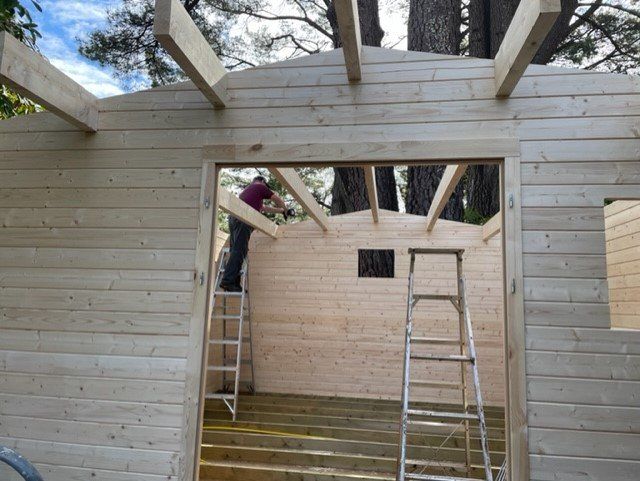
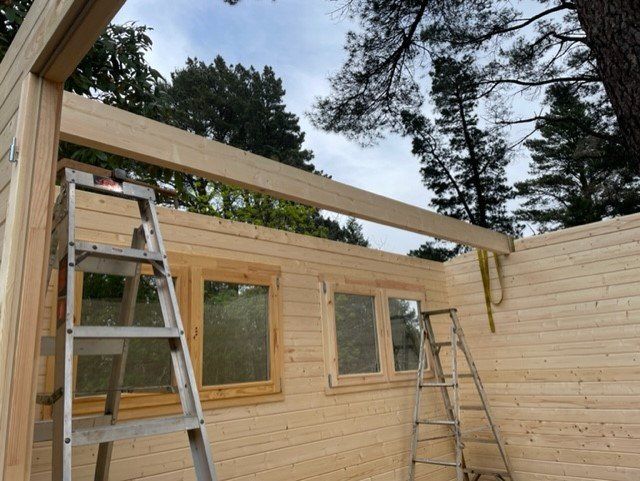
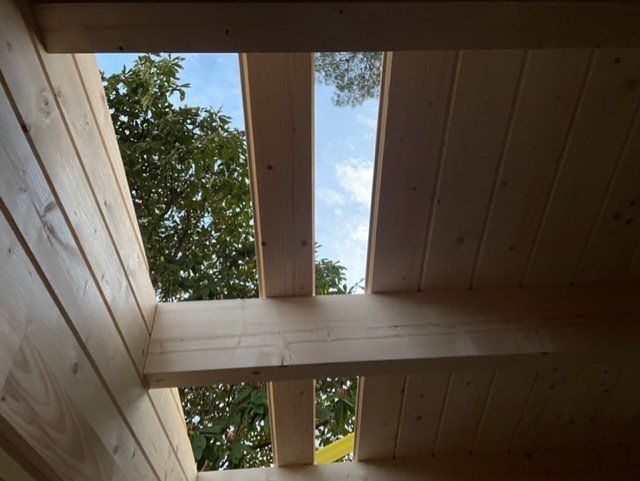
ROOF: Beams and Boards
Installing the roof beams and after that the tongue & groove roof boards is always a major step forward towards "drying in" your cabin.
The roof beams are the heaviest logs used for the construction of your cabin. Enlist the help of a second person to place these, as they lock the entire cabin structure together and need to be positioned 100% accurately.
The 19mm thick roof boards lock into each other very tightly, and prevent rain water to enter your cabin until the final metal roof installation.
The roof boards also provide a very solid surface that can be walked on without having to pay attention to the position of the roof beams underneath. This is GREAT for the installation of battens and the roof sheets, making that part of the cabin install so much safer and quicker.
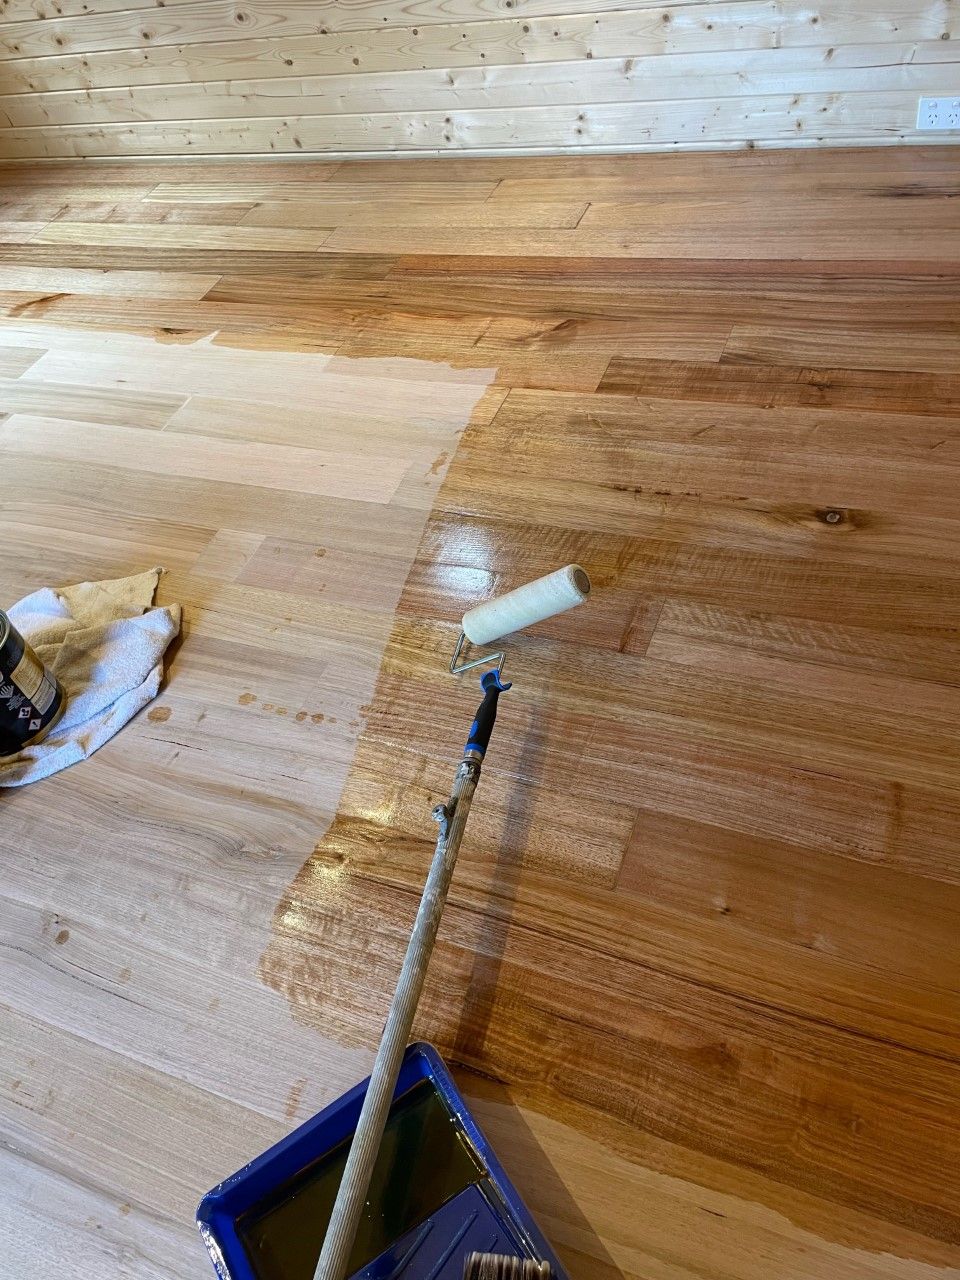
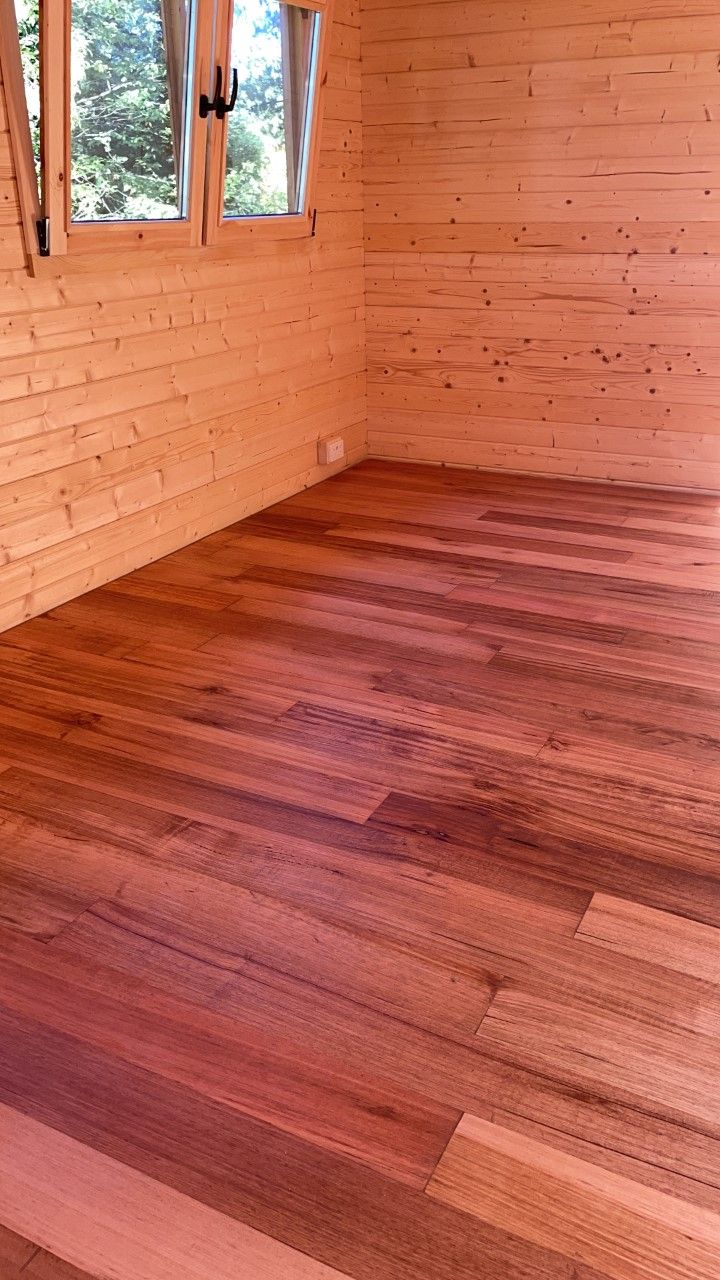

INTERNAL WORKS - Hardwood Floor
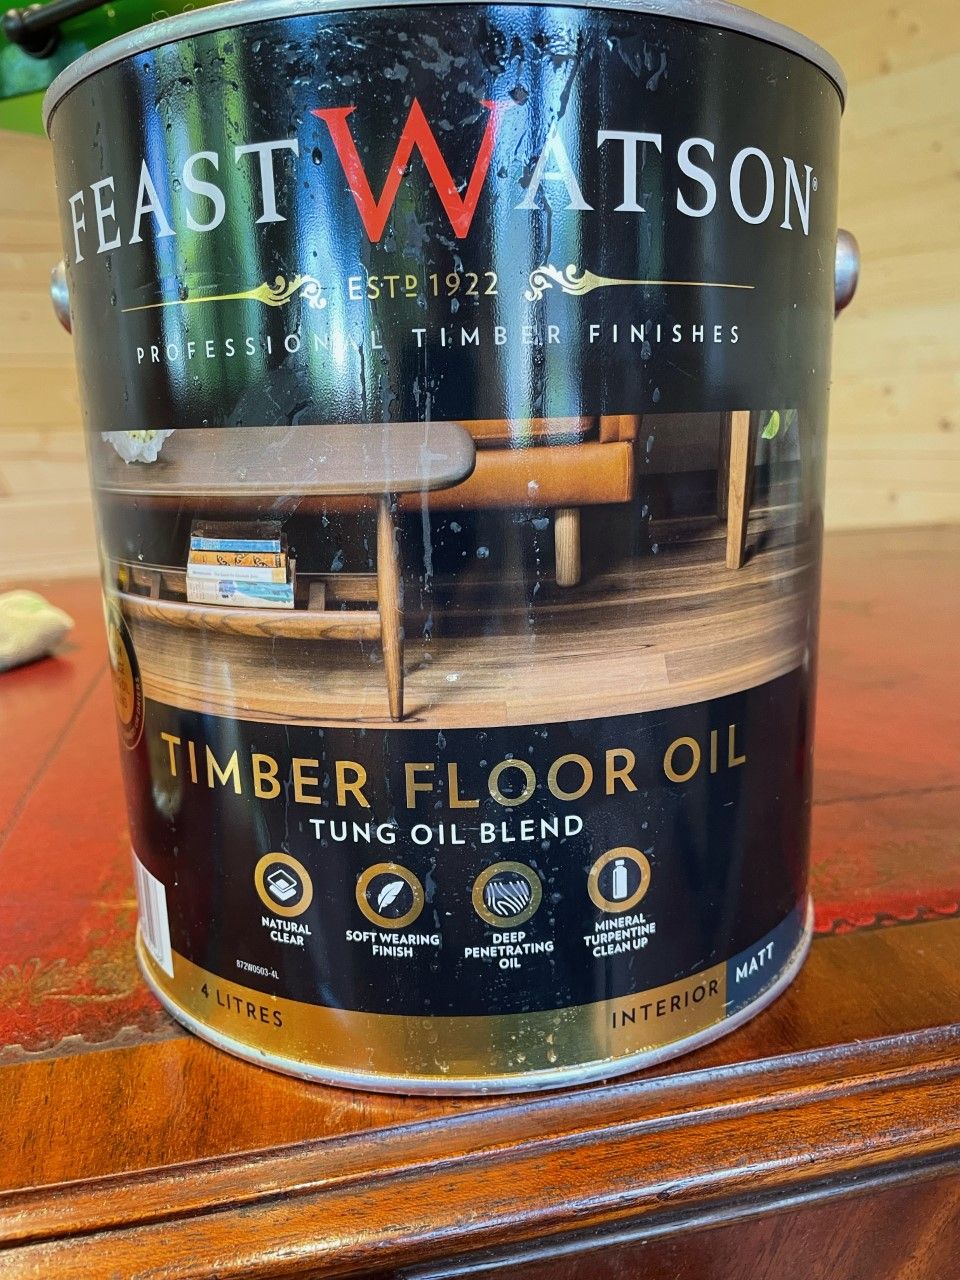
Installing particle board flooring first enabled Tom to use feature grade hardwood in random lengths. Light sanding leveled everything out nicely and after some research Tom decided to use "Feast Watson" Timber Floor Tung Oil Blend.
Oiling bare timber always works a treat, bringing out the natural beauty of the timber, as the oil absorbs at different rates depending on the density of the timber surface.
Two coats are needed, the second one can be applied after 24 hours of the first one.
There are numerous other timber coatings available, so you are spoiled for choice.
More updates as they come to hand!
LIKE IT? SHARE IT!