
Timber Garden Sheds Australia
December 2022 / January 2023
As is sometimes the case our DISPLAY CABIN at our site in Mullumbimby has recently been sold - it will go fully assembled to Tasmania in March 2023. The new proud owners Leanne and Tom kindly agreed to delay the delivery by a few weeks to enable us to build a new display log cabin. We decided to build one of our new 20sqm models called OSCAR20. The images below show how far we got - before we got rain interrupted on the 28th of December.


FOUNDATIONS: Post Hole Digging
Our display site near Mullumbimby is remote, picturesque and very peaceful. We started with the luxury of a relatively level area that was previously used for bulk materials storage. The site features old style concrete blocks as a retainer wall, as well as a thick layer of crusher dust making the leveling and positioning of the cabin very easy.
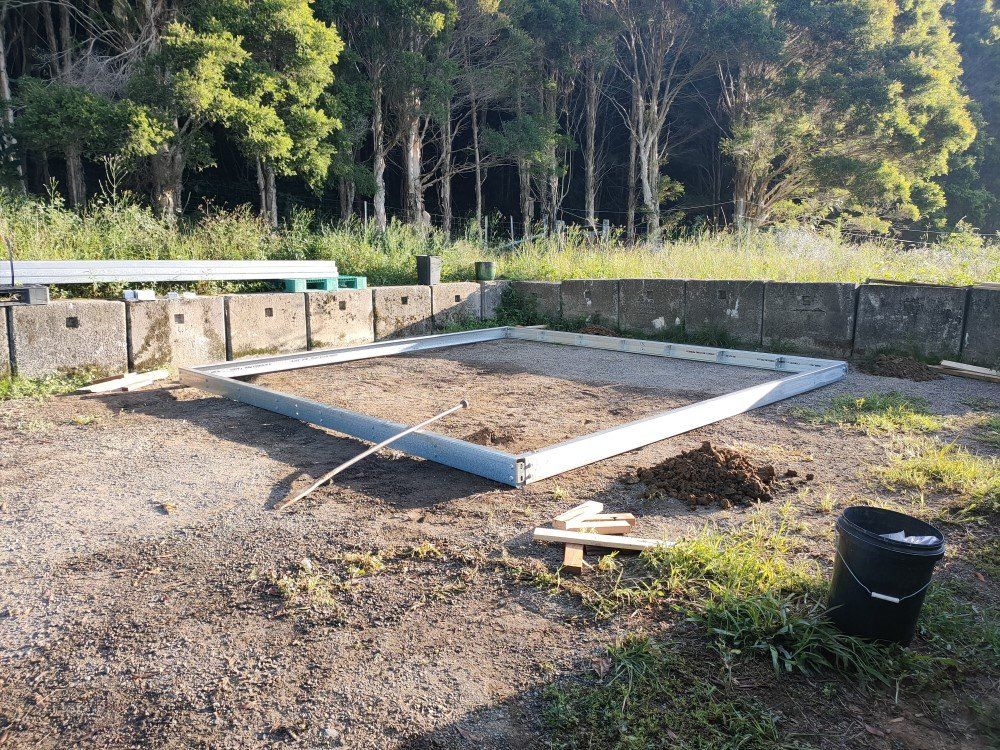
When installing a steel "C" purlin base frame it is best to initially work with the outer frame only. This allows for easy lifting of the frame while working on squaring the base up, as well as getting the base roughly leveled. Once we had the exact position of the 4 outer post holes marked, we moved the base frame away to commence a "little digging" - using just a metal fencing bar and a clam shell digger.
FOUNDATIONS: Steel base
The latest weather break enabled us to finish the foundations - again note the fifth post in the centre of the cabin! The OSCAR 20 is just under 20sqm, with side walls measuring 4.3m. This size cabin does need some sort of post or support in the middle, to avoid a "bouncing" effect. We always use adjustable posts, noting that in this case the centre one will be close to impossible to get to - so any fine adjustments that might be needed at some time in the future needs to work off the centre post.
The treated pine base frame comes with your cabin, and fits neatly on top of the steel frame, extending about 5mm past the steel frame to allow rain water to run off the sides.
The log walls will also extend the base frame by another 5mm


ELECTRICAL WORKS
All electrical work MUST ALWAYS be carried out be a licensed electrician!
Electrical leads should be run before the floor boards are installed, while access to the base frame is easy. As some of the leads run on the metal "C" purlins the wiring must be placed inside plastic conduit. This will also prevent UV degradation of the cable sheathing and rats chewing on the cables.
The expenses associated with taking this precaution are totally negligible in comparison to the potential costs of trying to remedy faulty wiring later down the track.
Leads can easily be run through the center of the wall logs at your desired positions.
We are currently investigating the possibility of having these holes pre-drilled by our factory...
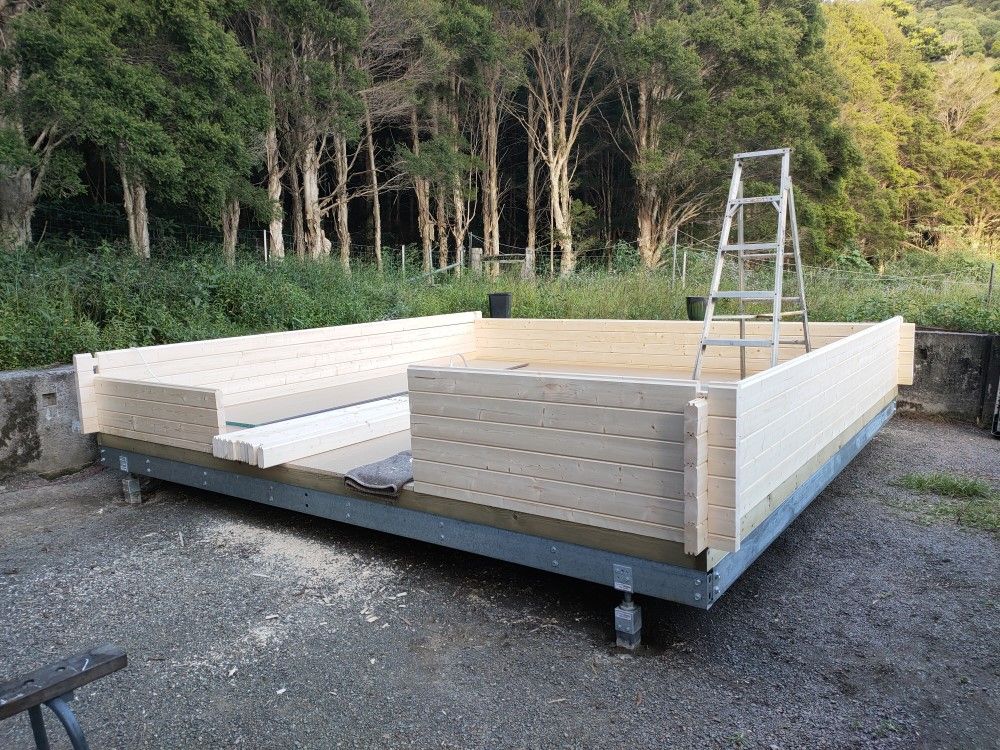
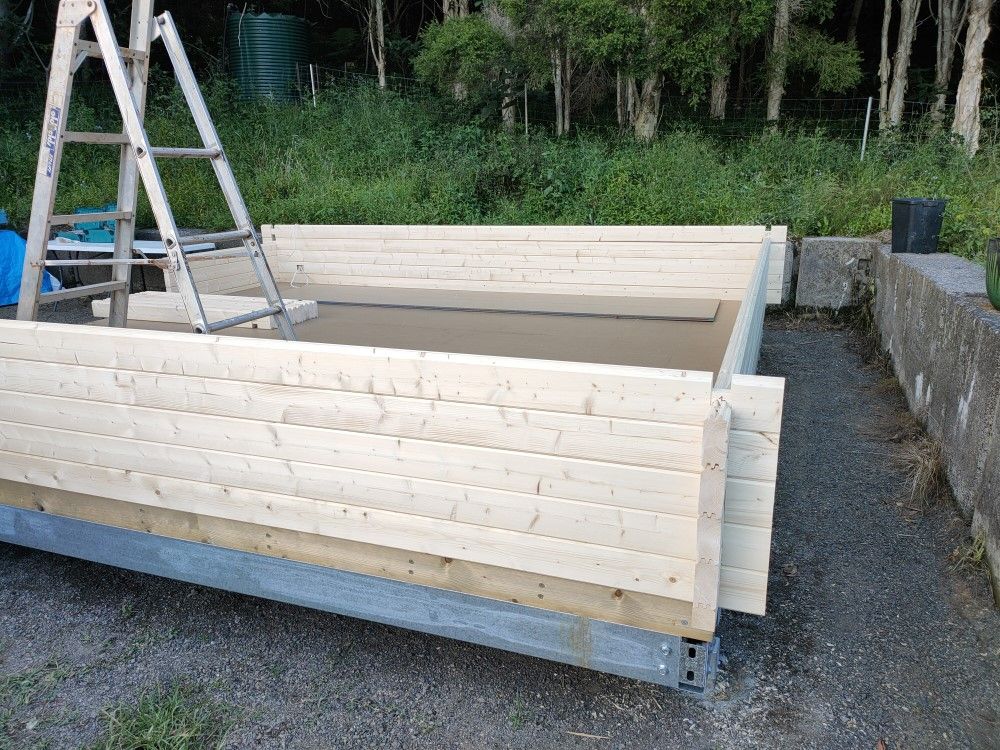
THE WALLS ARE GOING UP...
A sunny and overcast not too hot Saturday afternoon enabled us to install the first few rows of logs. The first row always take s a little longer, as it MUST be fully squared up, as well as needing to be screwed into the treated pine base frame. Use 100mm batten screws for the half logs and 150mm batten screws for the full logs, pre-drilling with a 6mm drill is recommended.
All logs need to be firmly tapped into place, using a mallet and a scrap piece of wood to avoid damaging the tongue&groove logs. Being a naturally grown construction material, the logs can sometimes be a little twisted, and will need a bit of patience when placing them correctly.


MAKING PROGRESS - Oiling
The importance of protecting your new log cabin against the elements can not be mentioned often enough!
It is imperative that the first coat of oil or paint is applied as soon as possible after construction is finished. To preserve the natural look of the timber we recommend CUTEK "Wood Preservative" with a stain of your choice. The difference the first coat makes to the appearance of the timber is obvious.
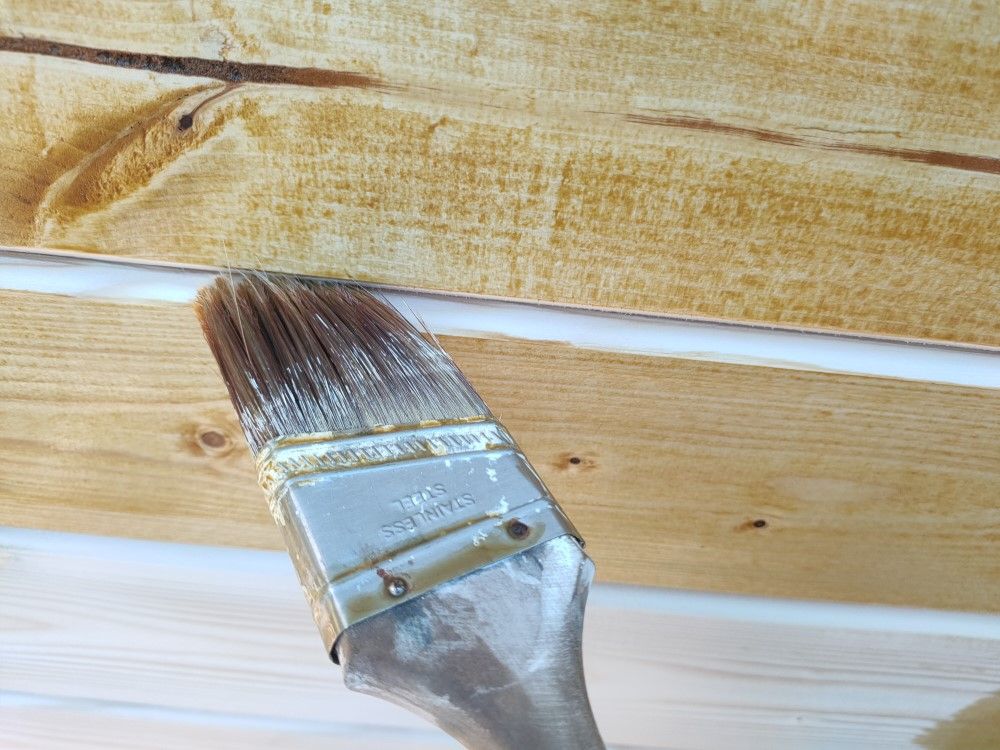
Application is easy - we use a UNIPRO "Little Ripper" paint roller with a microfibre roller, for both the flat areas and, on a tilt, for the grooves. Once the grooves have been covered with oil, we use a standard paint brush to work more oil into the grooves, making sure that ALL exposed timber is fully covered. A second coat is needed within a few weeks of the first one.
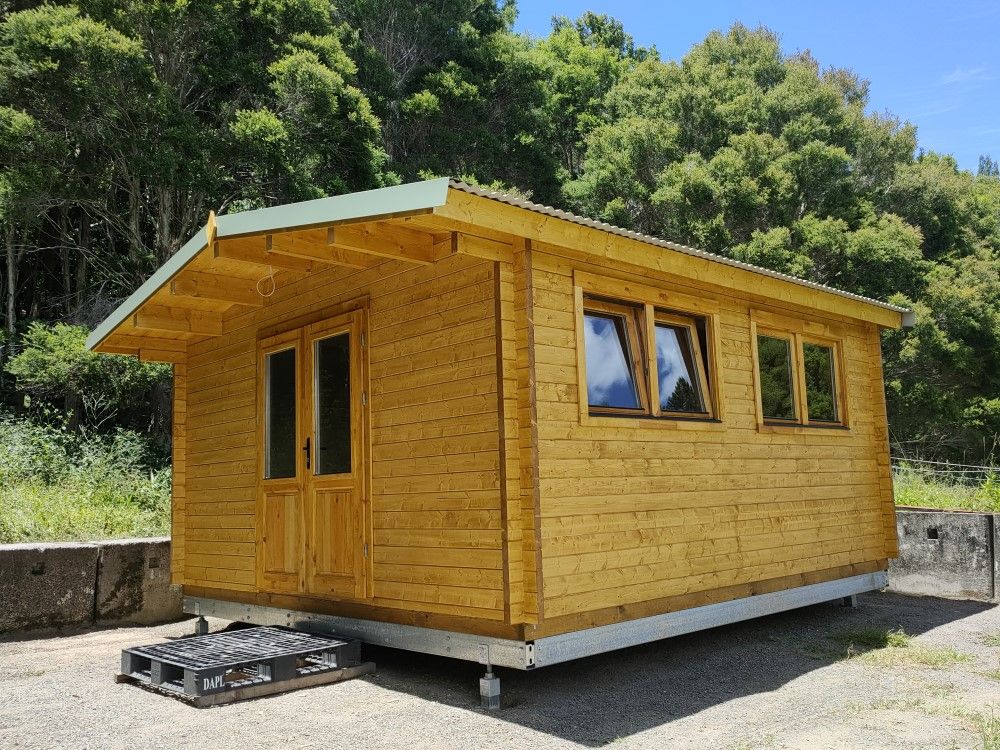
ALL DONE! Well - nearly....
The cabin is "Dried In"! Roof completed 100%, a good feeling as the next lot of rain can no longer cause any issues.
The cabin also received one lot of timber oil all round.
We love the now more modern look of the glass panes (double glazed of course, and with "Tilt'n'turn" function) without the "French" style glazing bars. Taking these out did not only make the cabin look more up-to-date, it also makes painting or oiling much easier, plus lets more light in and lets you look out easier.
Now we are waiting for the sparky to hook everything up, and some spare time to install entry steps, vinyl plank flooring and skirting boards, some landscaping, etc.
We are more than happy to show you this new cabin any time it suits you - just get in touch to make sure we are on site!


Internal Fit Out - Shower
Fitting a fully functional bathroom into a 20sqm total cabin space was a but of a challenge, but also a bit if fun! Pretty much exactly a quarter of the available space was allocated each to the bathroom, the kitchen, and for sleeping and living.
It is NOT possible to glue tiles directly on to the log walls EVER, as these expand and shrink with the seasonally differing air moisture levels. A simple timber frame was installed which also provided the gap needed to run the pipes.
The frame was then lined with compressed cement sheeting and a waterproofing membrane was applied (the blue stuff on the walls!).
Note also that we are also a big fan of the ATR Tile Leveling System, easy to use, takes away close to all hassles normally encountered when trying to avoid "lippage" in tiles, and makes your tiling job infinitely easier.


Internal Fit Out - Vanity / Toliet
We ended up with a little over 1m gap between the shower wall we installed and the rear right corner of the cabin, just enough to neatly fit in a 1m vanity.
The images on the right show just the main objects, obviously a few more bits need to be added (towel rails, mirror, shelves, robe hooks, soap holder etc).
We opted for a more modern and functional bathroom look rather then a "country style" that would also have worked well within a log cabin bathroom.


INTERNAL FIT OUT - Kitchen
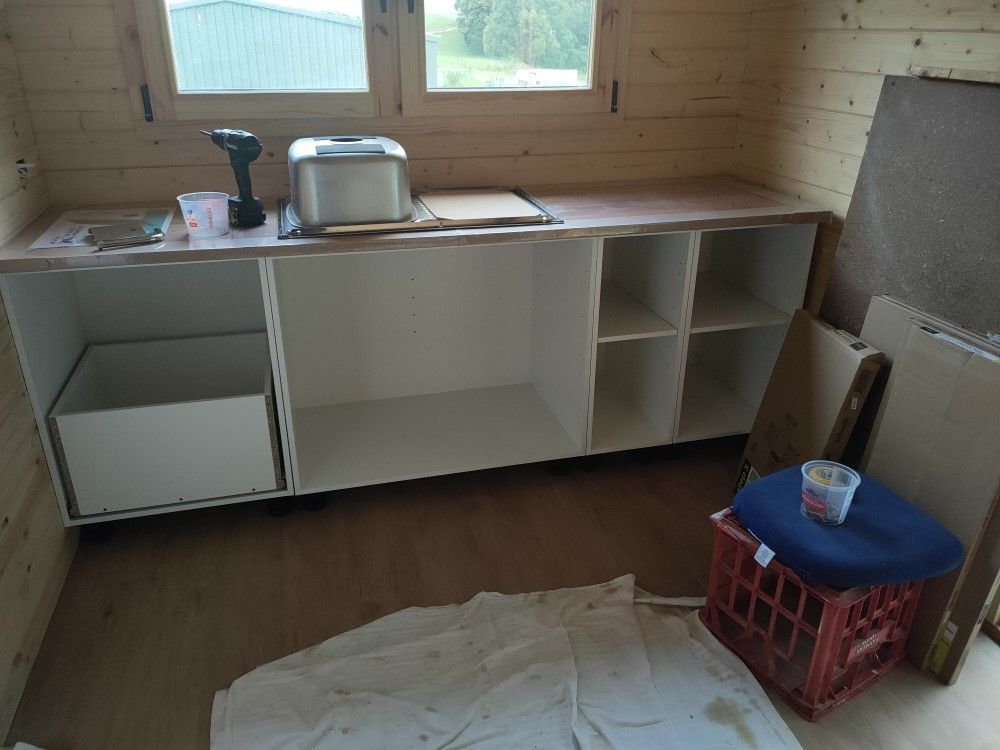
Restricted spaces call for careful planning when it comes to creating a functional kitchen. Well, more like a kitchenette, really..
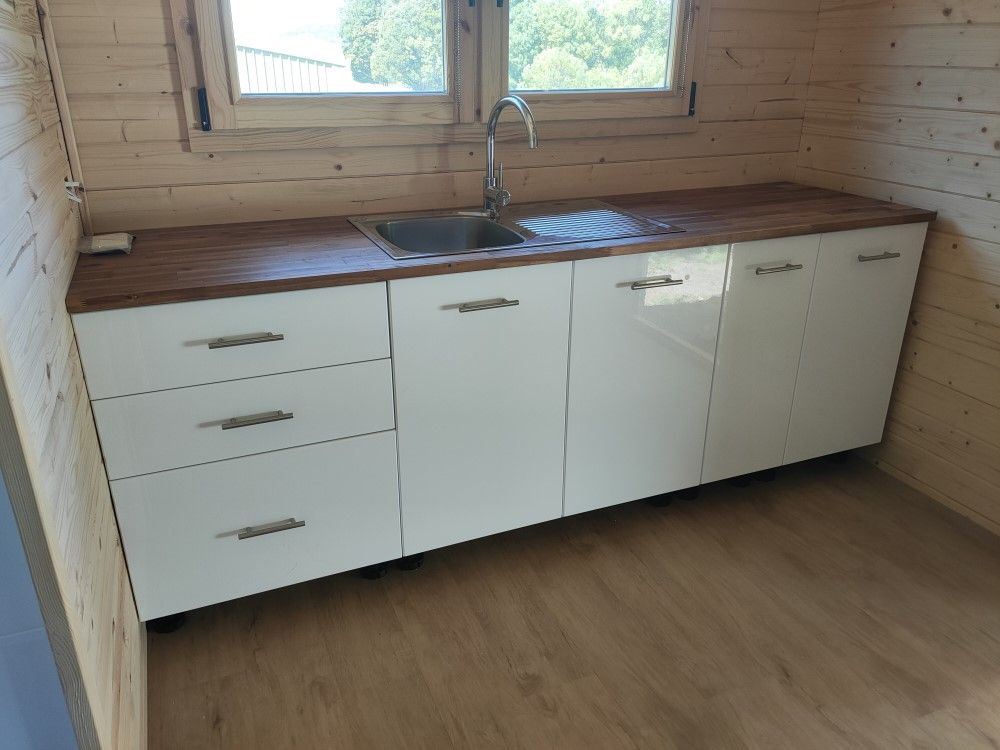
To keep with the overall modern internal fit out we opted for a BUNNINGS flat pack kitchen. At just on 2.2m wide the kitchen does not allow for "luxuries" like a dishwasher or a full-size oven and cooktop. But once a benchtop cooker and a microwave has been added we reckon it's got all you need to cook up a storm!
The positioning of the tap was critical to ensure that both window halves could be opened without any hassles, the sink tap hole needed to sit exactly in the centre of the two window halves.
Our sparky was on site after these images were taken - so by now we even have proper power points!
LIKE IT? SHARE IT!