Timber Garden Sheds Australia
August 2026
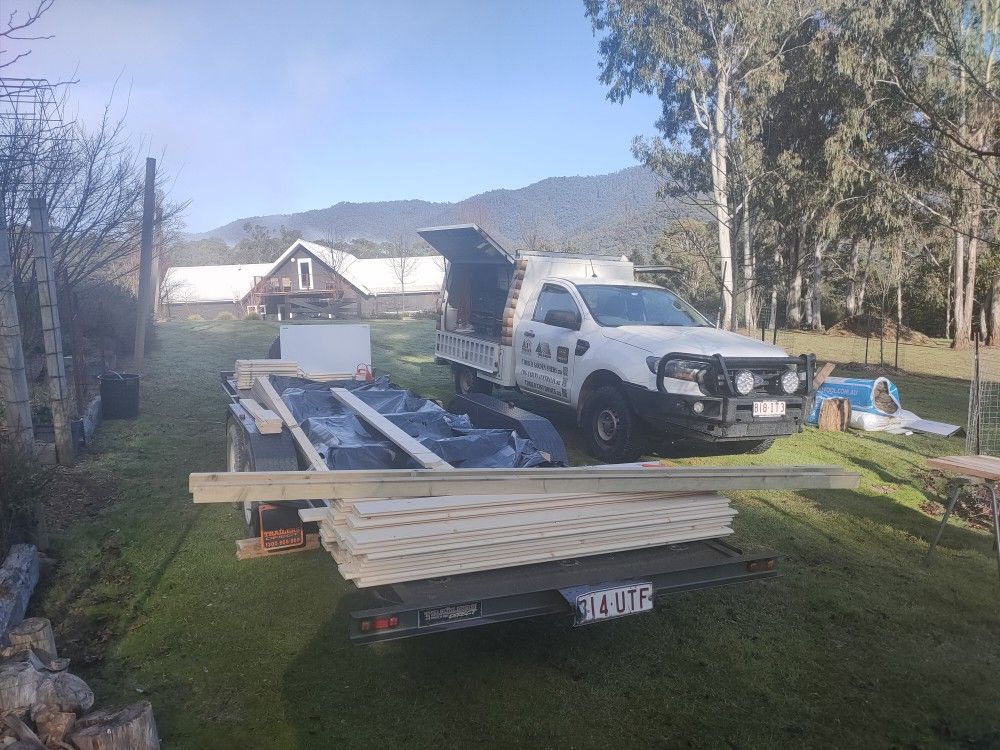
Talking about long distance… Although our operational base is in Northern NSW and the Gold Coast/Brisbane area, we deliver and build log cabins along the Eastern Seaboard. Longer journeys involve costs, but we work hard to keep these to a minimum. Only essential travel costs, such as fuel, tolls and accommodation, need to be covered. Once everything is organised, we happily load up and travel as far as needed. In this case, the round trip was just under 3,600km.
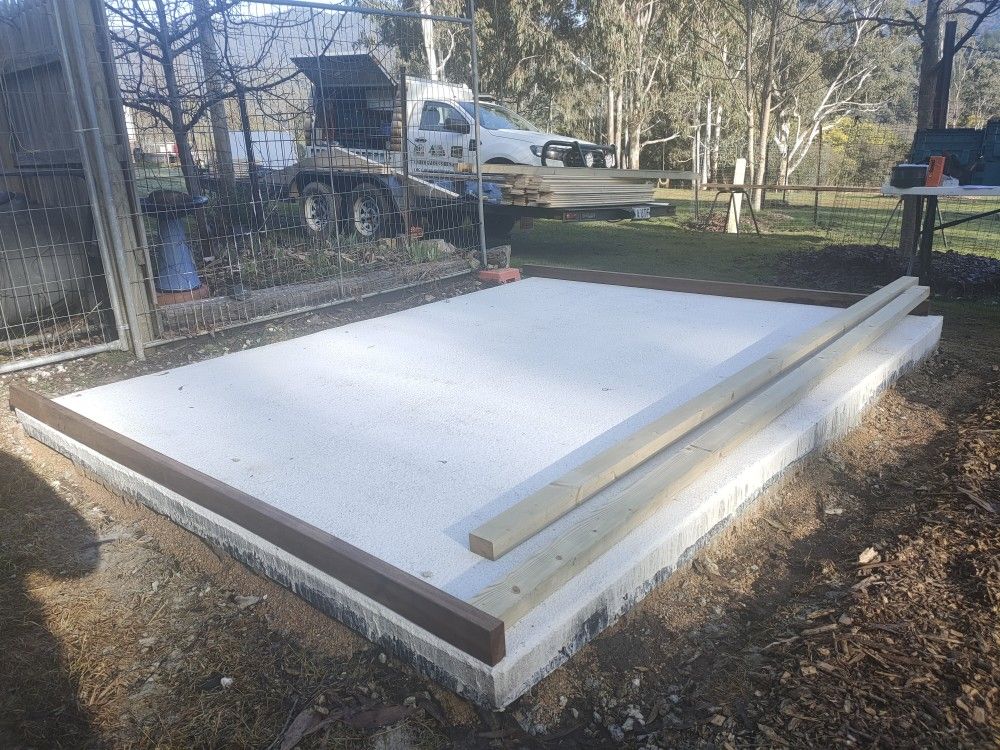
Concrete Slab Foundations
Our most popular foundation is a steel base with adjustable stump tops, thanks to its affordability and ease of installation, including on sloping ground.
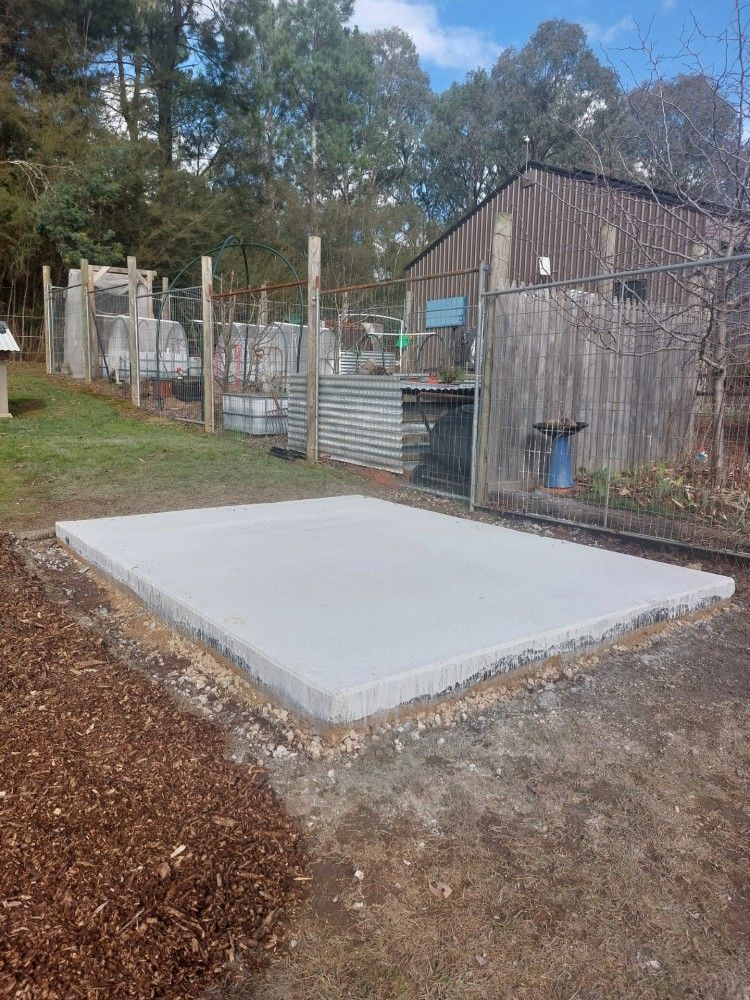
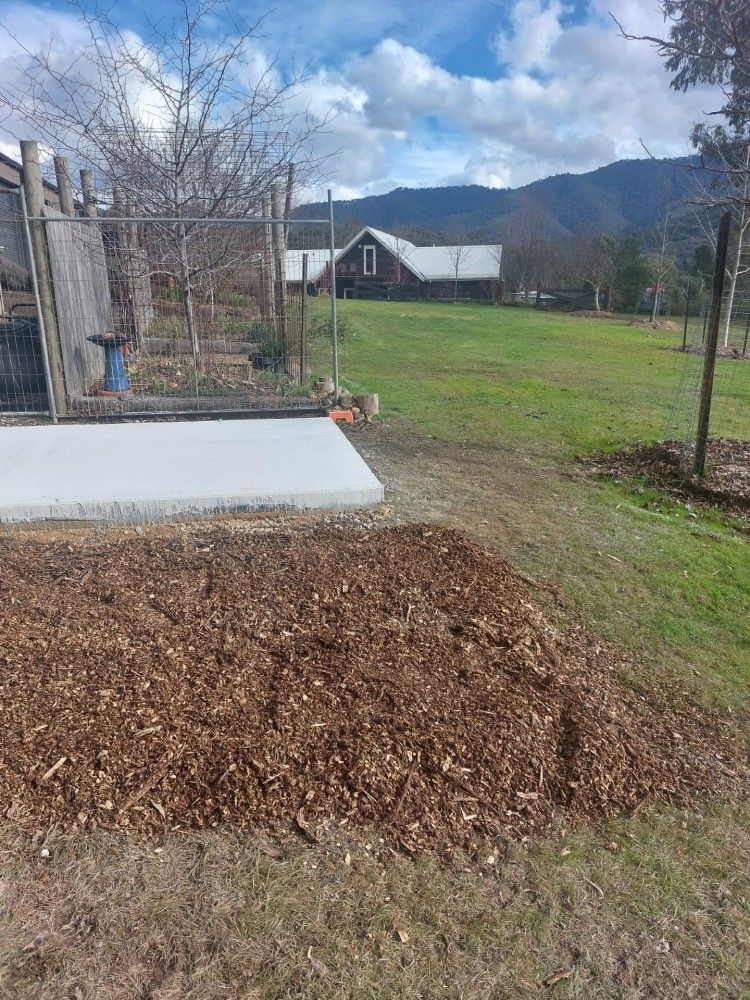
For this project, we used a concrete slab, which suits a reasonably level site.
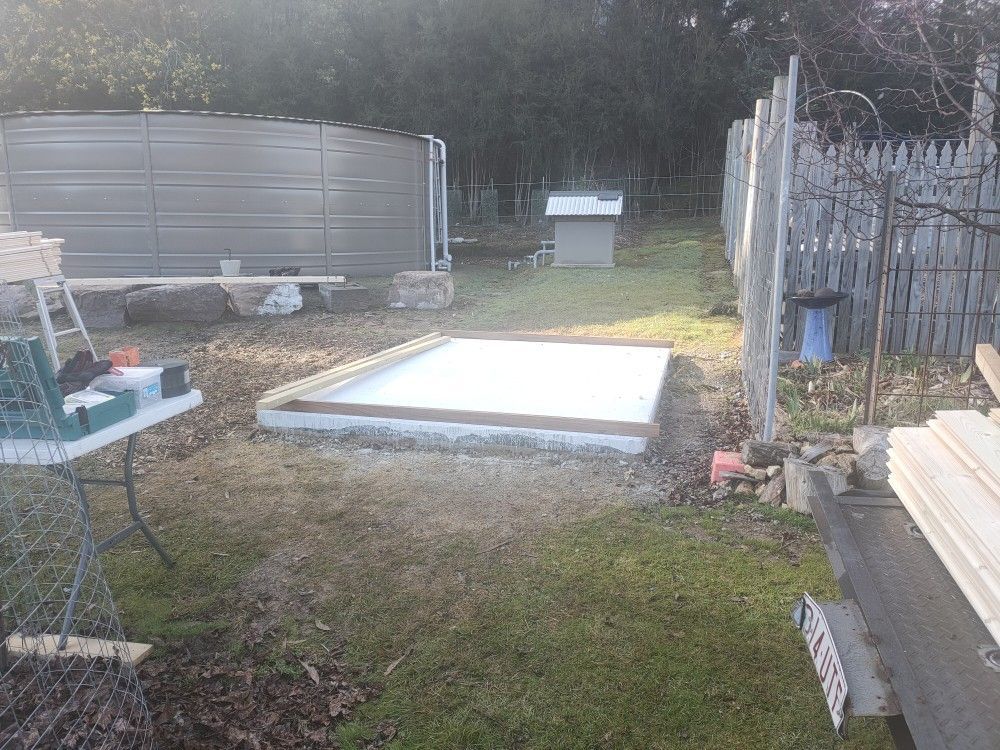
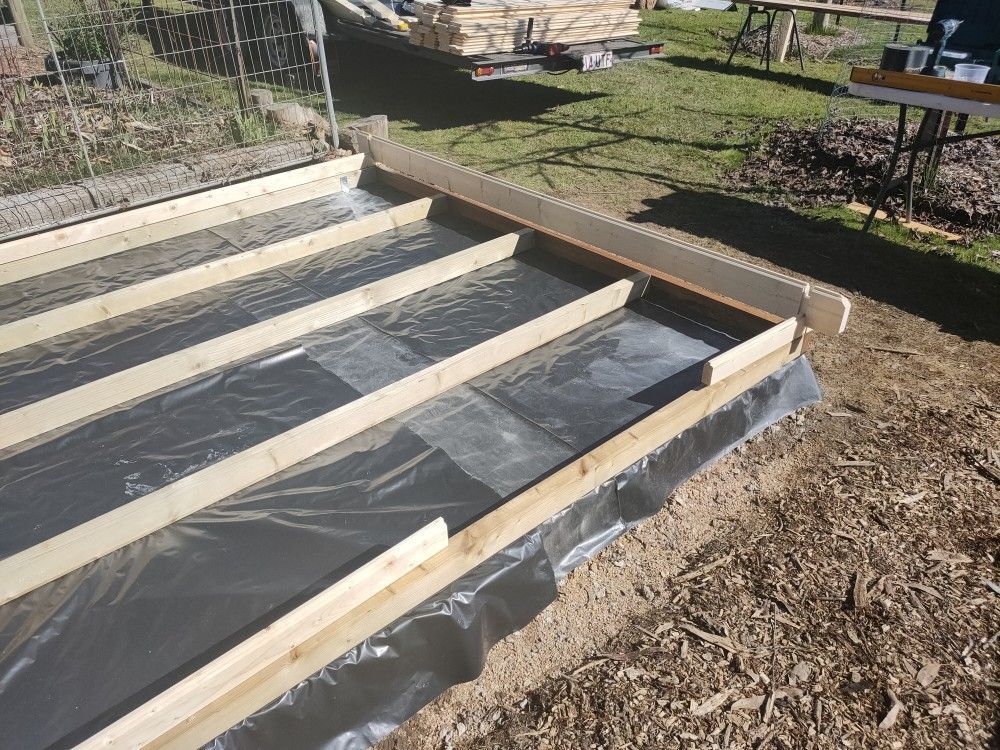
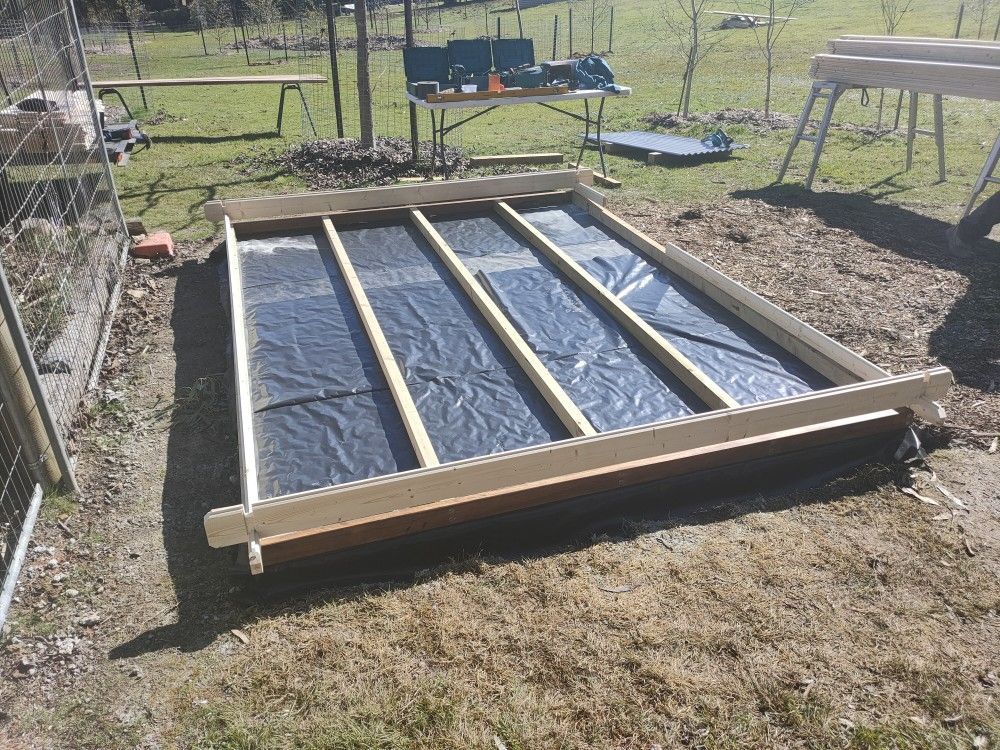
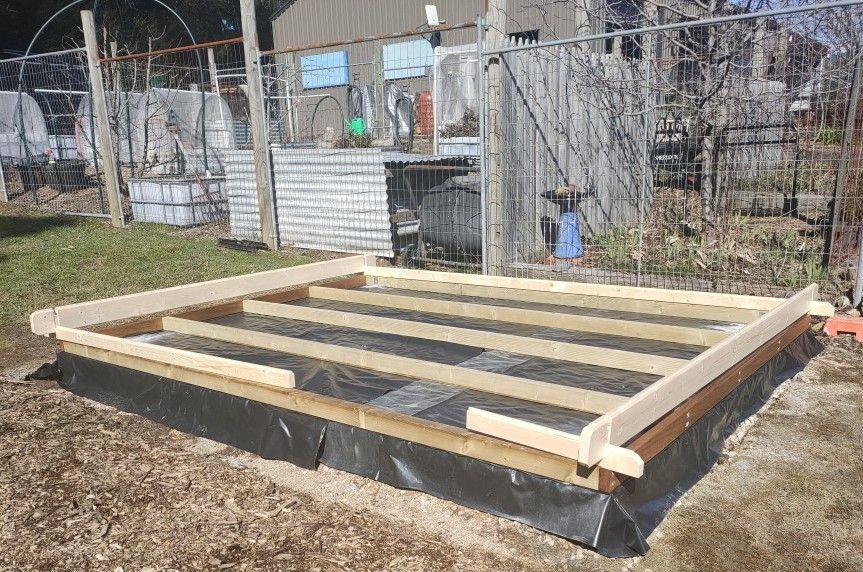
We first placed heavy-duty builders’ plastic over the concrete and plastic strips underneath the outer frame timbers.
The treated pine base frame creates a gap of approximately 70–90mm between the concrete and floorboards. We recommend filling this space with insulation batts.
Sorting the logs..
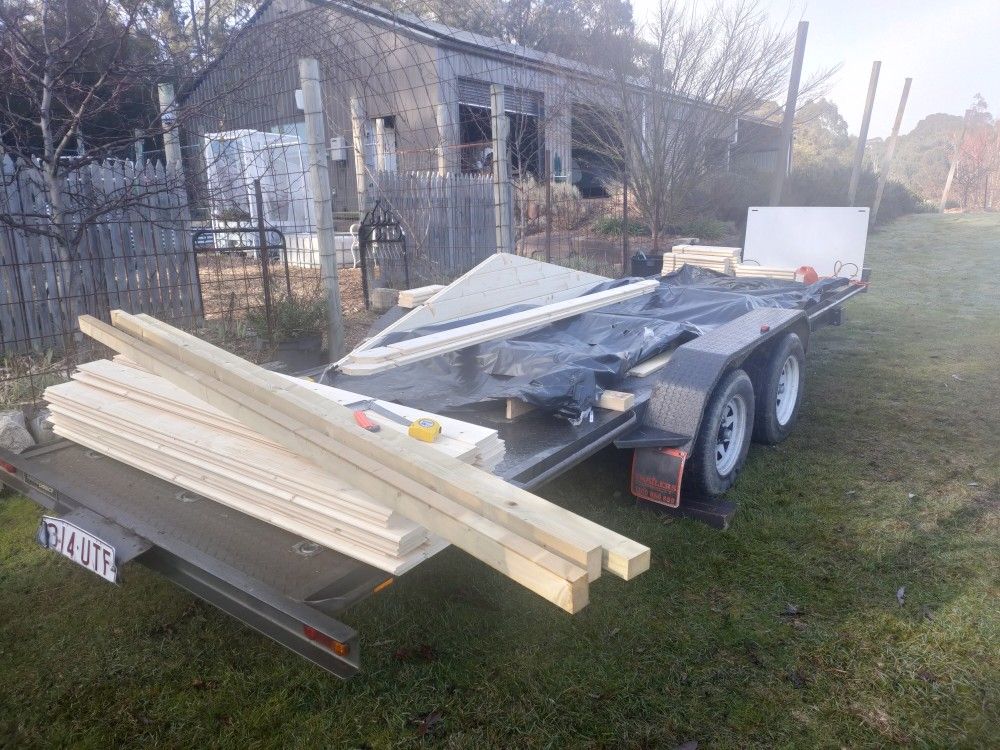
Ideally, the logs packed overseas are arranged in the reverse order of construction, with the treated pine base frame at the top of the pallet. Unfortunately, that is not always the case.
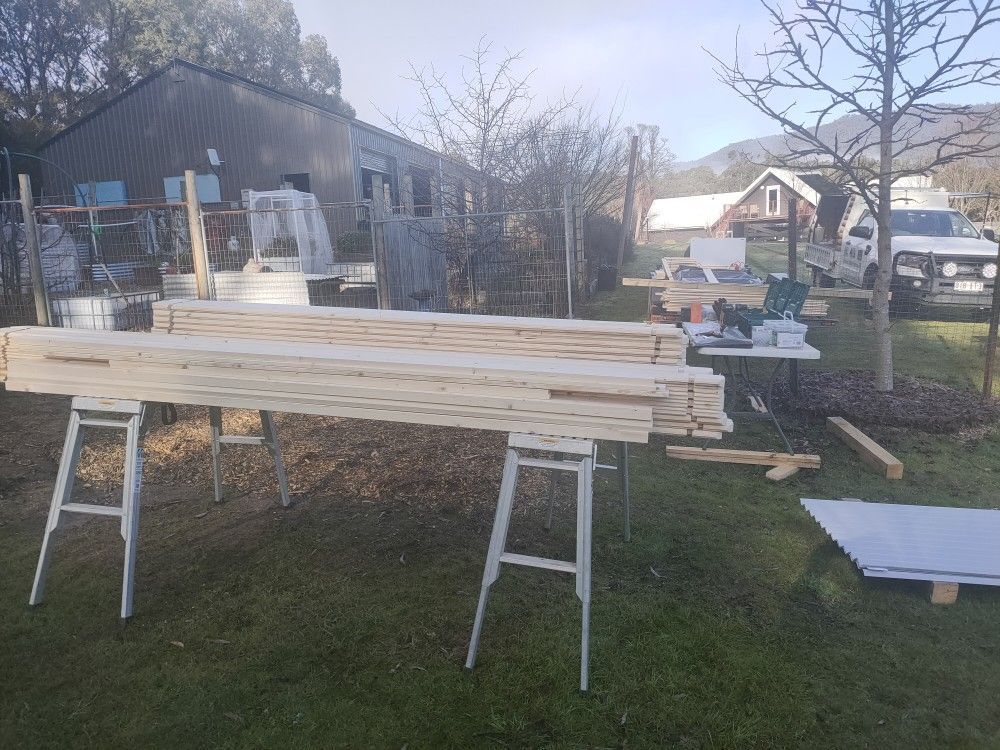
We unpacked and sorted the logs before starting installation. For a smaller cabin, this is a relatively straightforward job.
It helps to have stacking areas off the ground so the logs stay clean while the pallet is unpacked.
Treated Pine Base Frame
Base frames for 28mm cabins are often supplied with cross timbers only. We added two outer hardwood pieces to create an enclosed frame, allowing insulation bats to be fitted.
The base frame was securely connected to the concrete slab using metal angle brackets.
When installing a cabin on a concrete slab, we recommend fitting the solid pine tongue-and-groove floorboards after the build is complete to protect them during construction.
Main Entry Door
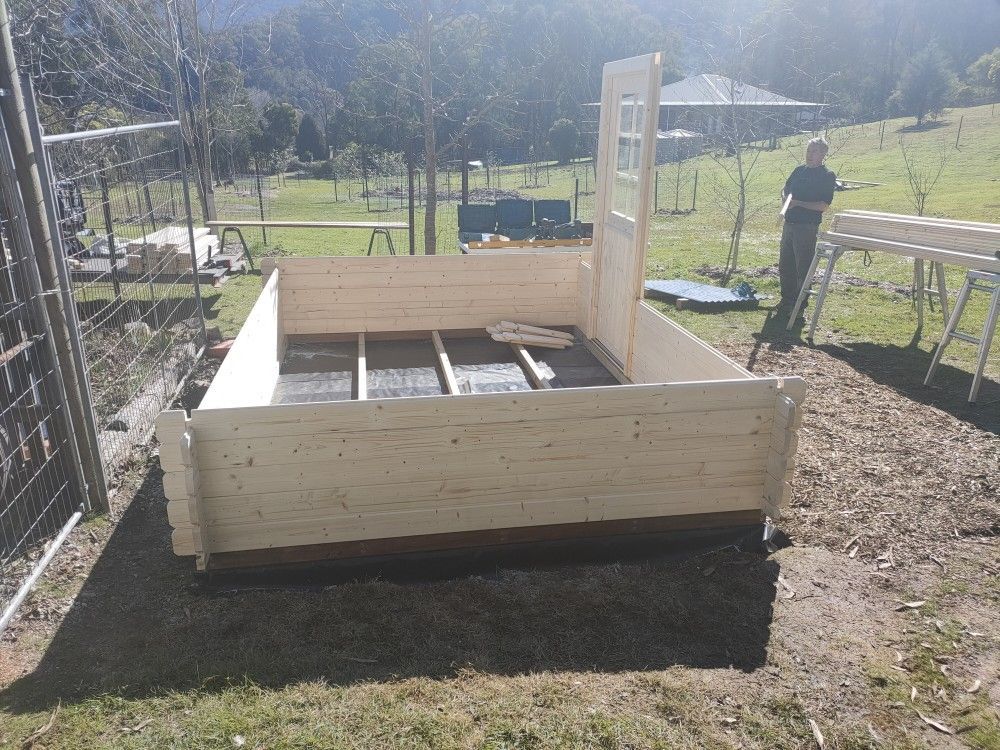
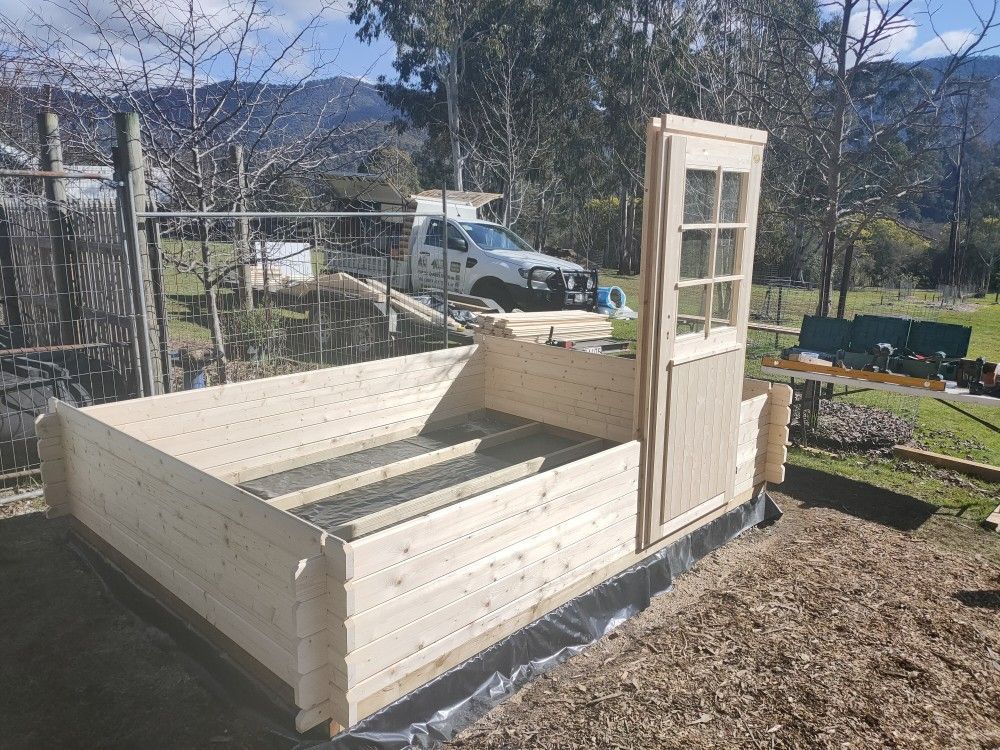
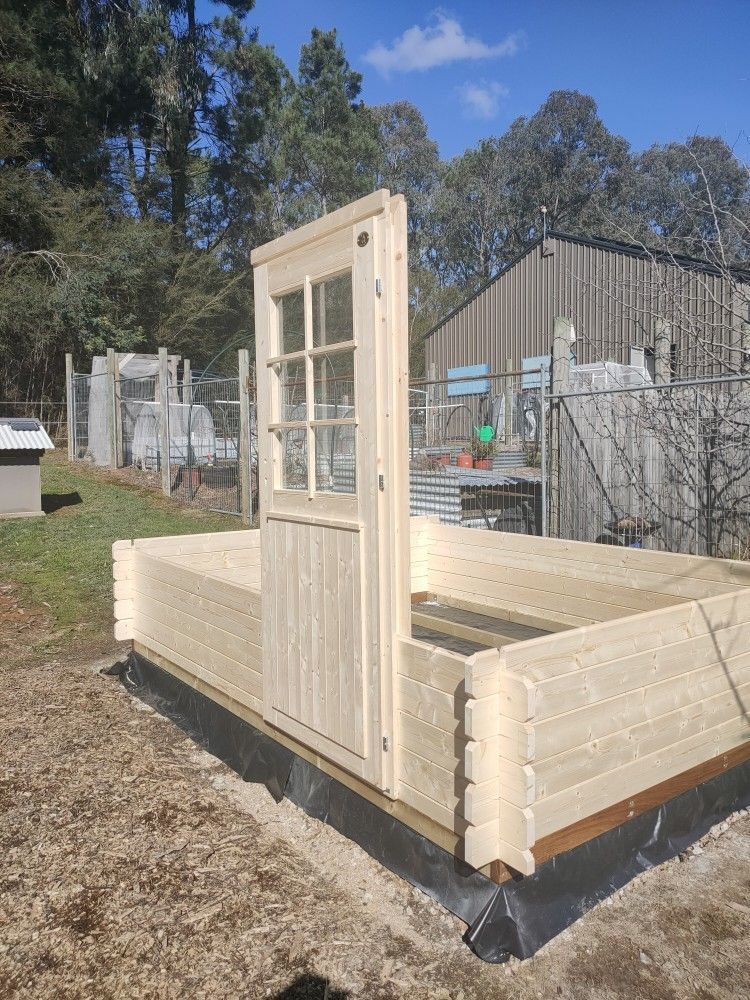
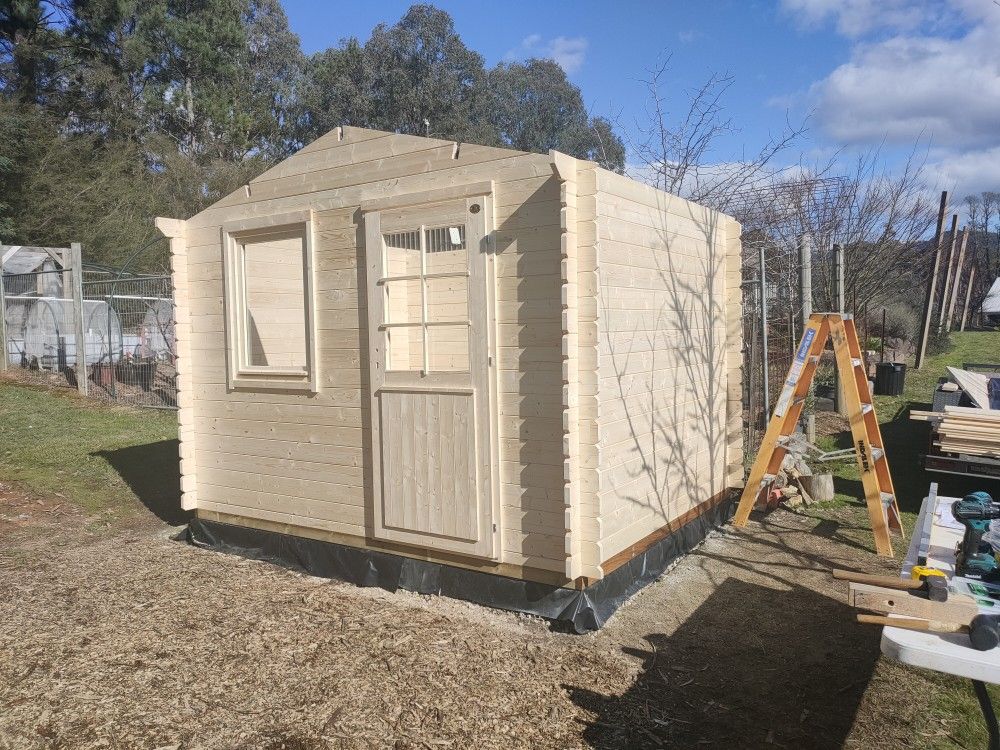
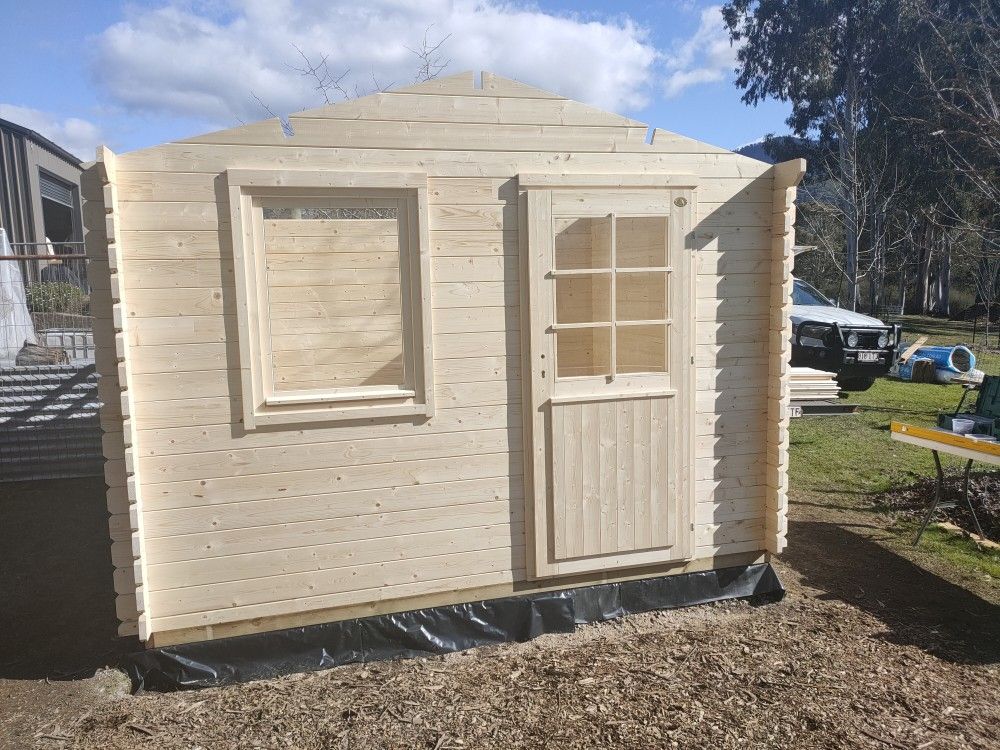
The door and window should be installed while the cabin walls are being built. Installing them after the walls are complete is possible, but more complicated and time-consuming.
The door temporarily protrudes beyond the log walls, which is normal during construction.
Installing the door lock at this stage is also a good idea.
The walls are not completely locked together during the early stages. The structure becomes solid once the top connecting logs are installed.
Walls Up - and it is cold!
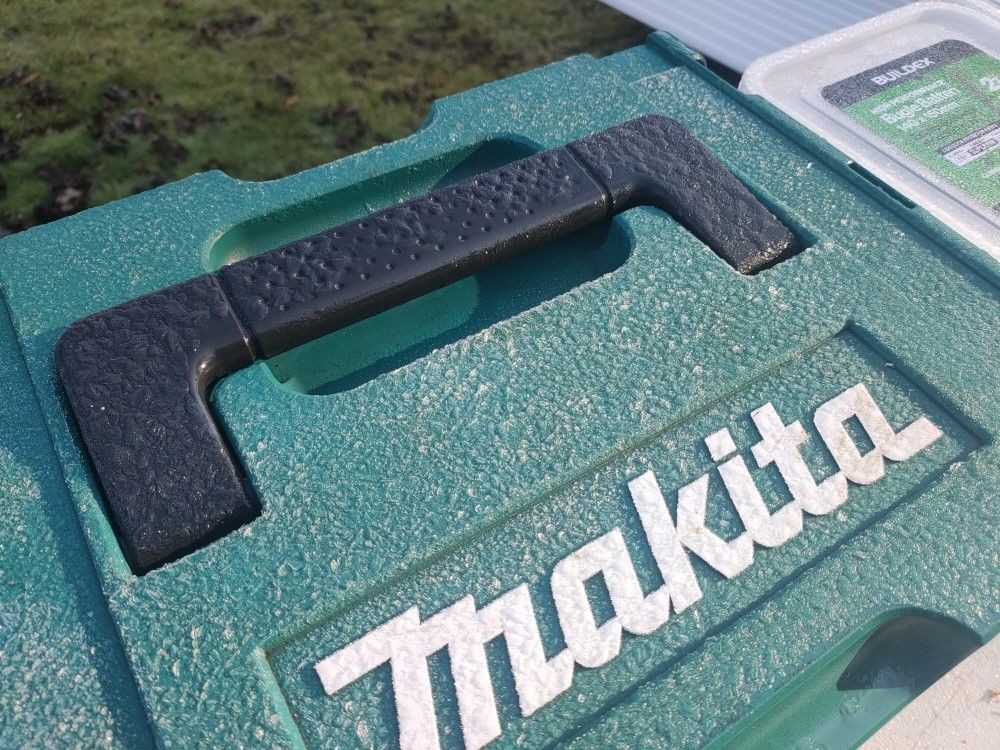
The Victorian High Country gets cold during winter. The early-morning ice on our MAKITA toolboxes was proof of that.
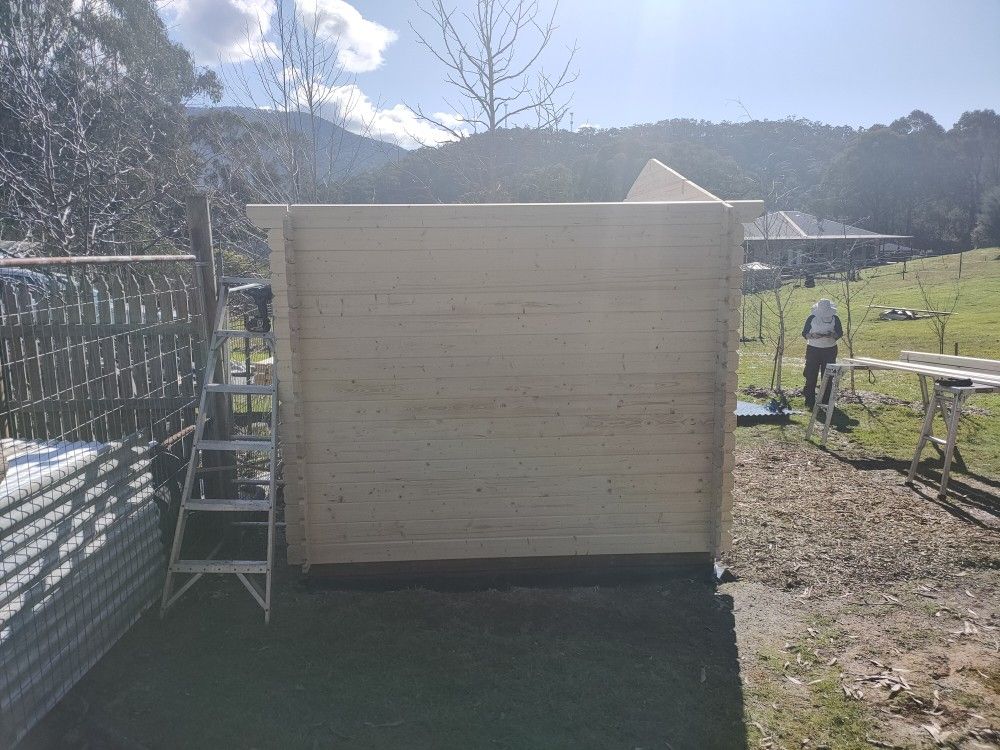
After the first day, the walls and one gable assembly were up, but the roof beams had not yet been installed.
Our cabins come with a five-year warranty. We are often asked what this covers. Issues are usually identified during assembly, such as transport damage or missing components. Fortunately, these can generally be resolved quickly.
Main Entry Door
The door and window should be installed while the cabin walls are being built. Installing them after the walls are complete is possible, but more complicated and time-consuming.
The door temporarily protrudes beyond the log walls, which is normal during construction.
Installing the door lock at this stage is also a good idea.
The walls are not completely locked together during the early stages. The structure becomes solid once the top connecting logs are installed.
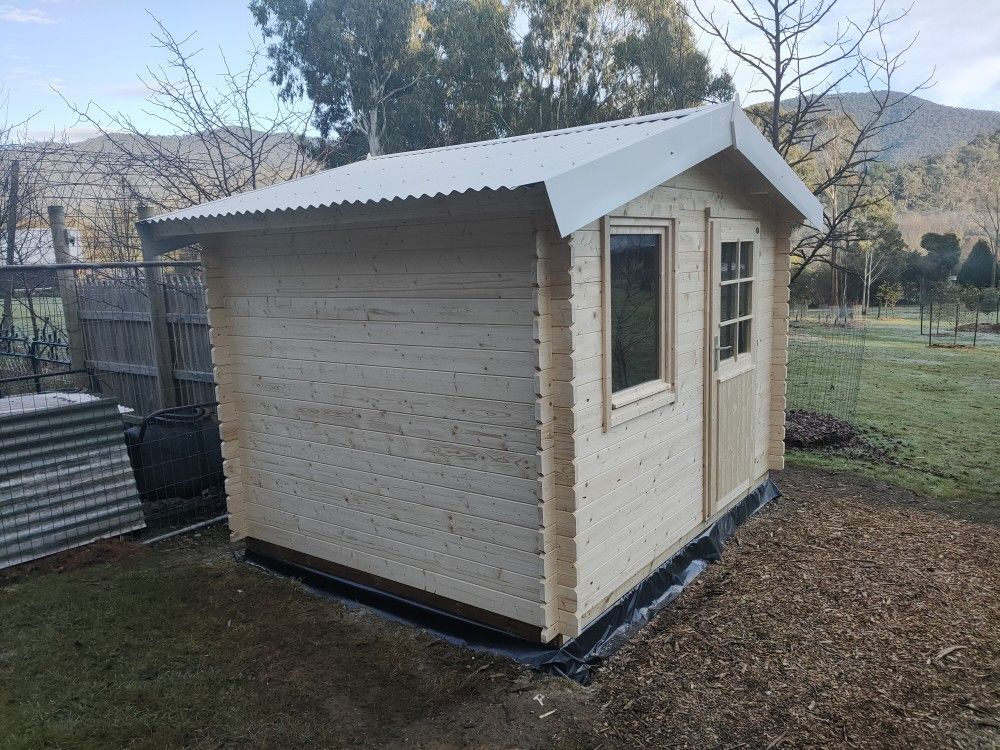
Done and Dusted!
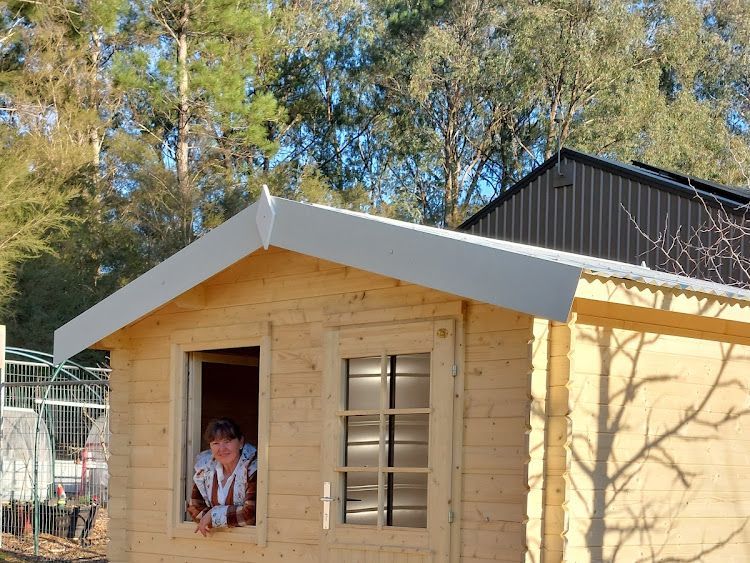
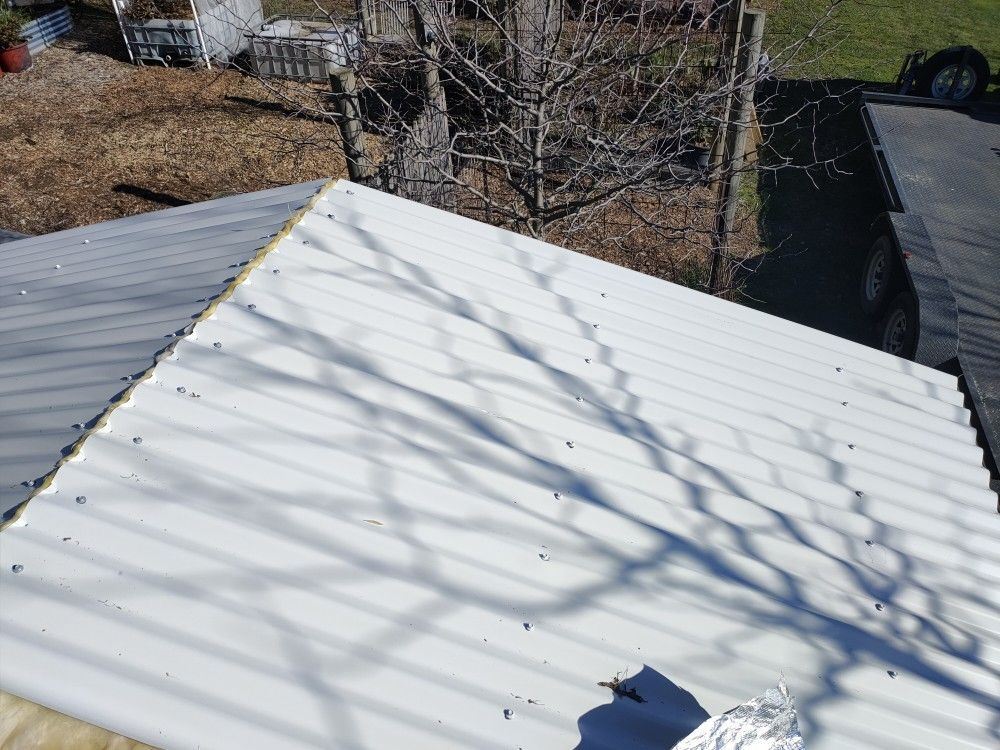
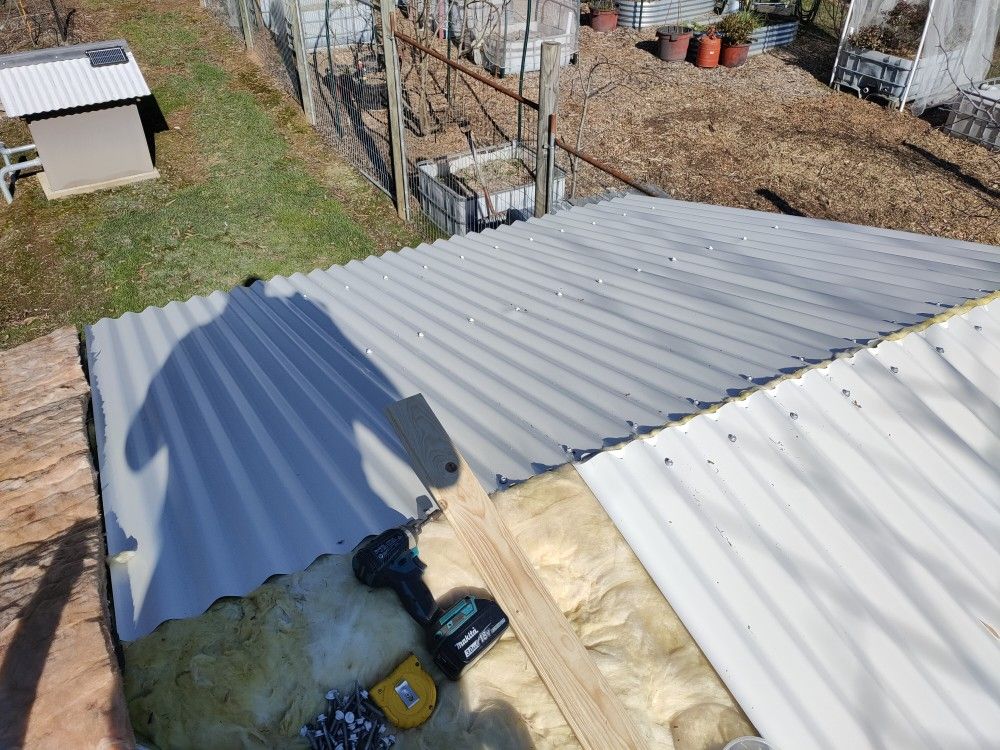
Our 28mm cabins come with corrugated COLORBOND roofing, including sheets, barge and ridge capping, and colour-matched screws.
For an additional charge, we can include timber or metal battens and an R1.3 insulation blanket.
The amount of insulation you choose depends on your location and the intended use of the cabin. For a garden shed, insulation can help keep the space cooler in summer and warmer in winter.
After three days of building, we headed home. The return trip was “only” 1,800km!
LIKE IT? SHARE IT!