Timber Garden Sheds Australia
May 2026
When we started importing log cabin garden sheds many years ago, we posted one of our builds every one or two months. As we got busier over the years, we keep posting build blogs that are a little different. Yes, we still build more cabins than shown here, but thought to keep these blogs interesting by avoiding to post very similar builds.
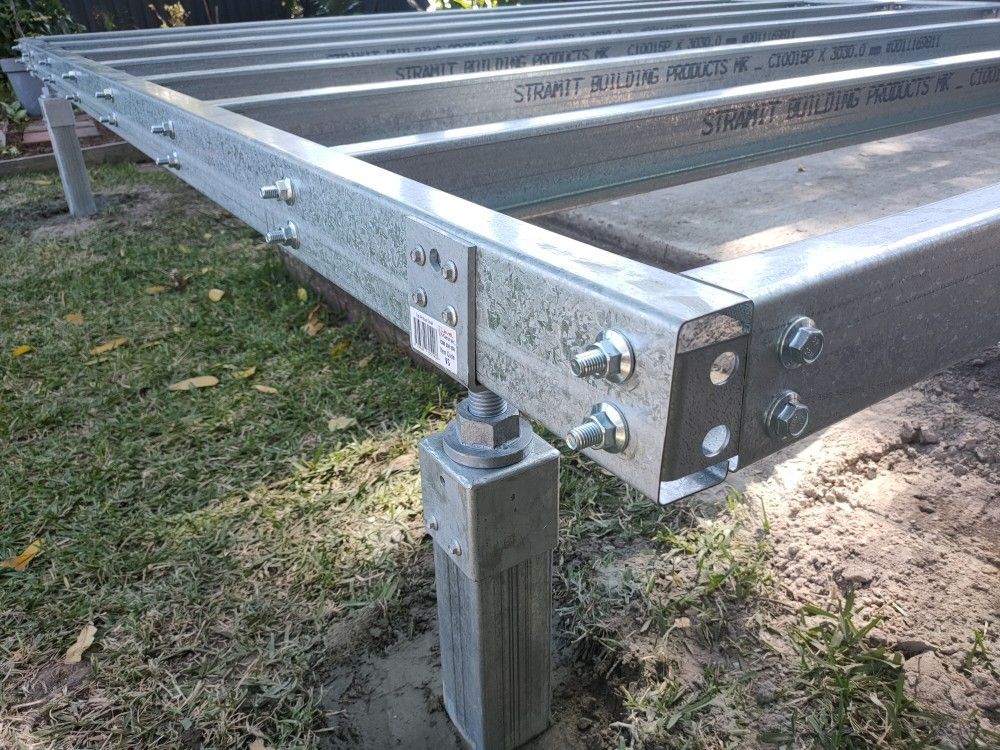
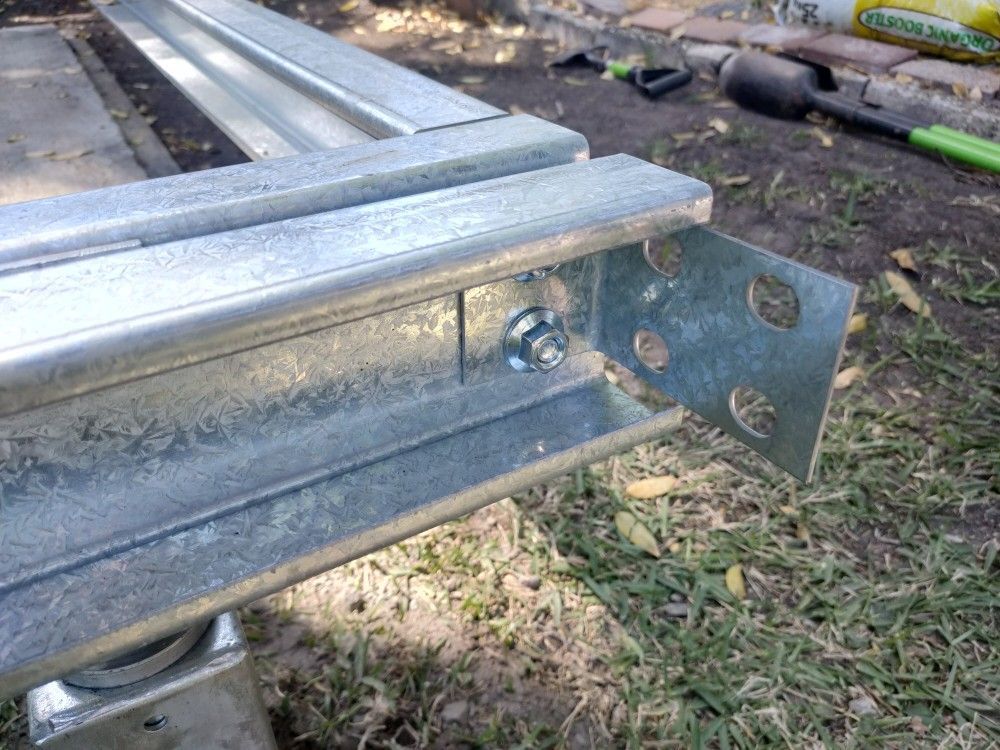
Double Steel Purlin Foundation
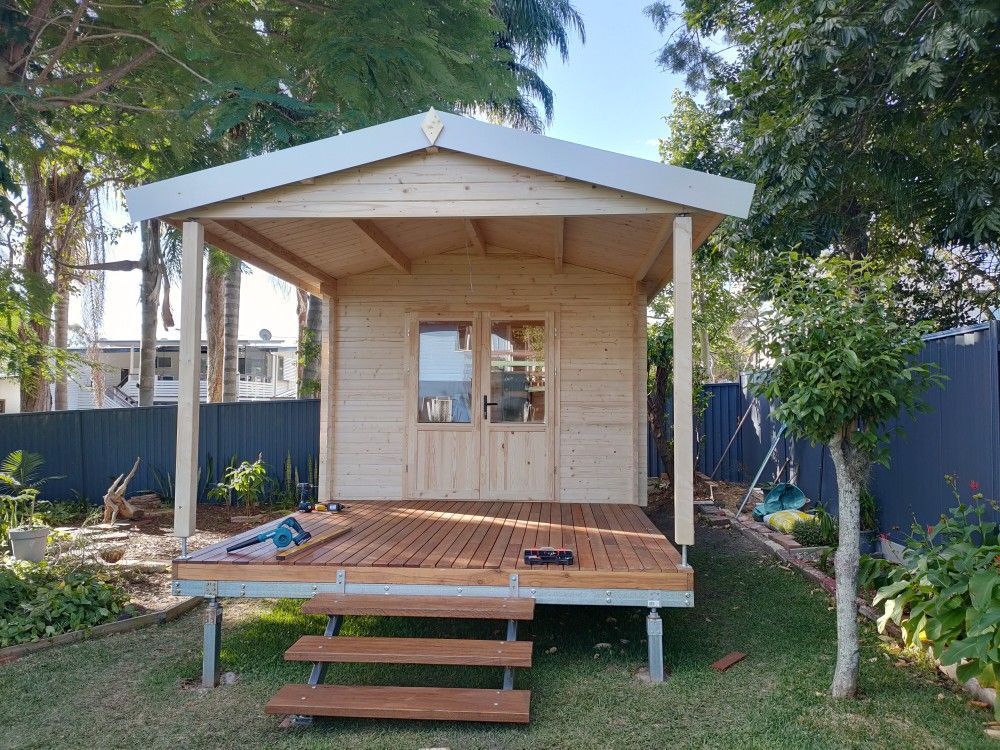
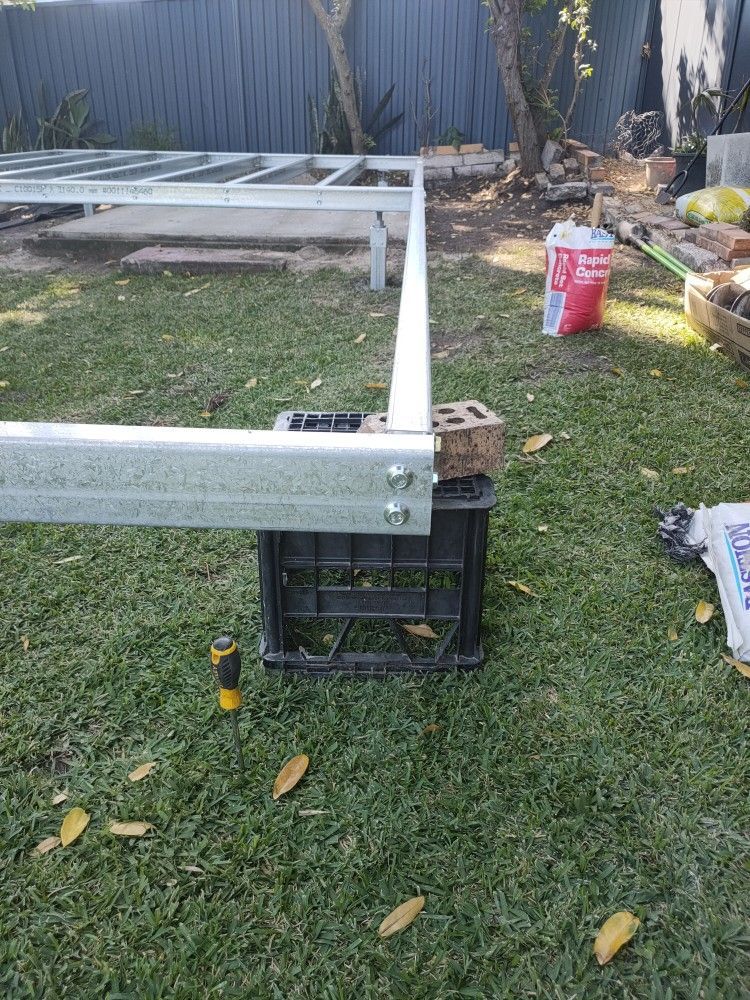
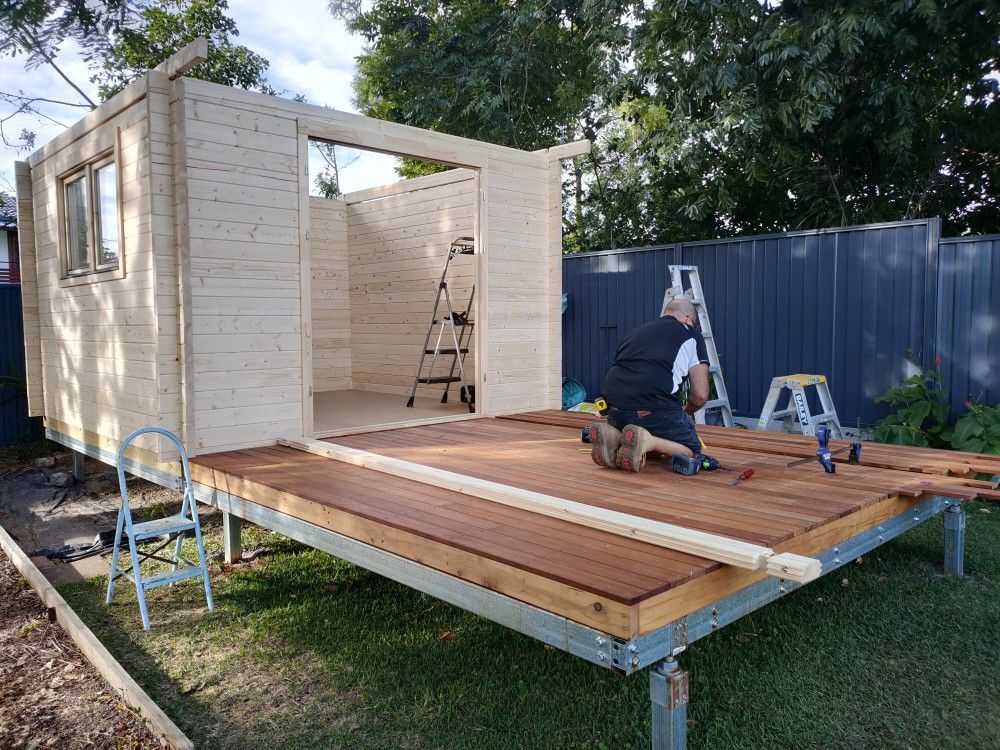
Owner Peter chose a SAM10 cabin with a full deck and roof extension. As soon as multiple interconnected steel bases are involved, we try to build these in advance of returning to site for the actual log cabin build.
A smaller old steel shed was removed to make room for the new log cabin. The old concrete base was completely covered by the new construction.
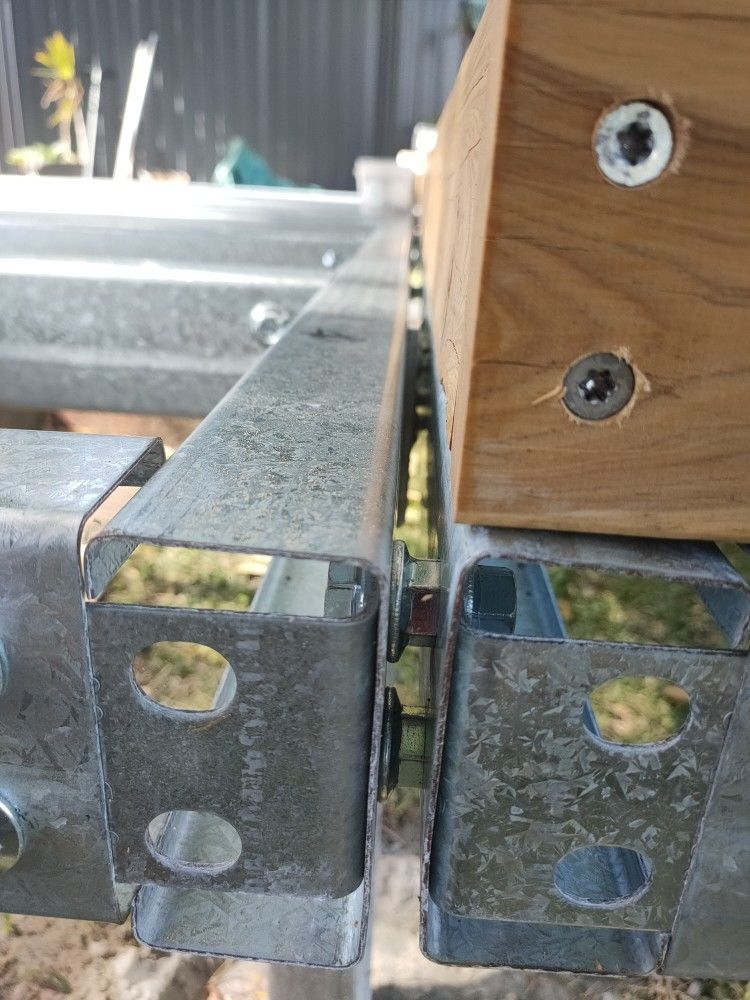
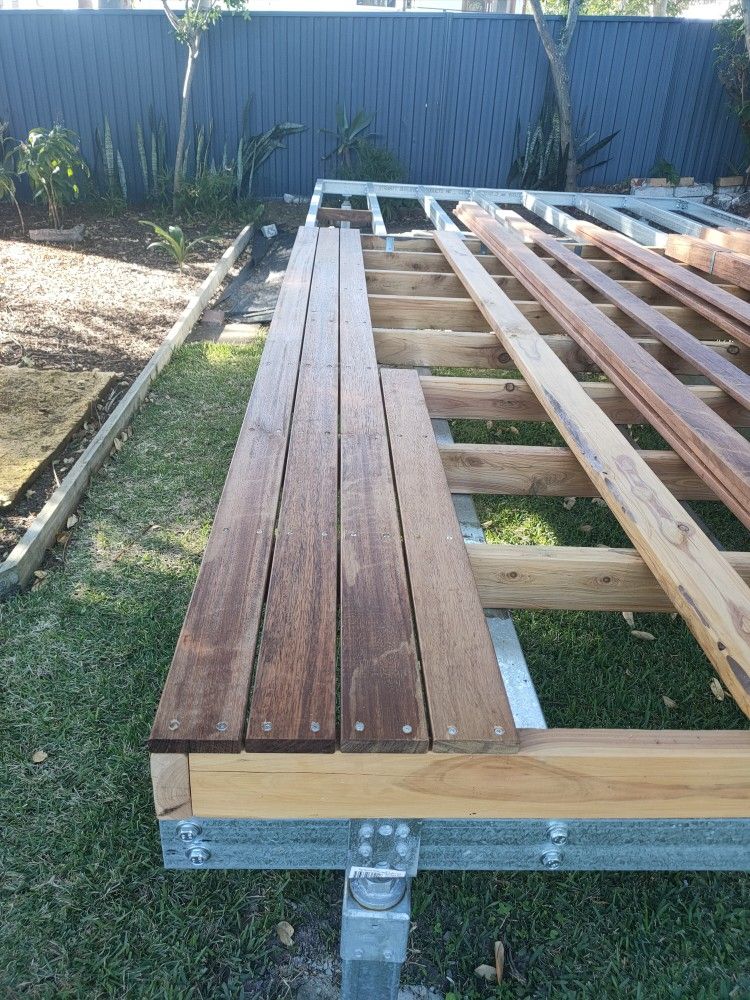
The images on the left show details of how multiple steel bases are bolted together. The main cabin base if built first, the only difference to building just one steel purlin base for the cabin is that the purlin bolts at the front are reversed so the thread is pointing outwards. This provides "ground zero" for the second steel purlin base. The connecting purlin is simply slid over the previous one and secured with a second nut on each bolt.
Decking
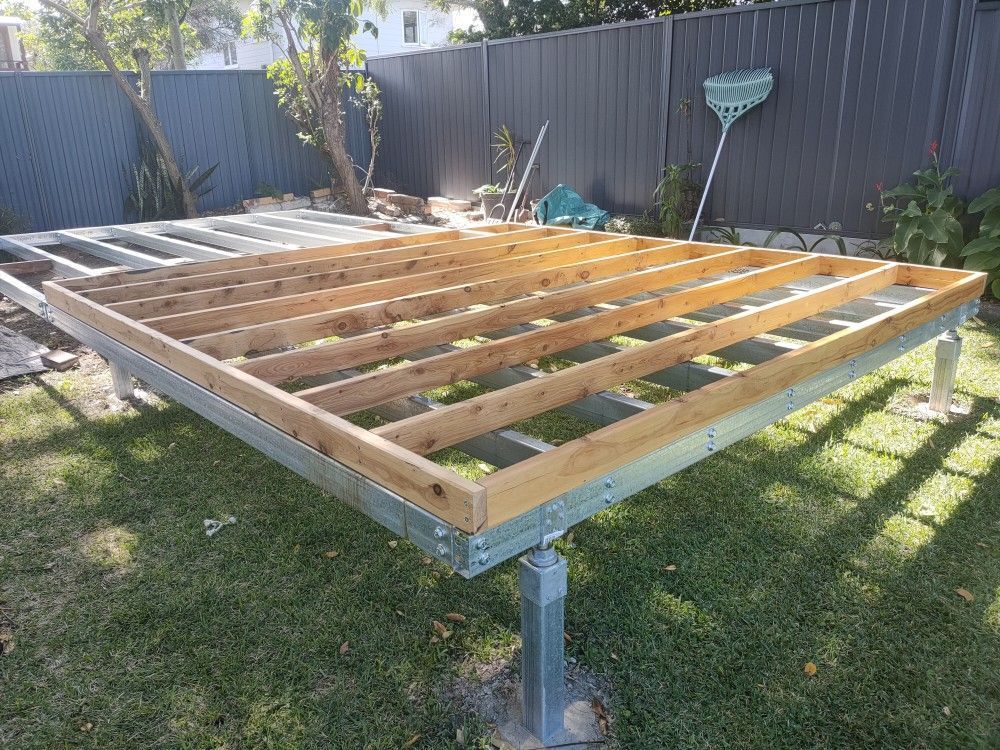
There are many different options when it comes to decking. Peter chose traditional hardwood decking which we installed on top of cypress pine joists. However, this method is VERY time consuming as all decking boards need to be cut to size and screwed down using st.steel decking screws.
Another challenge is space the boards evenly across the entire width of the decking, to avoid any uneven overhangs at the edges. We were very happy that we were able to work this out to the last mm, but this cannot always be guaranteed.
The MUCH quicker and longer lasting option is to use MODWOOD. See here.


Decking ctd...
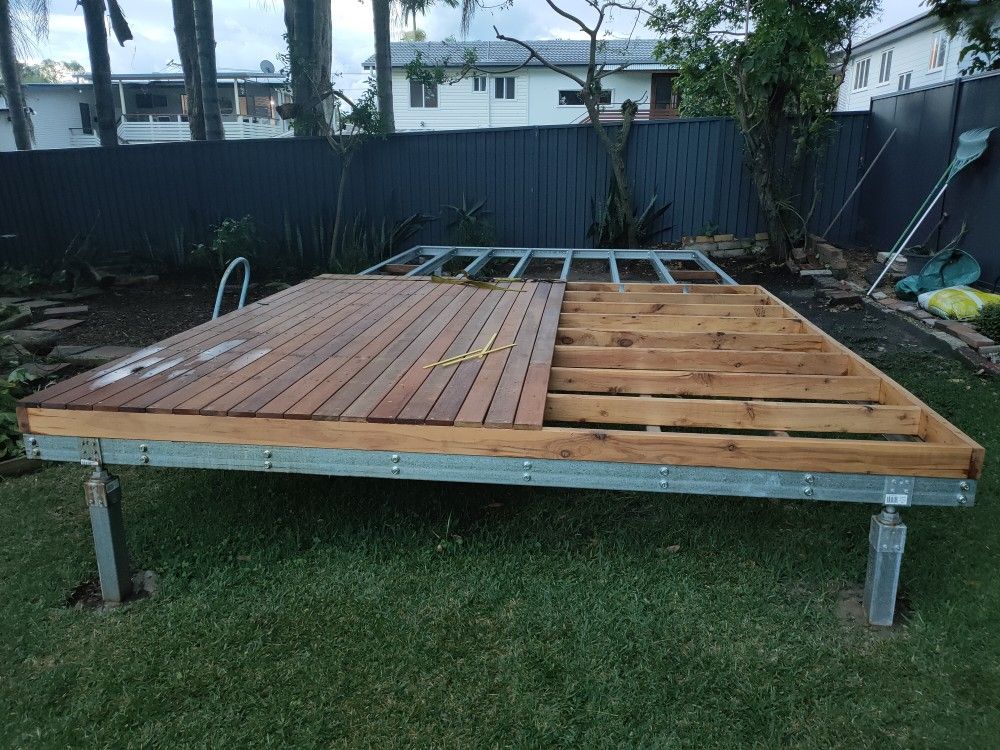
It is your personal choice which part of the construction process you do first. Due to the slight elevation of the cabin and the decking we decided to work on the decking first, to enable easier access to the cabin at the rear.
We also first installed a three-step stringer and hardwood steps at the front of the decking, again helping with the access to the cabin during the build.
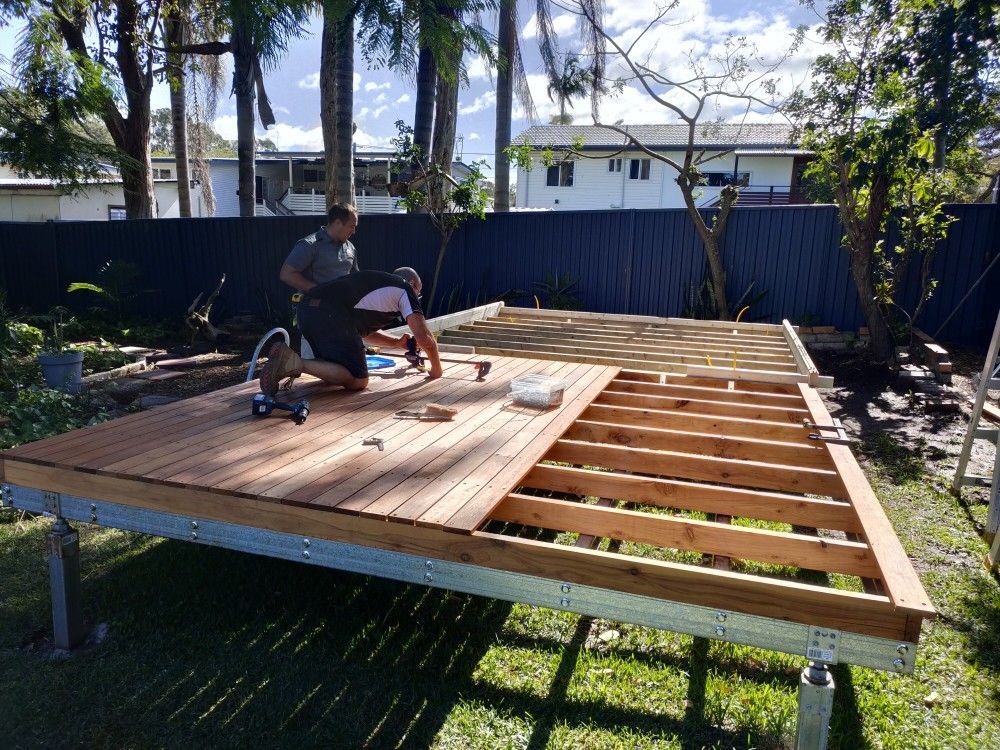
As time allowed we started working on the main cabin foundation frame and the first row of logs, as shown in a couple of these images. The yellow plastic tongues sticking out at the top indicate the location of the elctricla holes.
Roof Extension
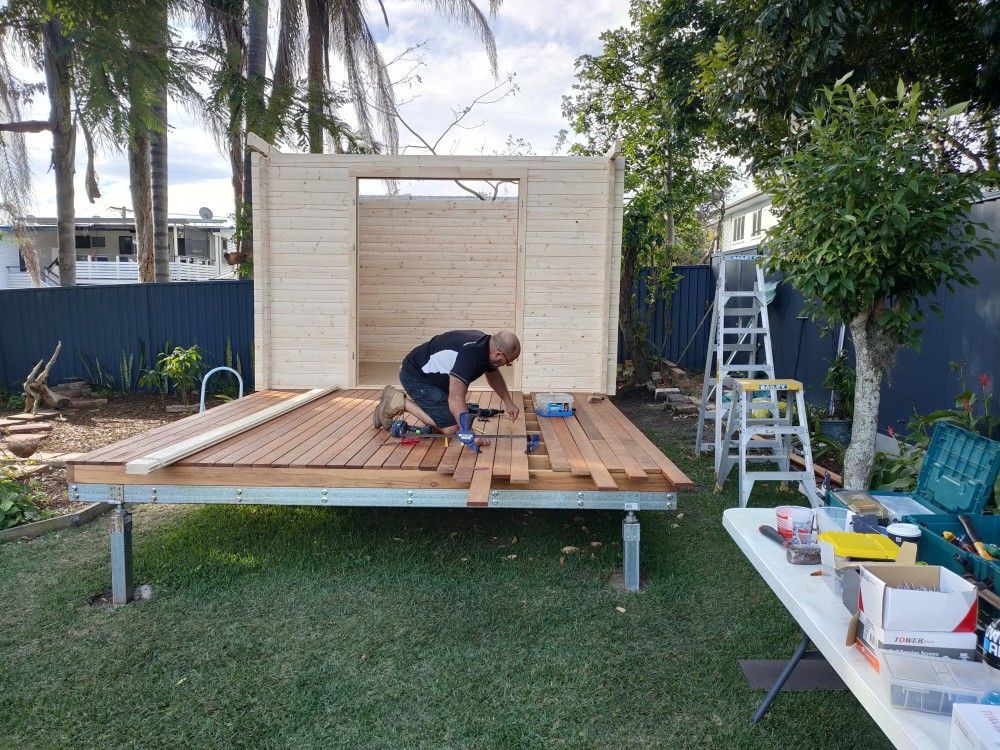
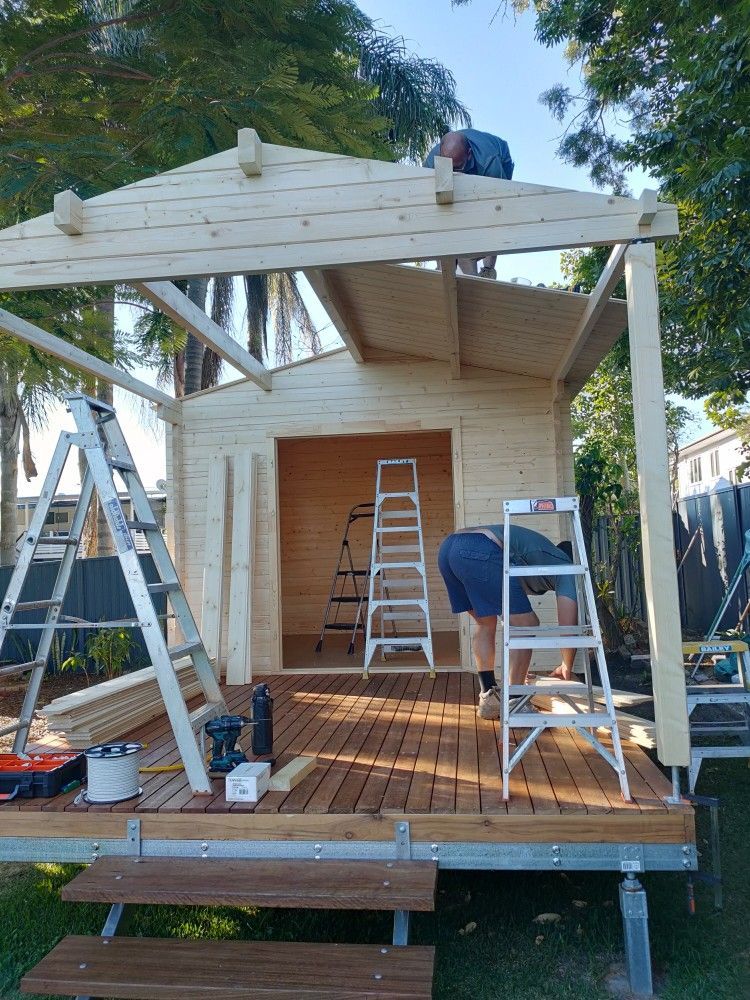
The last of the decking boards are going down, simultaneously the cabin build continues at the rear. Joining the extension onto the main cabin via the roof beams means that the 700mm roof overhang that normally comes with the cabin needs to by cut off. The roof beams supplied with the extension than provide a full 3m deep verandah roof.
The last image on the right shows the completed deck, and some of the extension already completed. From there on, there was a lot of ladder work, while always watching the weather. We were lucky with this build, using the first sunny and dry period of the 2026 winter build season.

We LOVE what we are doing!
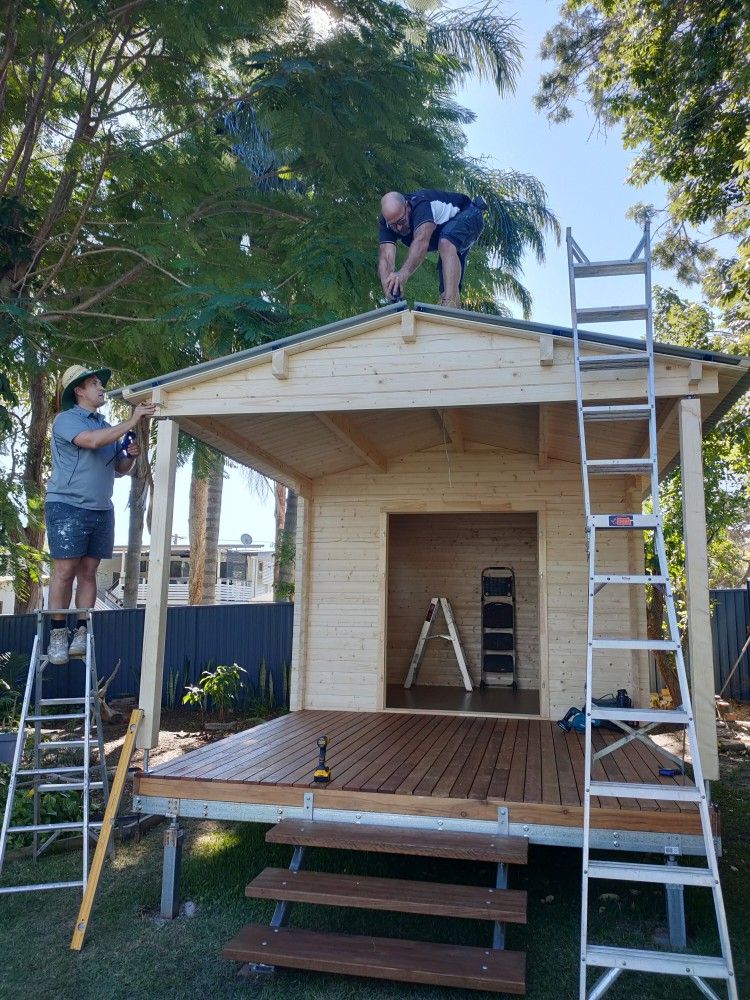
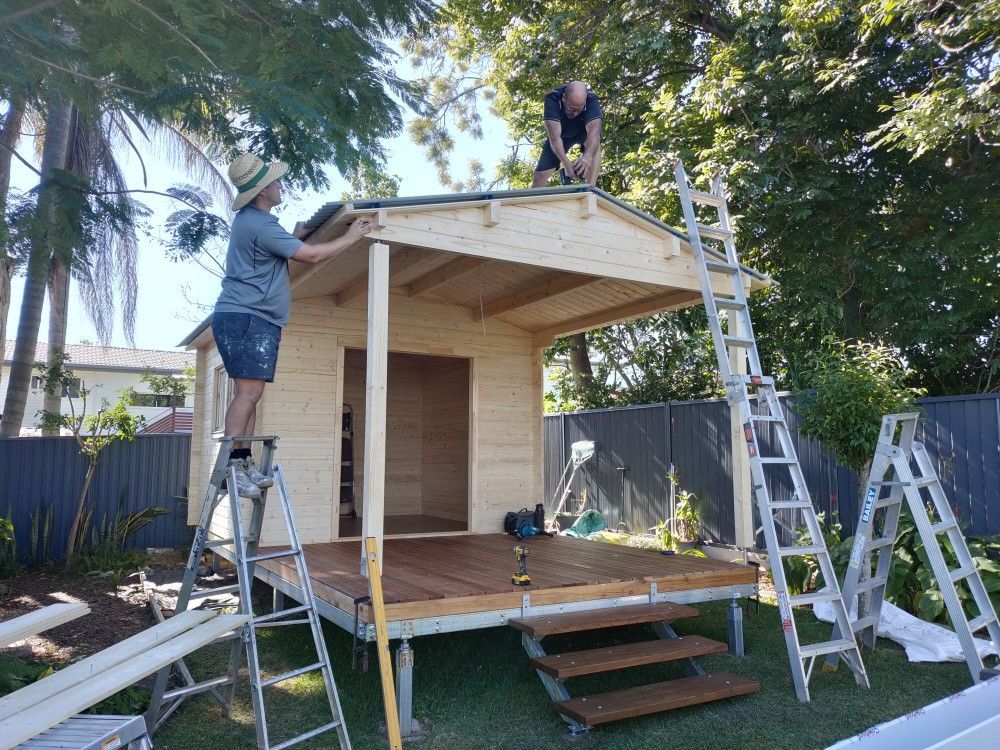
We always enjoy when the roof is on, and the cabin is fully dried in. There are quite a few fiddly bits to do after the roofing.
Eave reinforcements and eave boards, barge and ridge capping, diamond shaped gable pieces and so on.
The locking mechanism of the window needs to checked to make sure its "tilt'n'turn" mechanism operates flawlessly. Our internally opening windows makes for easy cleaning, and flysceens can be installed easily (unlike on external opening windows).
The door locks need to be installed and the hinge adjusted to fit perfectly.
Then comes the final clean up and pack up - we always leave our build sites spotlessly, we either take all our rubbish with us or place it in bins provided on site.
LIKE IT? SHARE IT!