Timber Garden Sheds Australia
September 2026
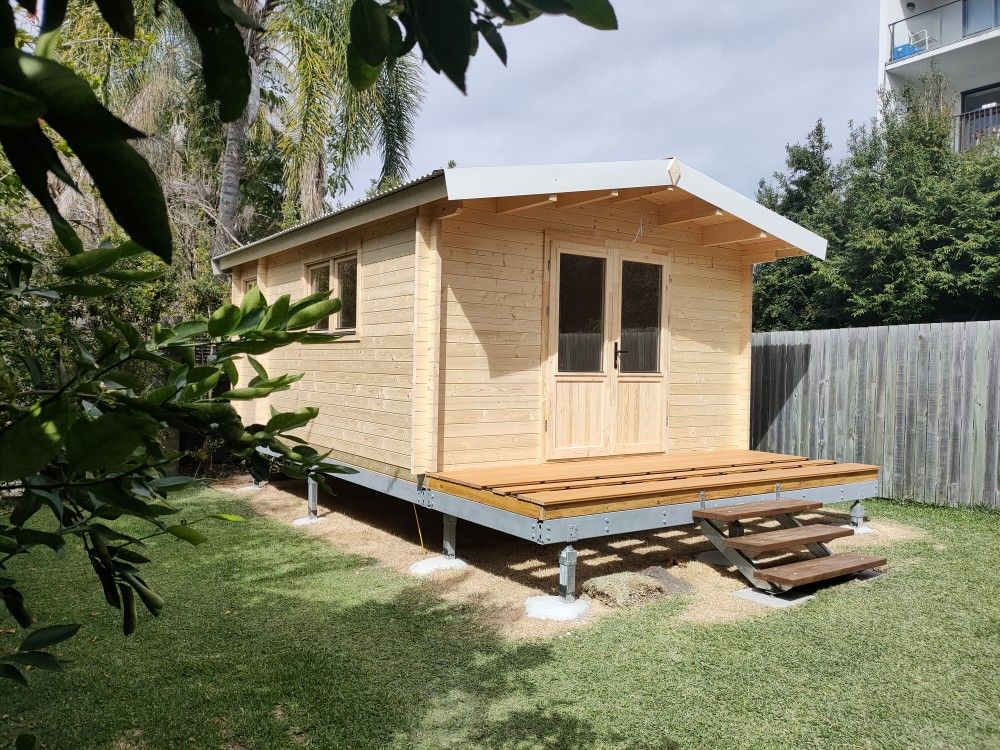
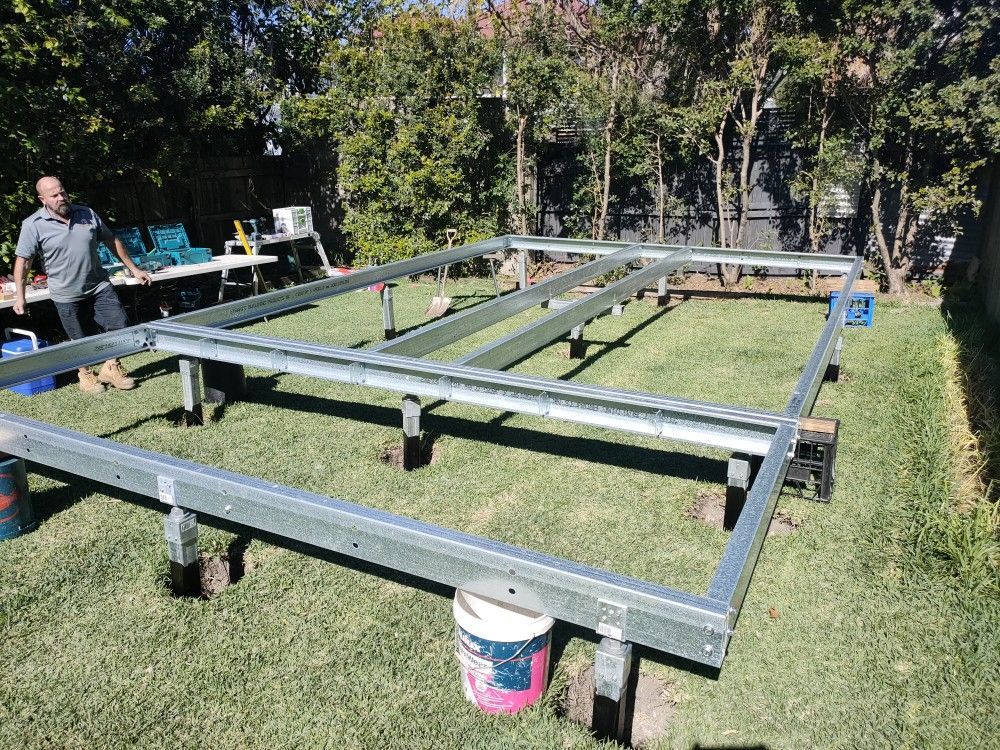
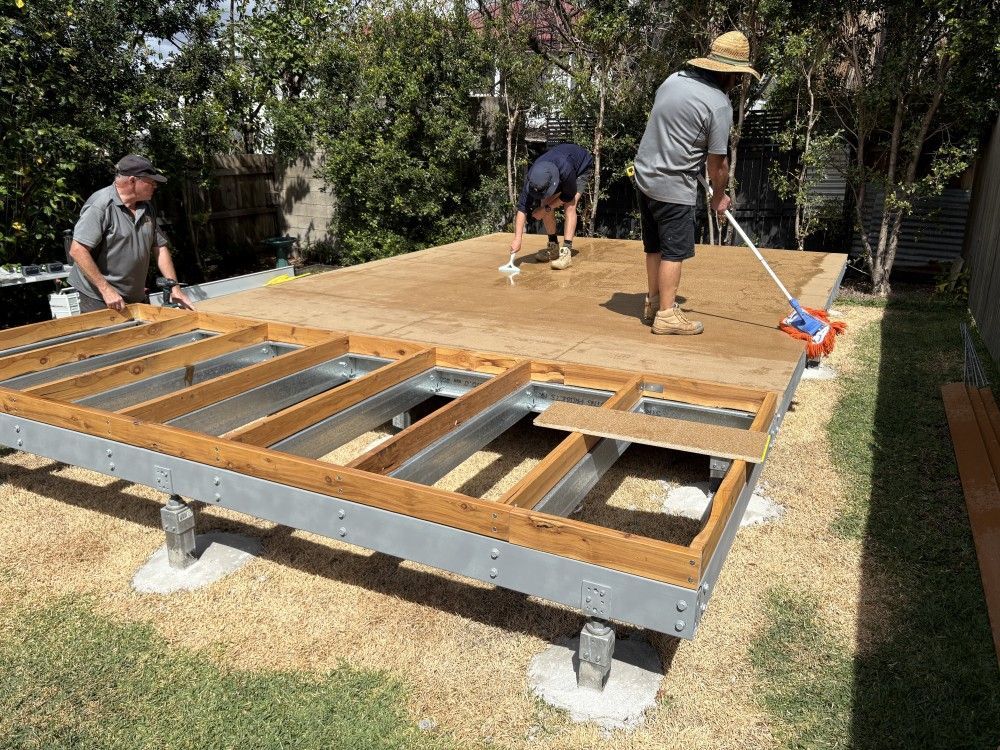
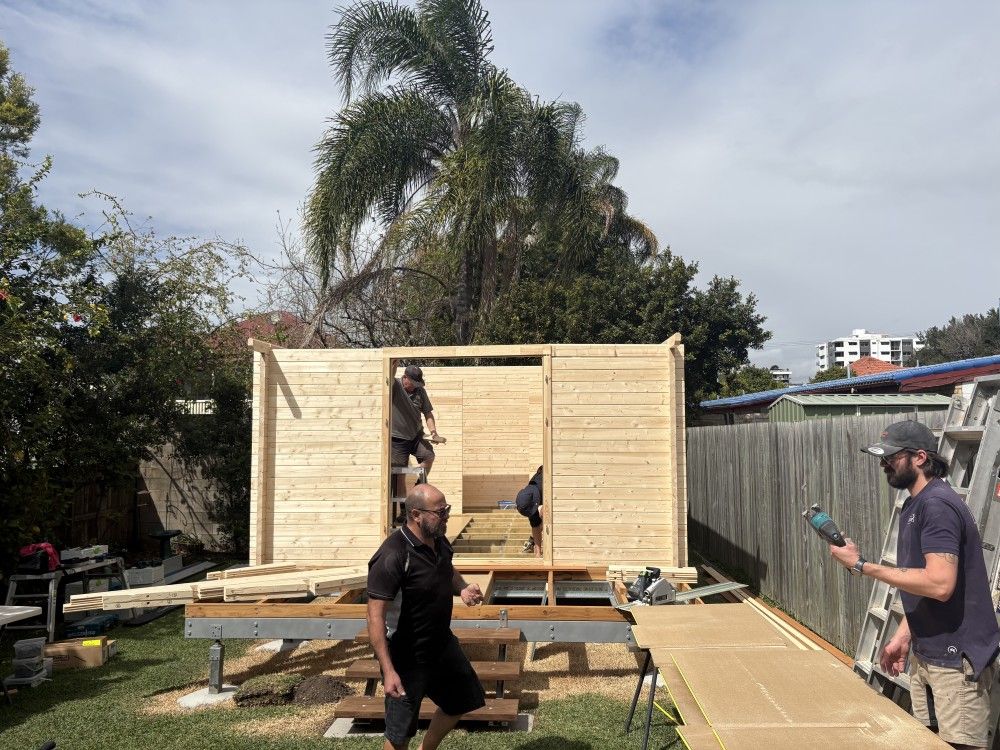
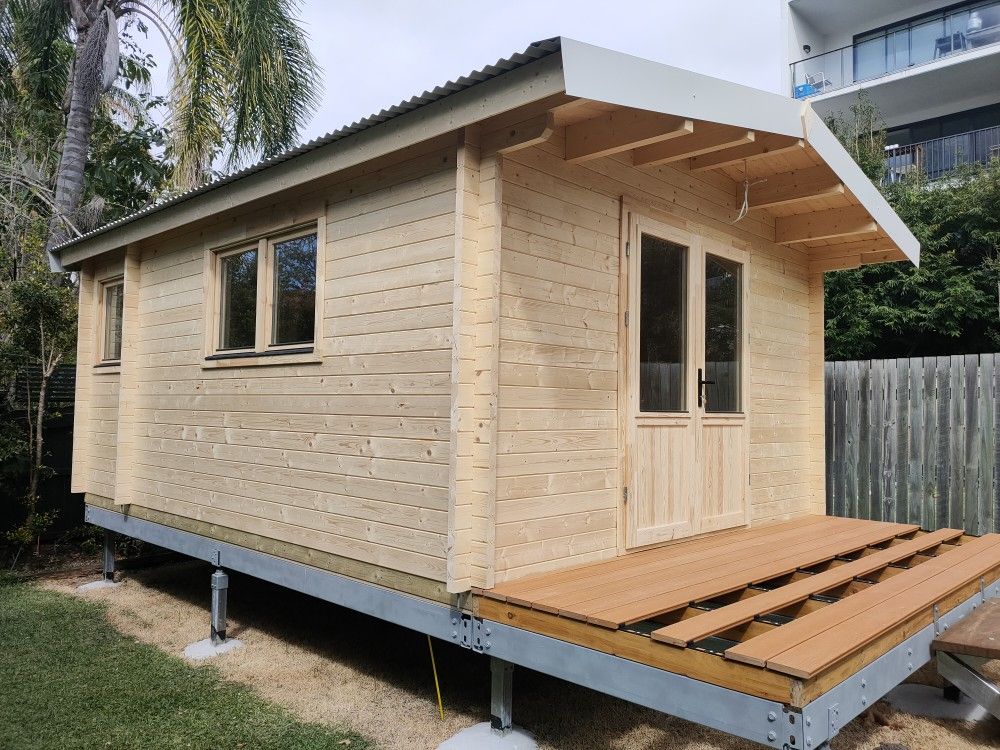
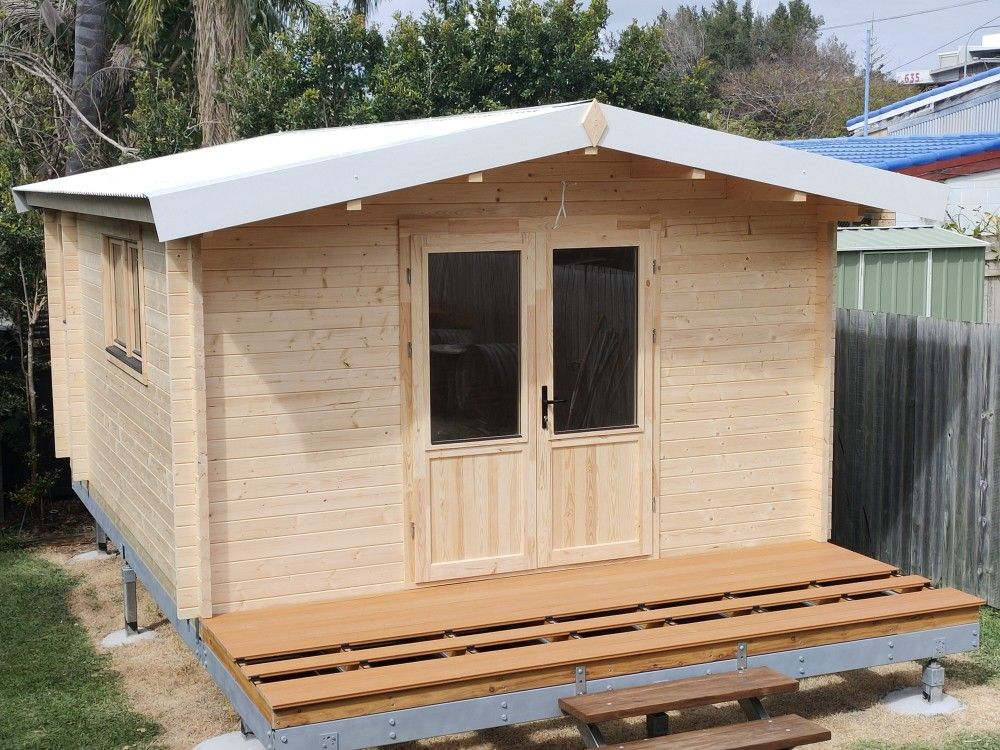
Initially, we were only meant to deliver this cabin. But as is often the case, things change, so we ended up also installing it. After we delivered the steel purlin base, Tom, the owner, dug the post holes. We first installed the steel purlin base, then returned a few weeks later and installed the ORAN 20 cabin over three days.
Steel Purlin Bases
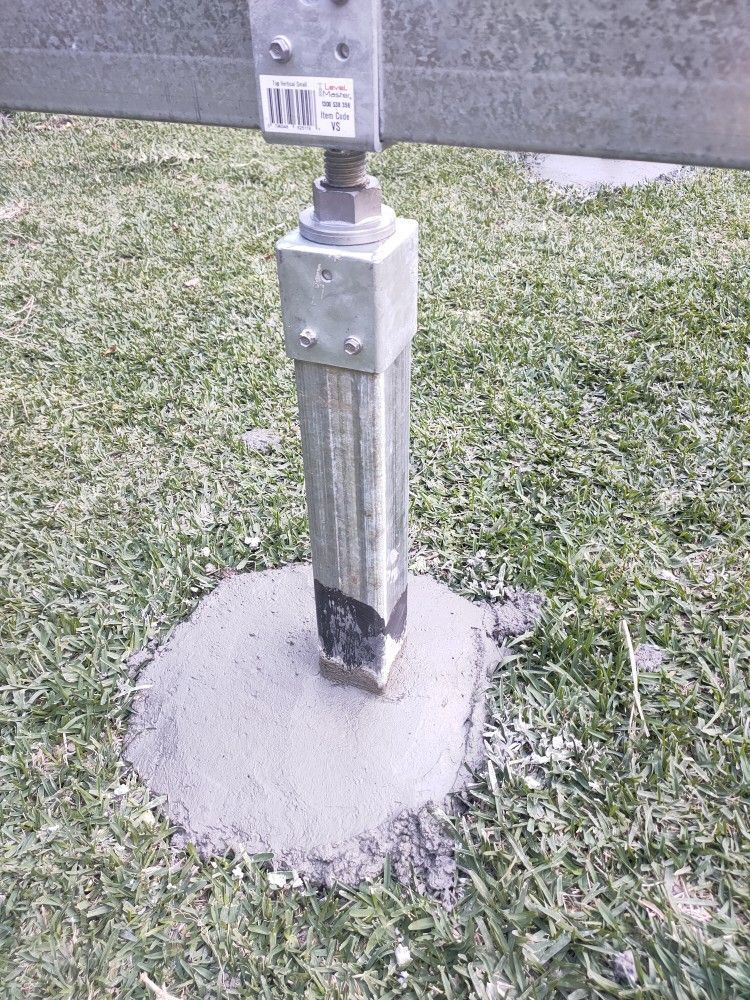
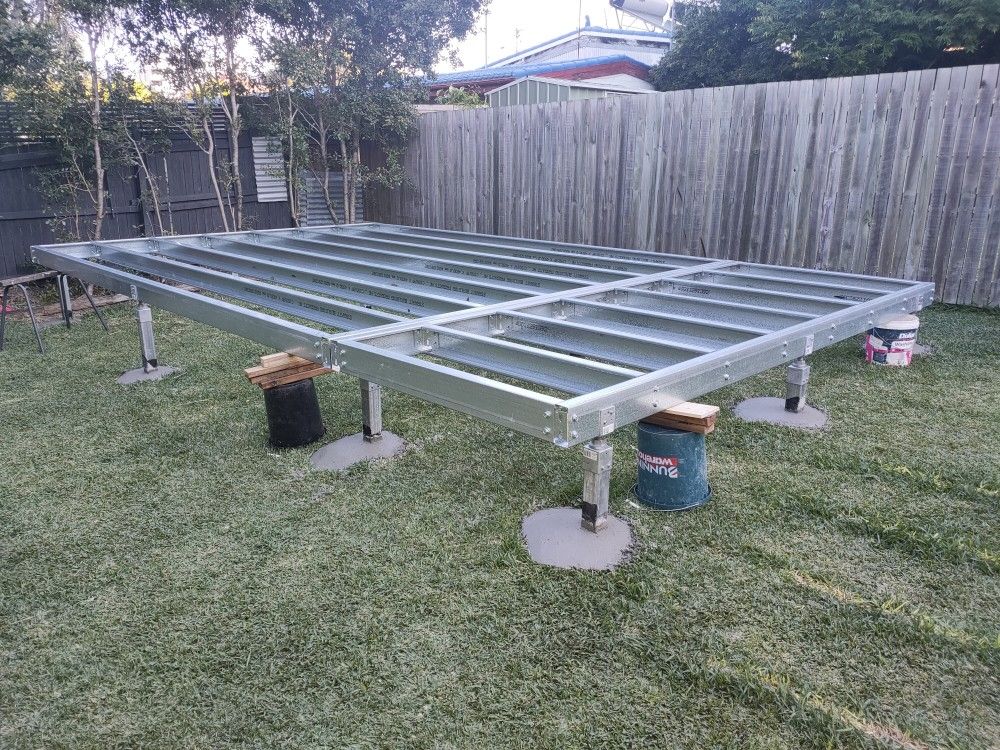
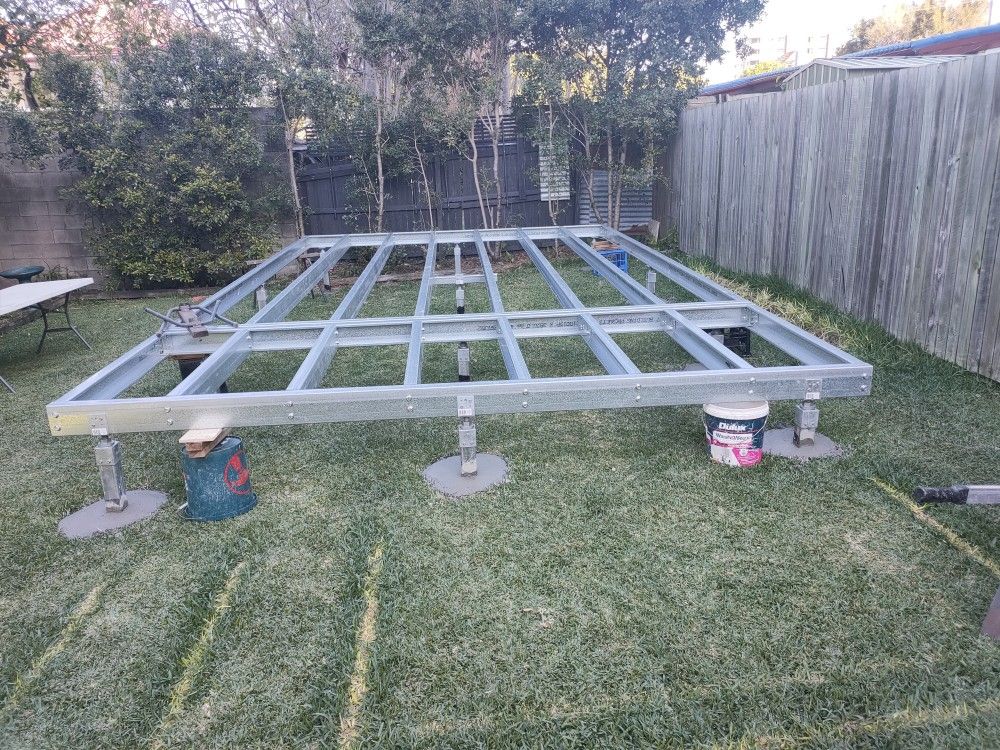
Our most popular log cabin shed foundation is our steel base with adjustable stump tops. This is due to its relatively affordable price, versatility and ease of installation, especially on sloping ground.
We always use height-adjustable stump tops made by LEVELMASTER.
Height adjustment is achieved using a 150mm M30 galvanised steel thread, rather than manually lifting or lowering the cabin by removing screws and drilling new holes.
Adjustments are made using a 45mm spanner or shifter, allowing the cabin to be lowered or raised millimeter by millimeter.
Tom also wanted a 1.5m deck extension, which bolted onto the main cabin base frame. For additional rust protection, bitumen paint was applied to the lower sections of the stumps.
Double Floor...
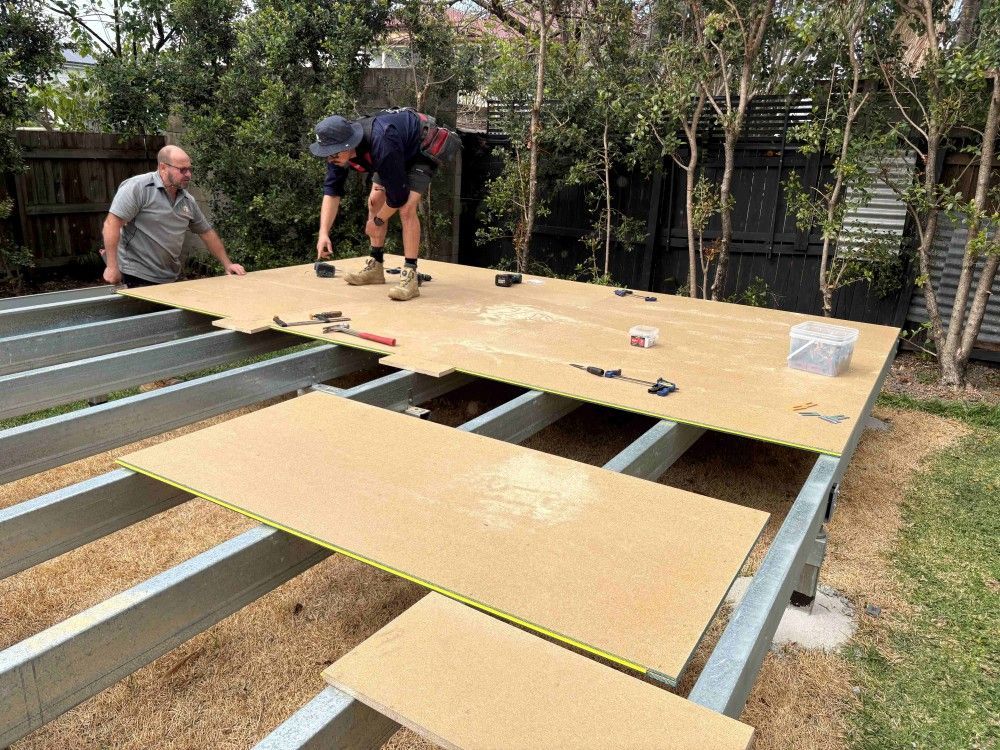
To help keep your cabin cool in summer and warm in winter, installing a double-layer floor with insulation bats in the cavity is a great idea.
Just make sure you let us know you want a double floor before we deliver the cabin and start building, so we can organise the additional materials.
The first layer of floorboards is screwed directly onto the steel purlins. Normally, the second layer and insulation bats are installed after the first layer of logs. However, a couple of showers meant we needed to mob up access water, and wait until the floor cavity had dried properly.
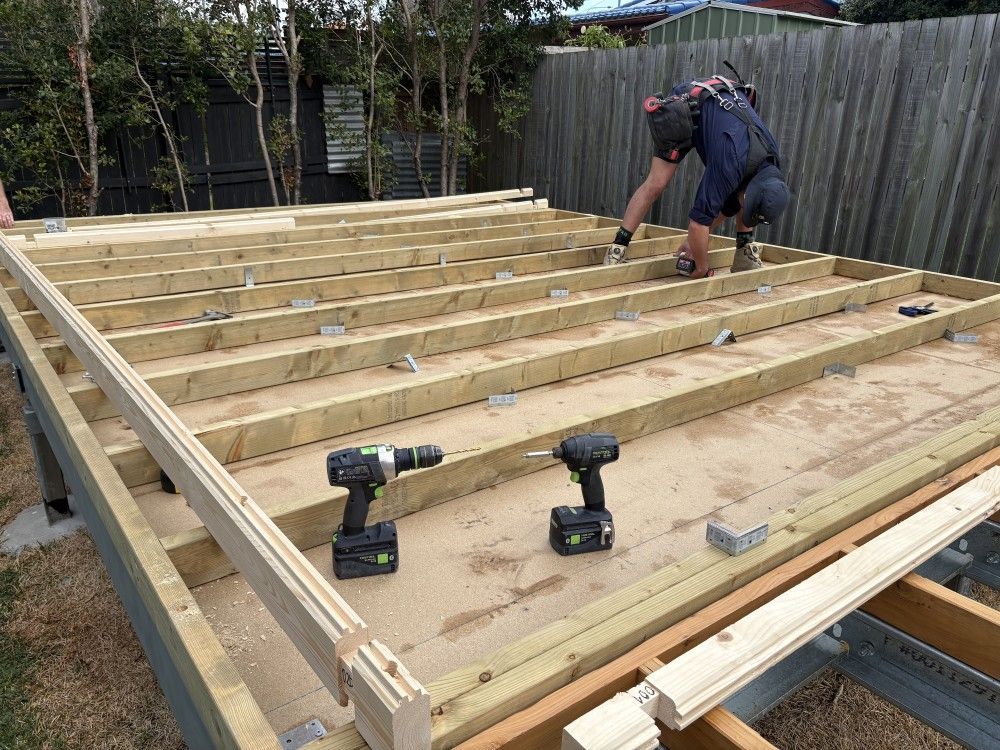
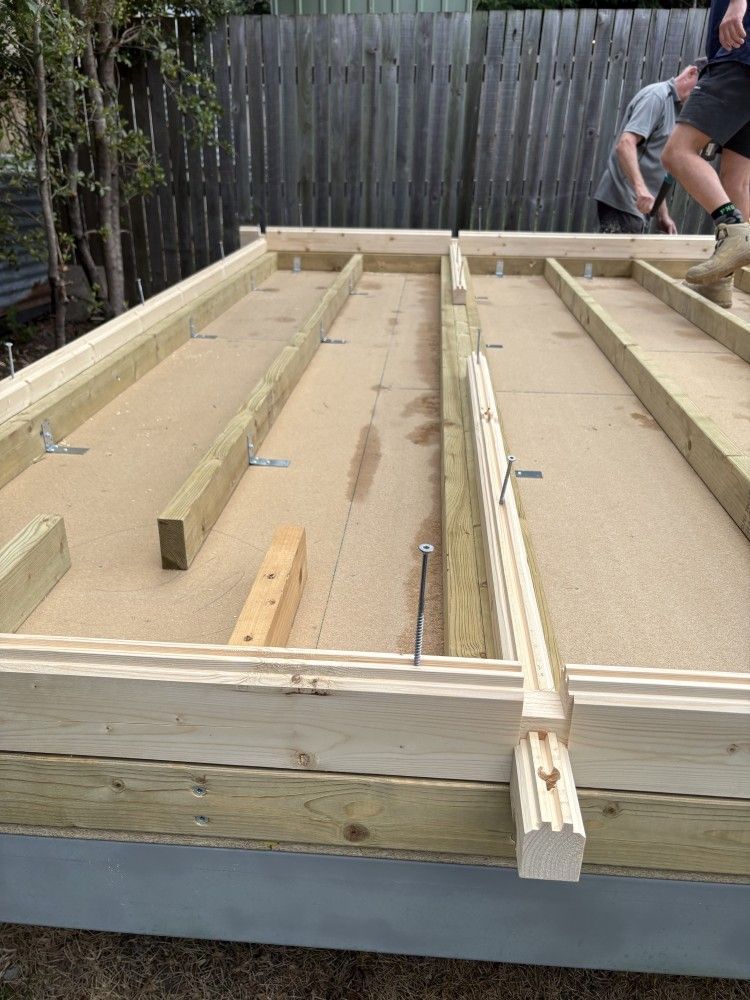
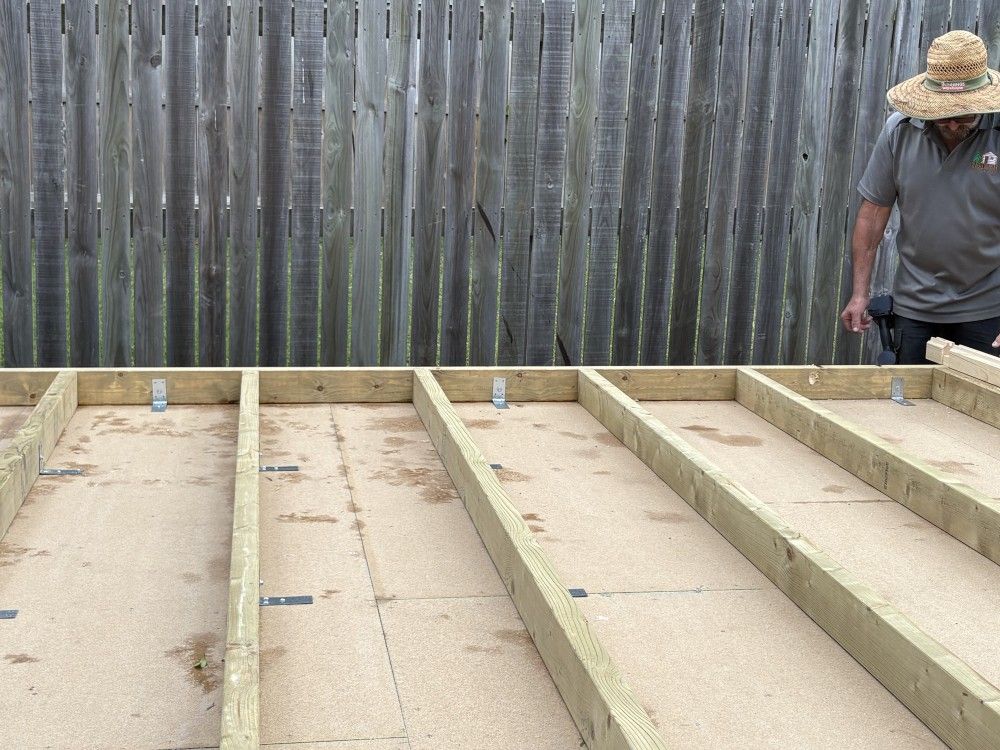
Treated Pine Base Frame
A few showers during the first day of construction slowed us down a little, but that is Mother Nature. Luckily, the following days were dry.
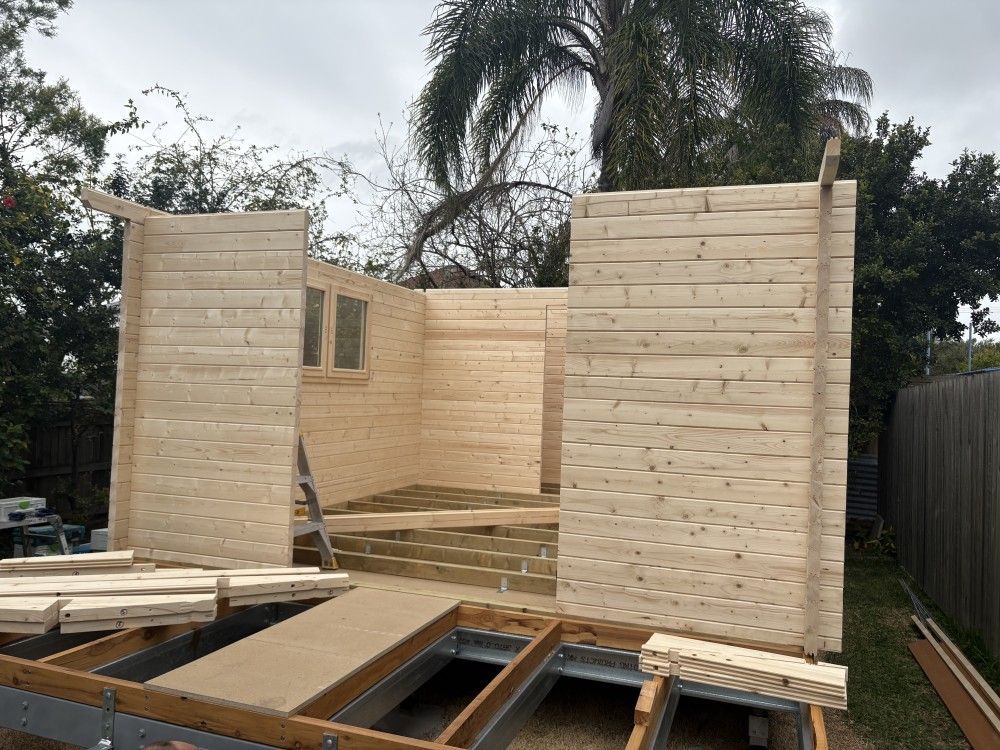
The first few rows of logs are always the most exciting part of the cabin build. After digging foundation holes, pouring concrete (we used a Concrete Taxi this time, which worked well) and installing the steel base frame, finally installing some timber logs is always a welcome change.
We opted to install the front deck after the cabin. For easier access, we screwed down a temporary piece of floorboard.
Window and Doors
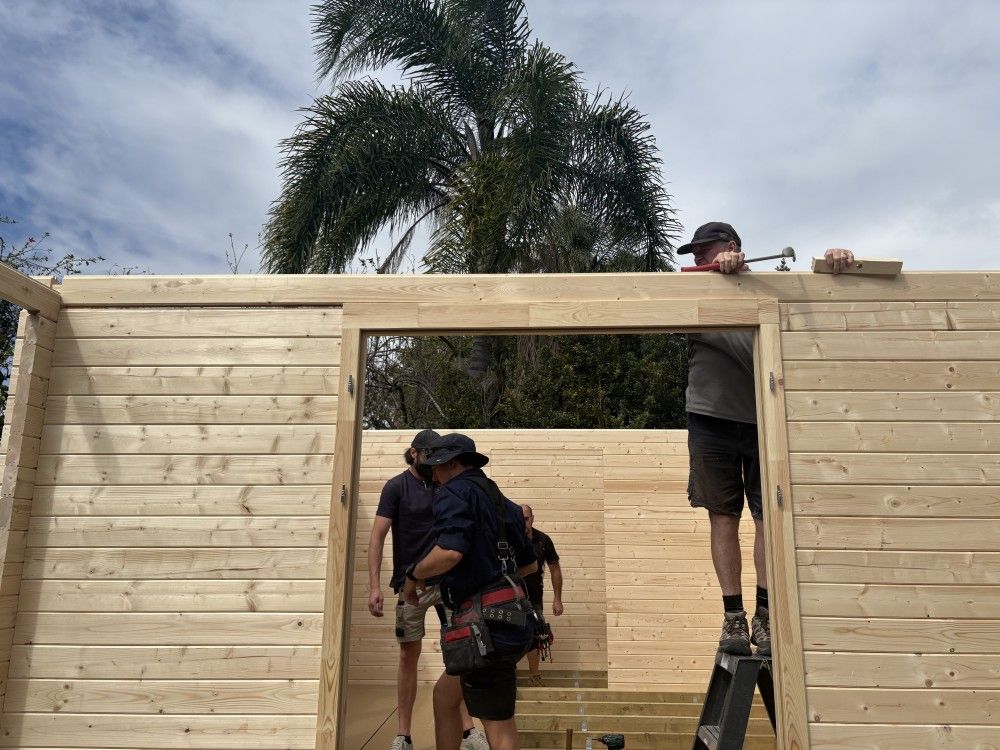
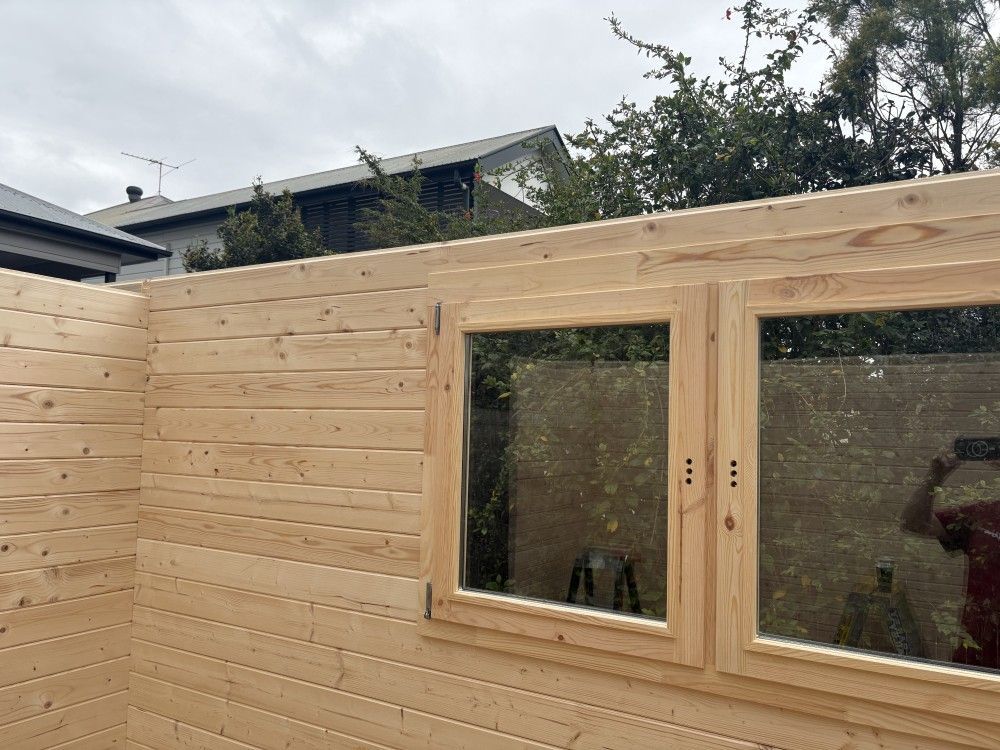
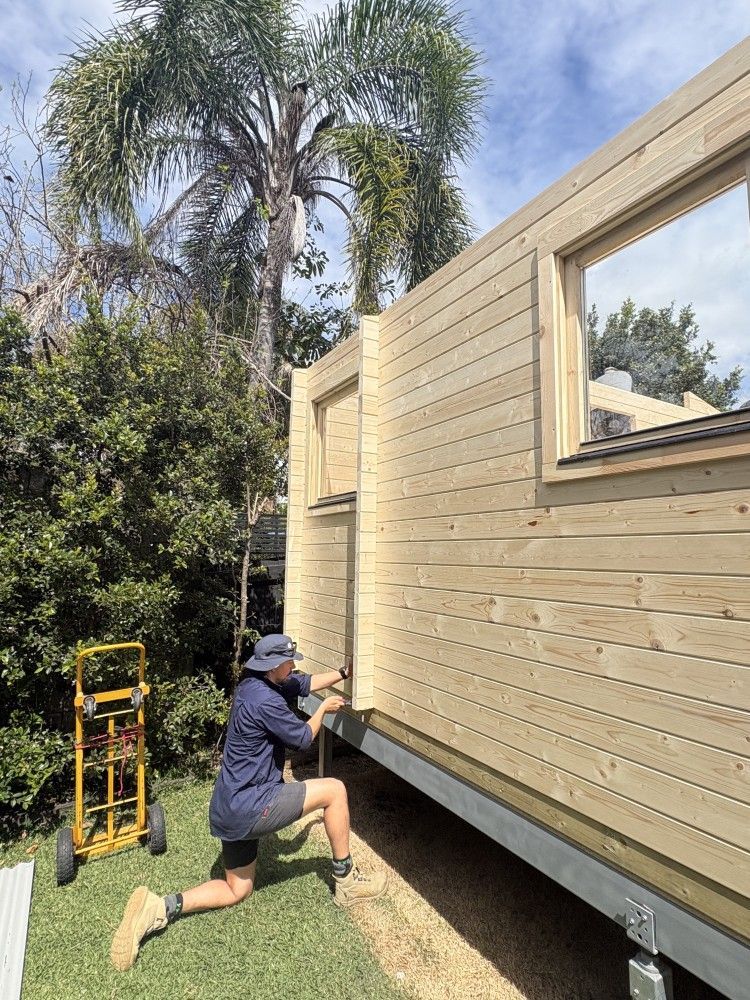
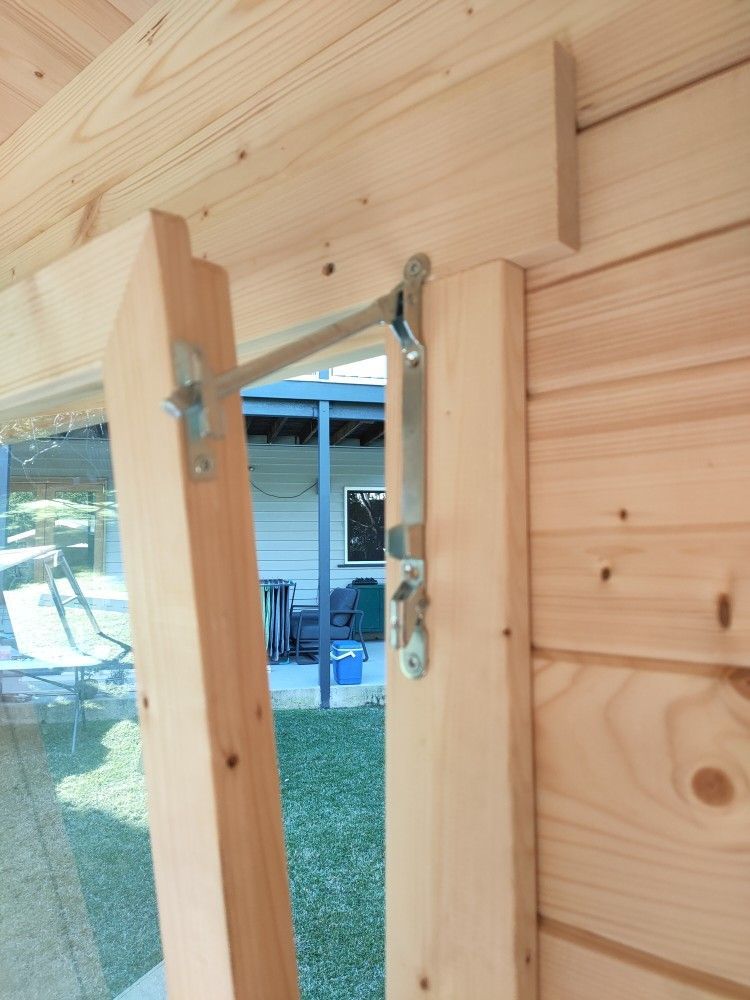
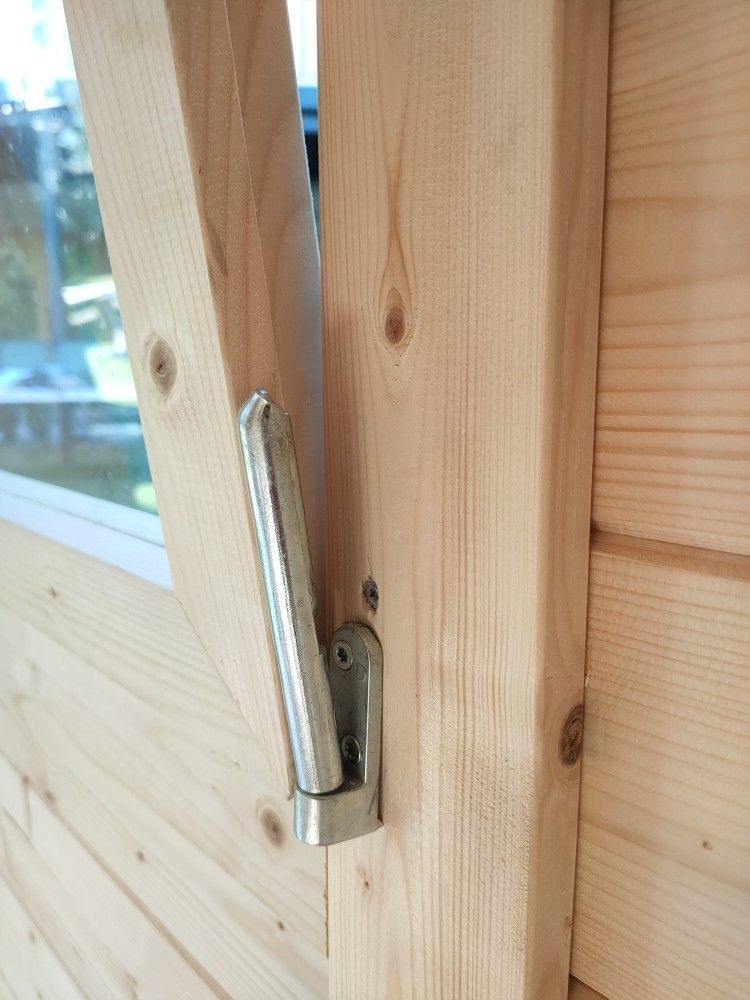
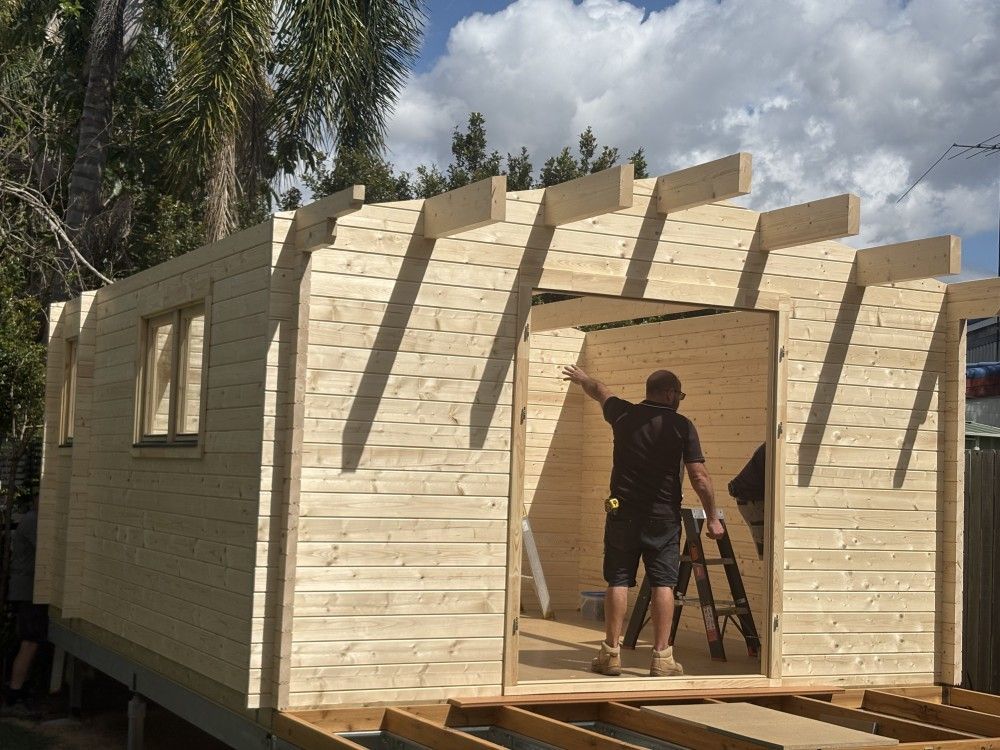
For cabins with 50mm wall logs, the door architrave and, a little further up the wall, the entire window must be installed while the cabin is being built.
The window is placed between the precut wall logs and needs no further assembly other than the plastic hinge covers.
The door architrave needs to be installed before the log connecting the front right and left walls above it. The inside timber of the bottom U-shaped architrave piece needs to be unscrewed and cut down to create an L-shaped assembly. This allows the bottom architrave to sit flush on top of the floorboards.
For a neater finish, additional trimming may be needed to let your chosen floor covering slide underneath the bottom inside architrave.
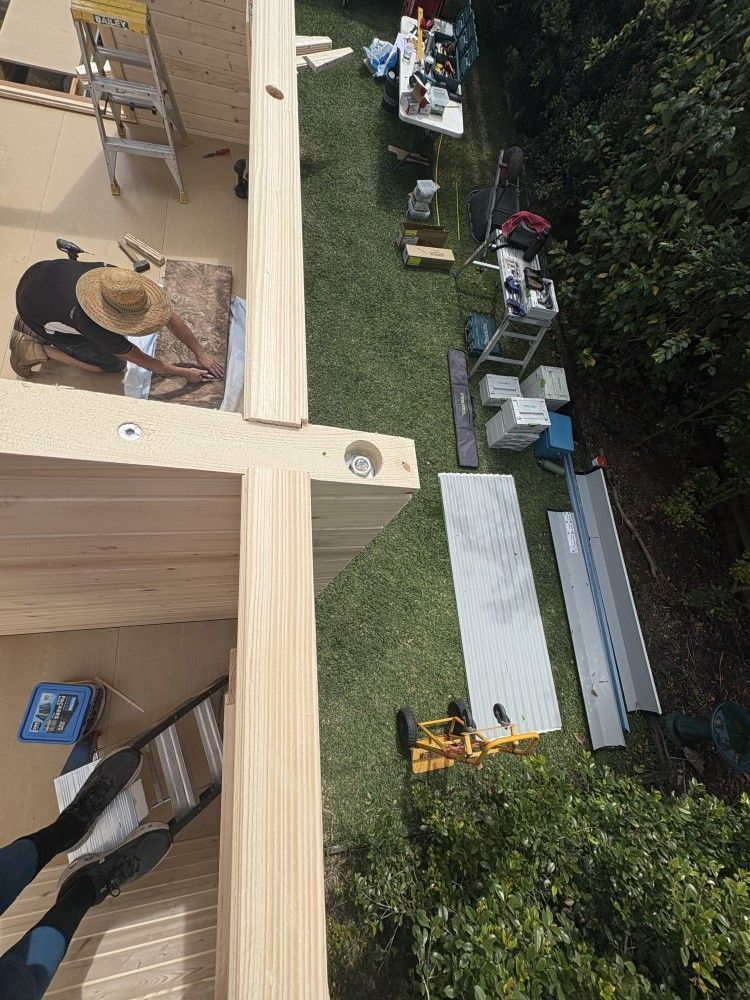
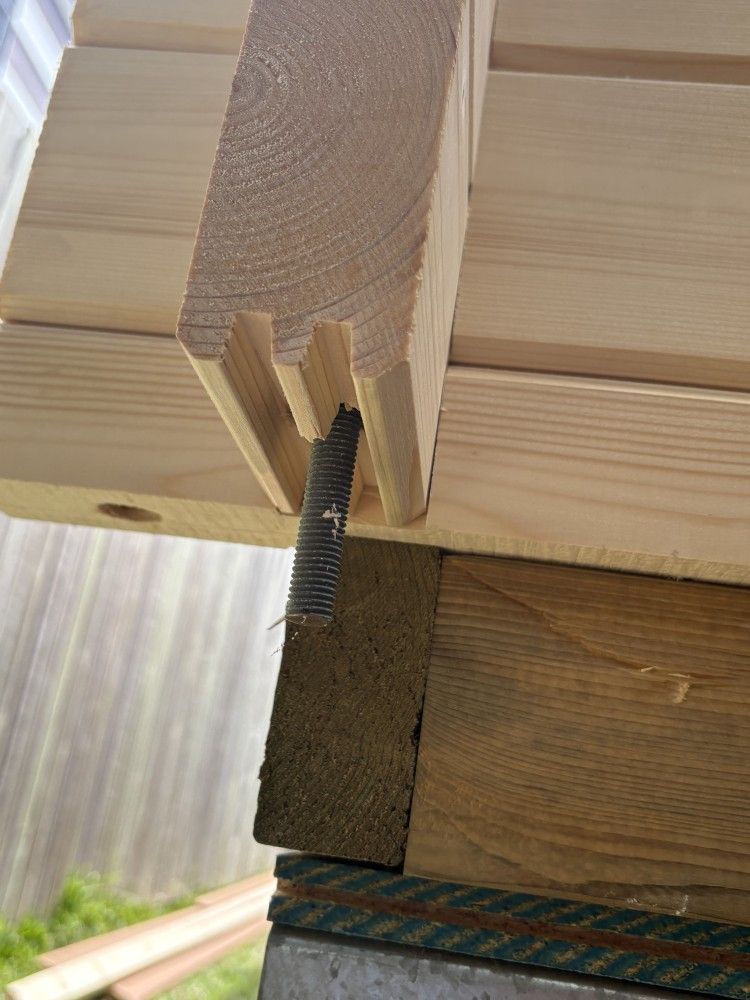
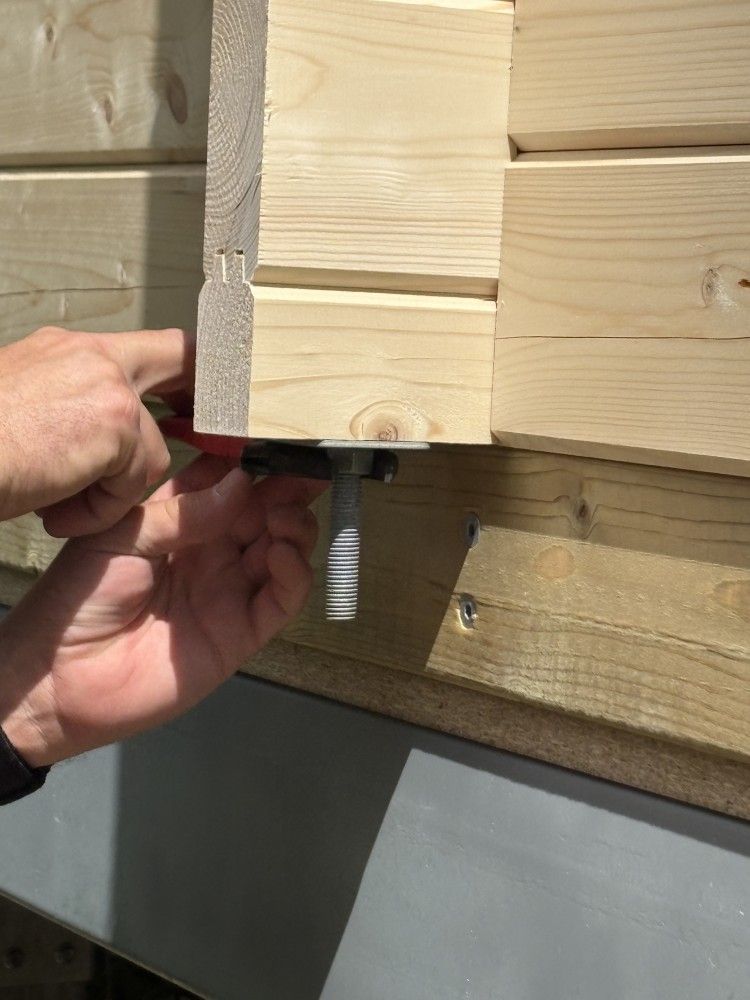
Threaded Storm Rods
Your cabin comes with threaded storm rods. These are inserted from the top of the log walls through holes provided in the corner log extensions.
The top of each threaded bar has two nuts and a large washer. These need to be recessed into the wall logs so they do not protrude above the top of the wall.
At the bottom of the storm bar, a large square washer is added and secured with another galvanised steel nut.
Initially, the bottom nut is only loosely tightened with a spanner, about three turns. Within a day or two, these need re-tightening as the logs begin settling.
Roof Beams
A few showers during the first day of construction slowed us down a little, but that is Mother Nature. Luckily, the following days were dry.
The first few rows of logs are always the most exciting part of the cabin build. After digging foundation holes, pouring concrete (we used a Concrete Taxi this time, which worked well) and installing the steel base frame, finally installing some timber logs is always a welcome change.
We opted to install the front deck after the cabin. For easier access, we screwed down a temporary piece of floorboard.
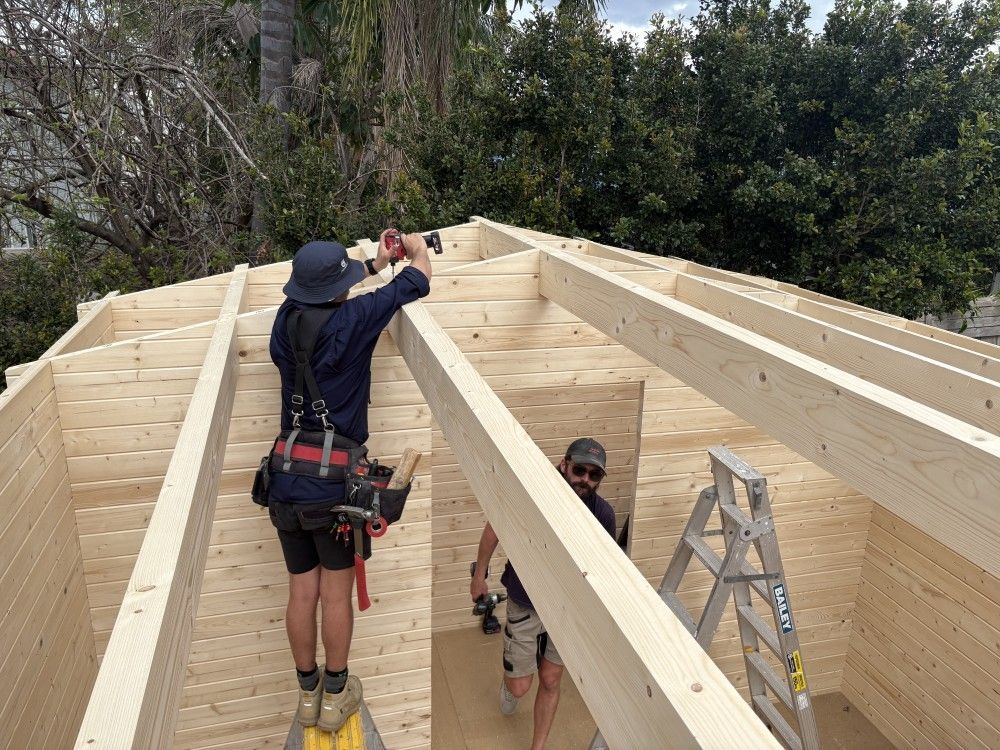
Roof Boards
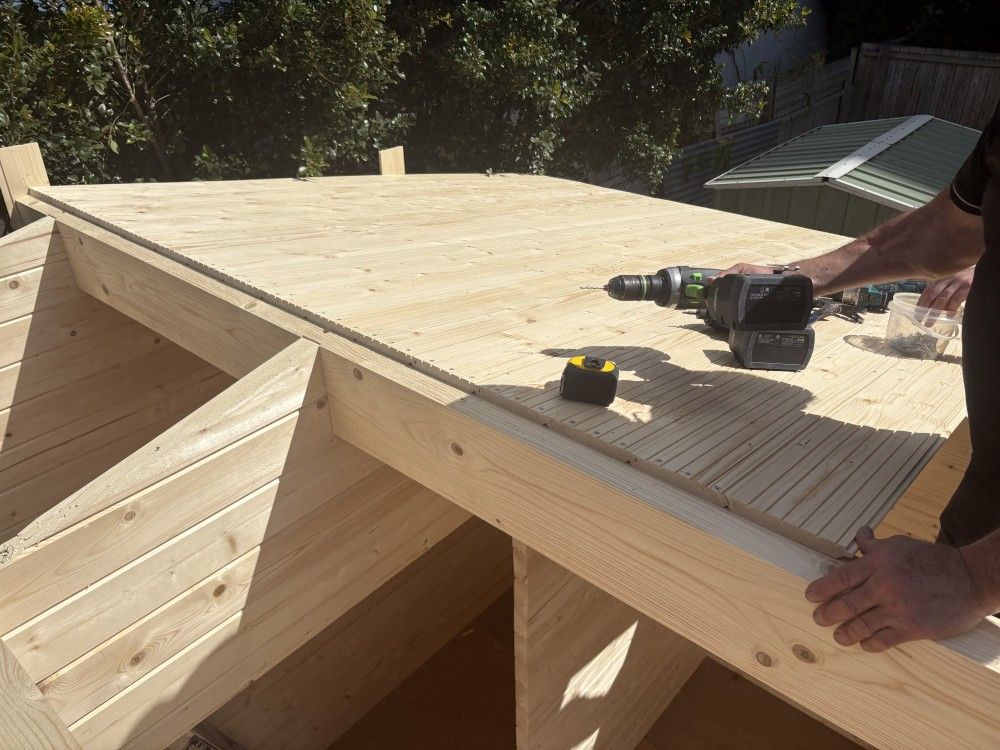
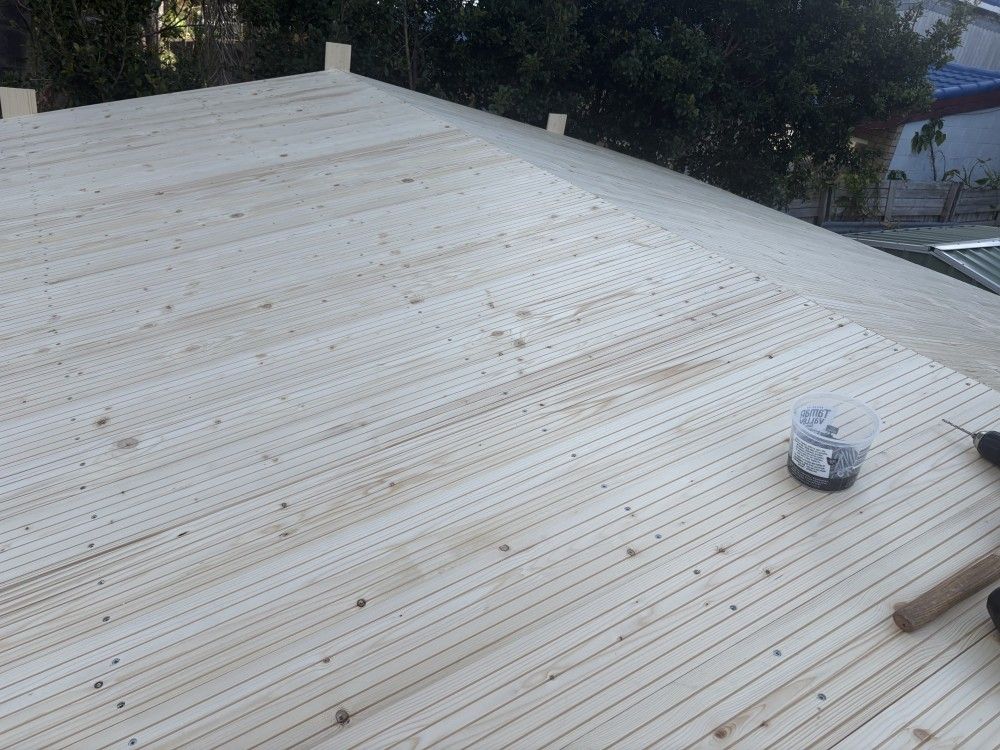
The quality of the timber we currently receive from our supplier in Estonia is fantastic, with very little twisting or splitting. It is a pleasure to work with.
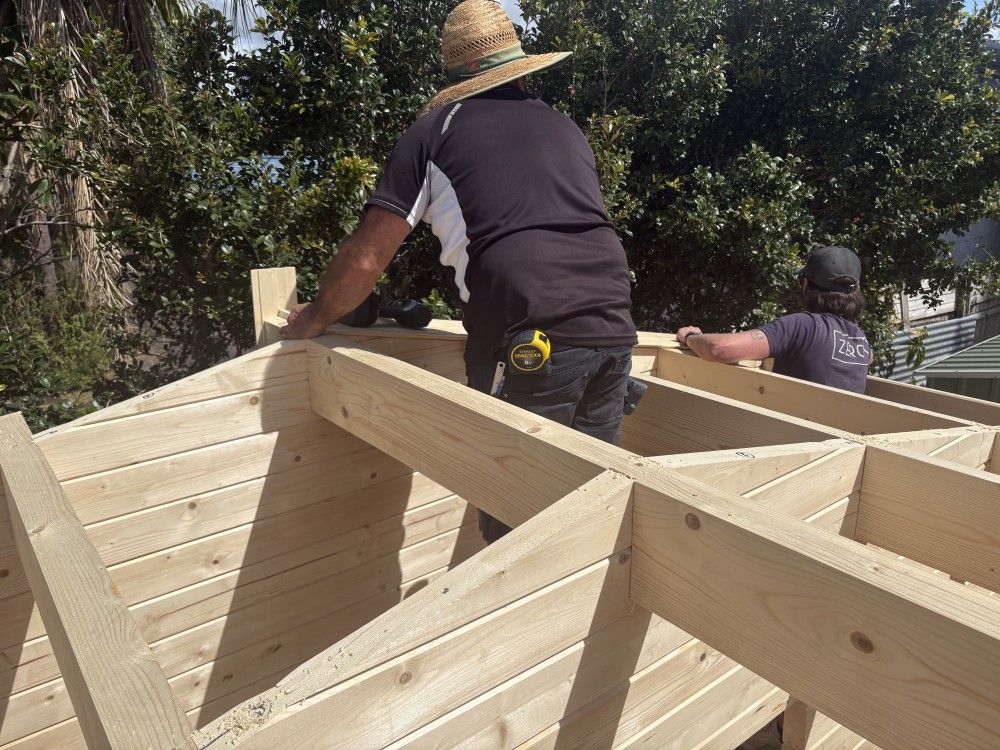
Apart from the windows and doors, we source fixing hardware locally. For example, we replace the chrome-coated nails normally supplied for the roof boards with galvanised 45mm screws. These take longer to install, but provide a more secure fixing.
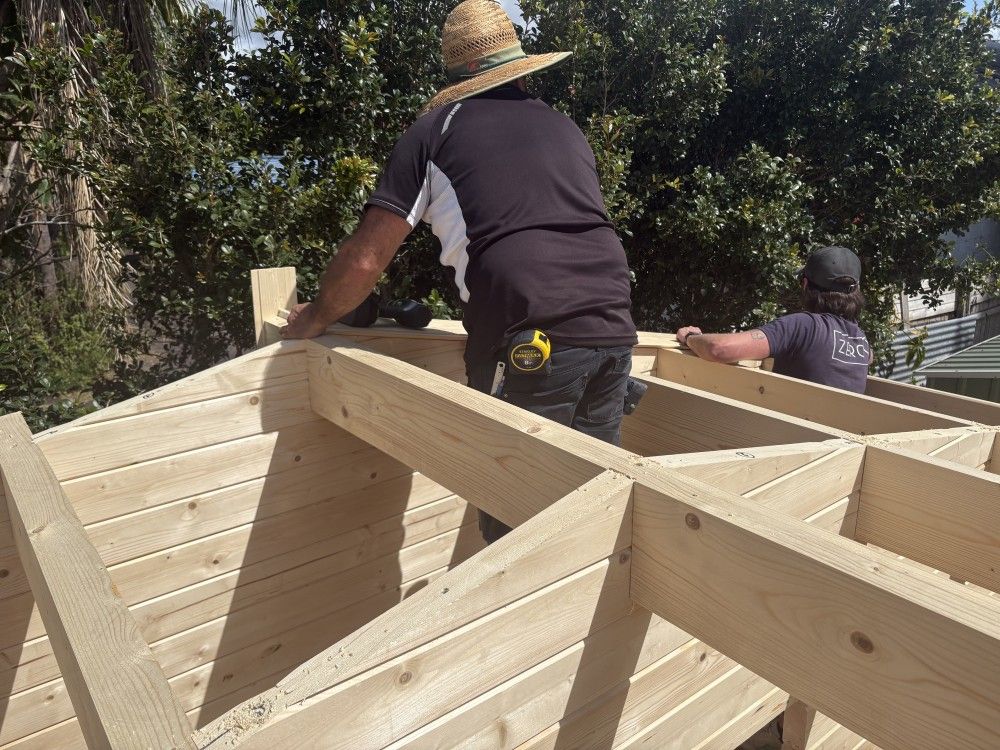
At the rear ends of the roof beams, we temporarily screw on scrap pieces of timber to help align the first roof board and roof sheet.
Not Quite Done...
As is often the case, a few smaller jobs still need completing after the main build.
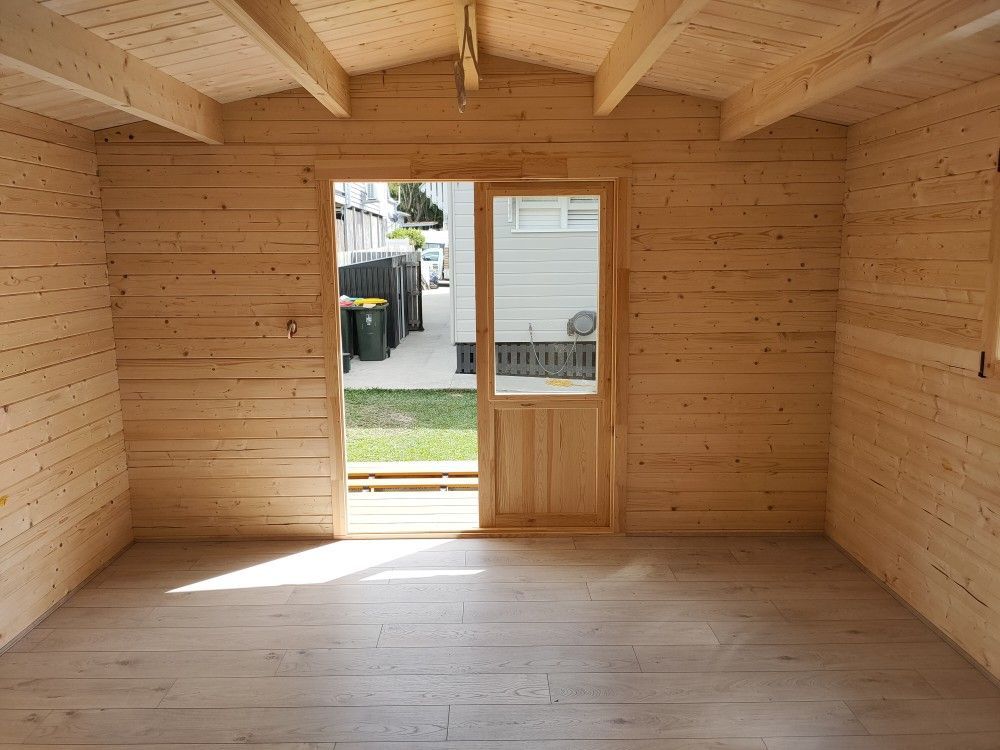
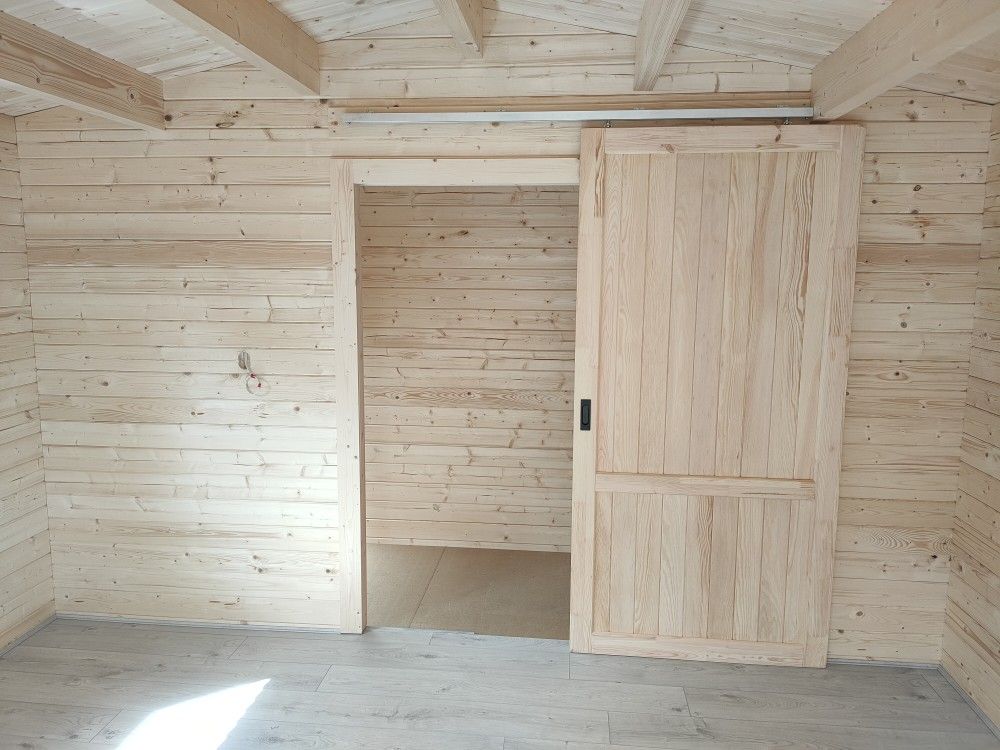
For Tom’s cabin, we were two MODWOOD decking boards short, and the internal barn door still needed to be installed and adjusted. This meant returning a few days later to finish everything.
We are also happy to check on your cabin in the future and help with any issues that arise.
We want you to enjoy your cabin for many years to come and will do all we can to help keep it in top condition.
LIKE IT? SHARE IT!