Timber Garden Sheds Australia
August 2026
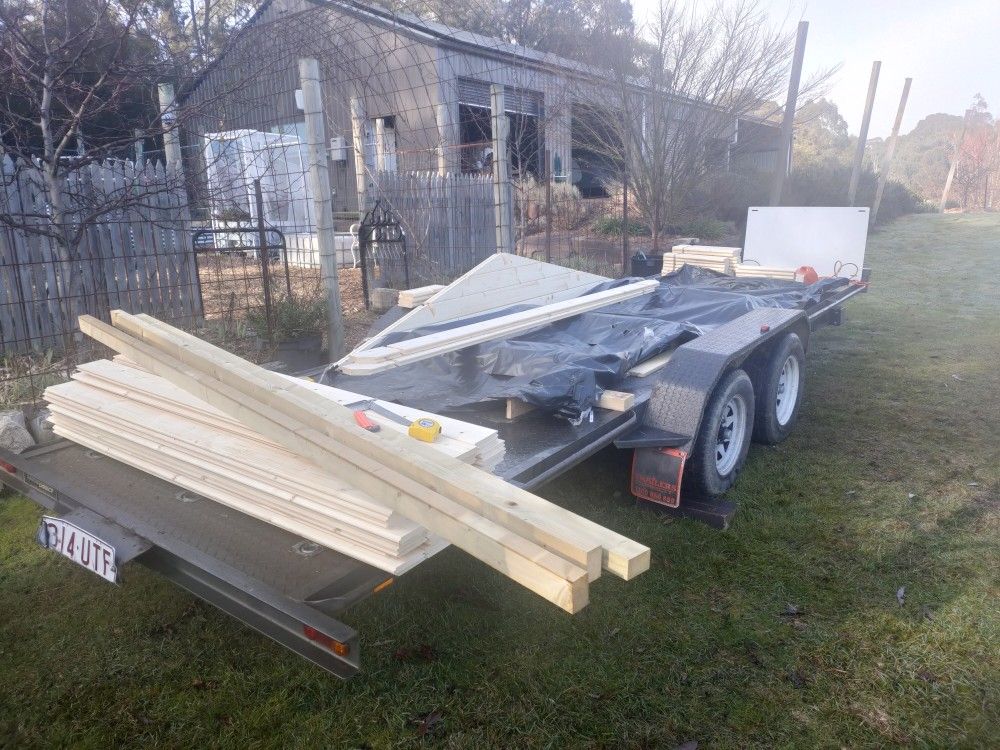
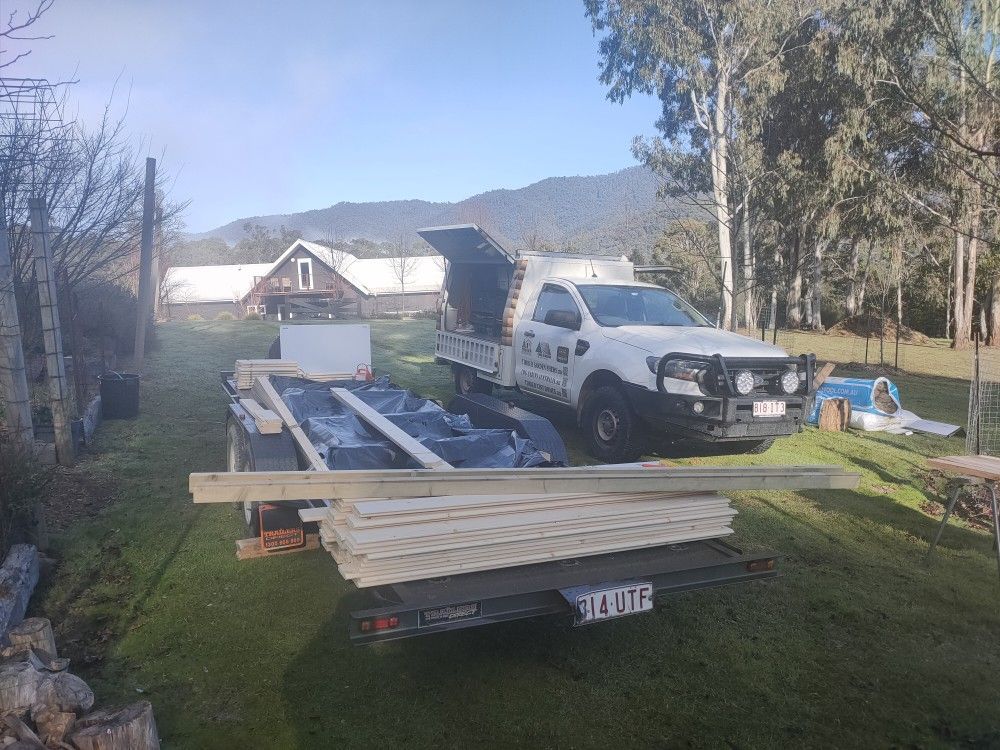
Talking about "long distance".... Despite the fact that our operational base is in Northern NSW and the Gold Coast/ Brisbane, we do deliver and build log cabins all along the entire Eastern Seaboard. Larger travel distances cause costs, of course, but we try very hard to keep these to an absolute minimum. Only the bare minimum need to be covered by you, such as fuel, road tolls and accommodation. Once this is all sorted, we happily load up and drive as many kilometers as needed, in this case the entire round trip was just under 3,600km.
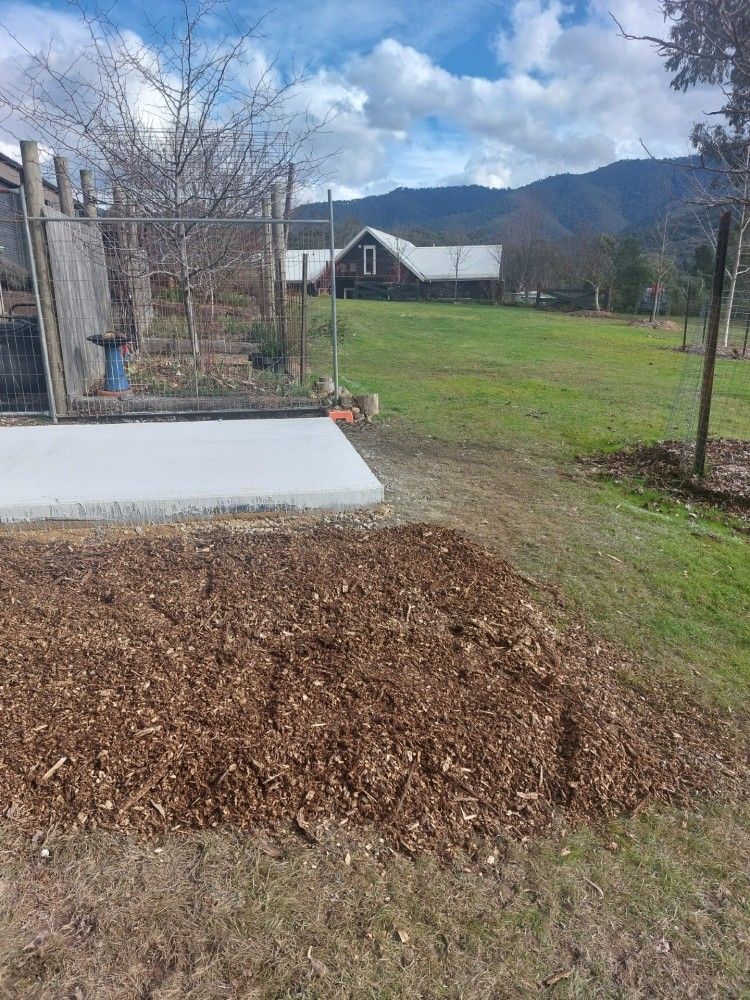
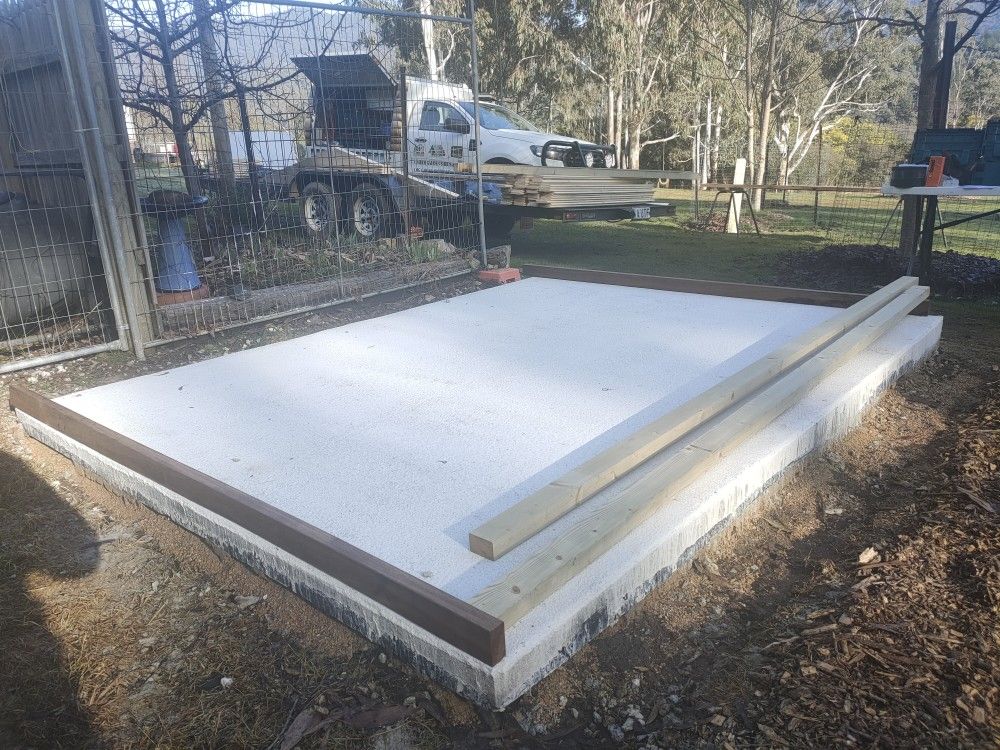
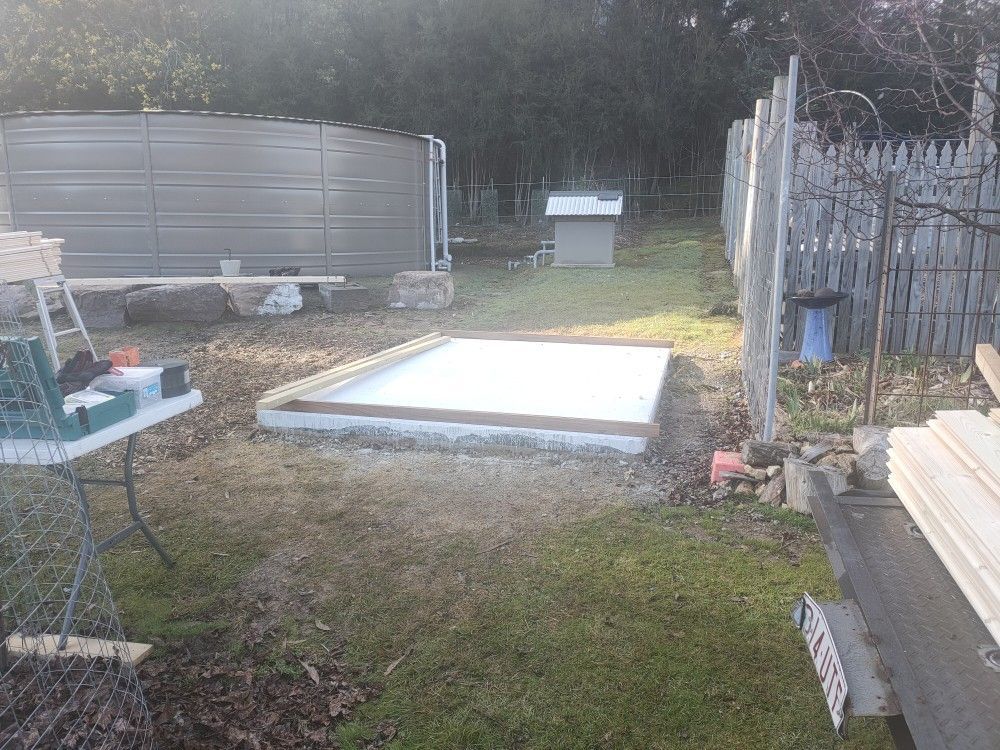
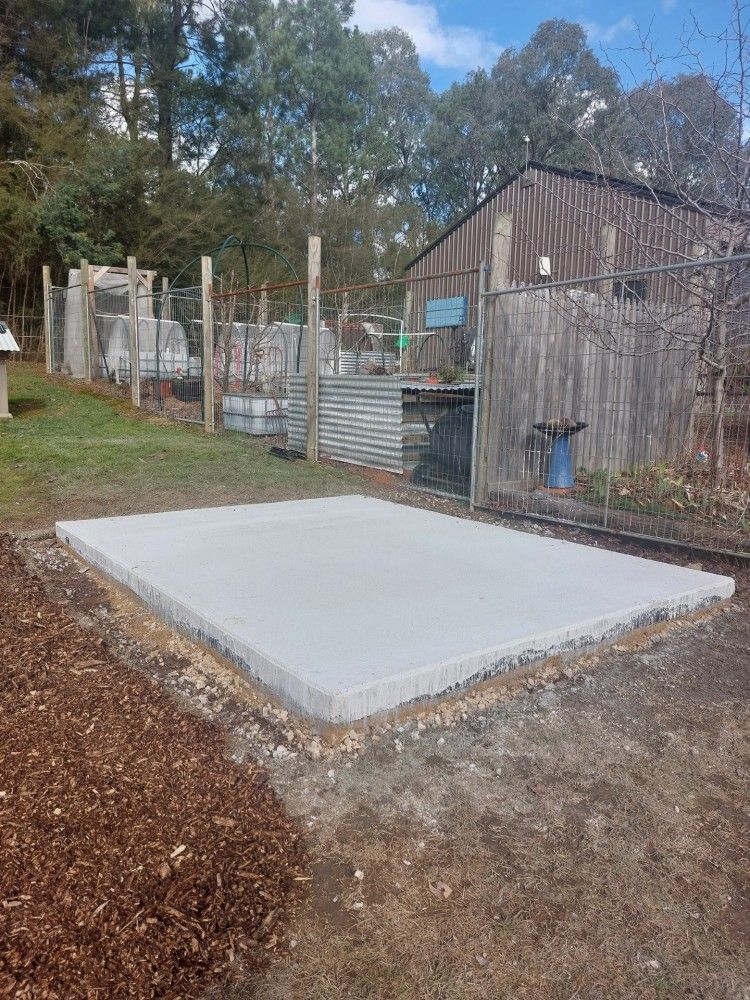
Concrete Slab Foundation
Our most popular log cabin shed foundation is our steel base with adjustable stump tops. This is due to it's relatively cheap price, and the ease of installation, including on sloped grounds. However, concrete is still the best and longest lasting foundation there is, and ideally suits reasonably level sites.
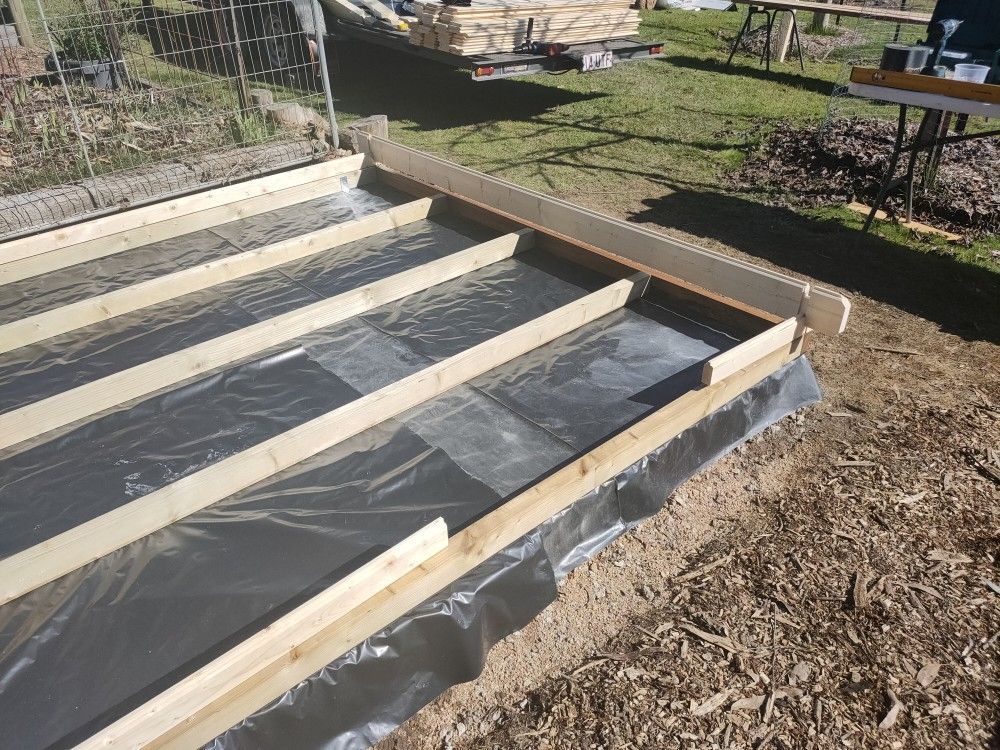
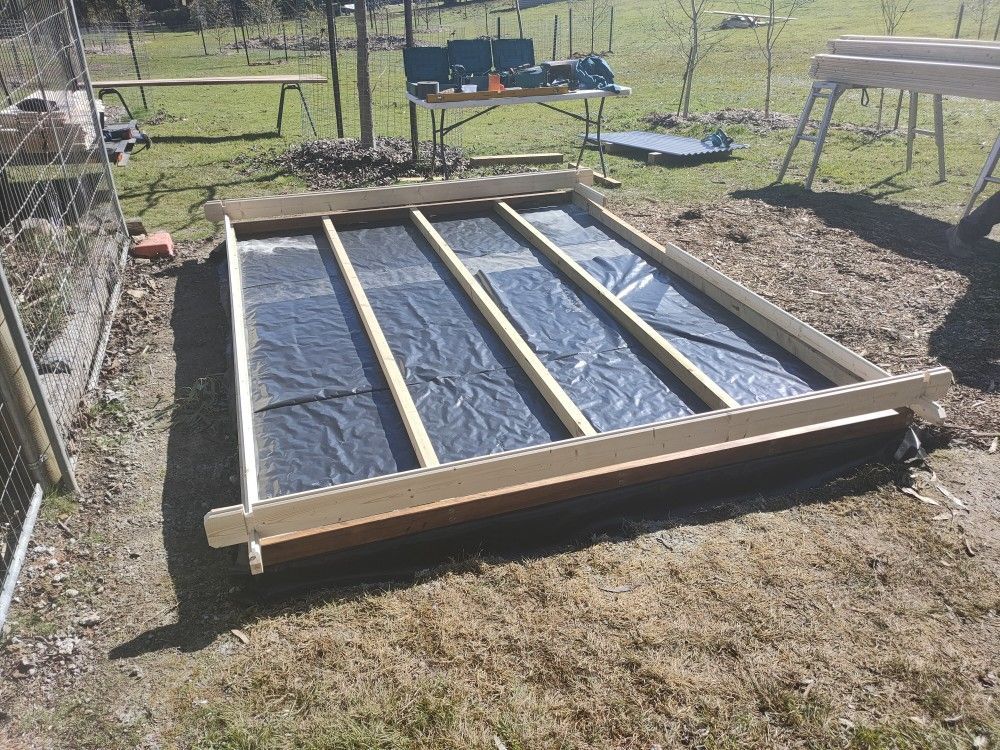
We always first place heavy duty builders' plastic on top of the concrete (see further down), and "snake skin" plastic strips on the bottom of the outer frame timbers.
Placing the treated pine base frame on top of the concrete base also creates a gap of about 70 to 90mm between the concrete base and the floor boards. We recommend to fill this gap with insulation bats.
Sorting logs
Ideally, logs placed in the pallets packed overseas are arranged in the reverse order they will be used during construction. So the treated pine base frame would be placed last, on the very top of the pallet. Unfortunately, like here, that is not always the case.
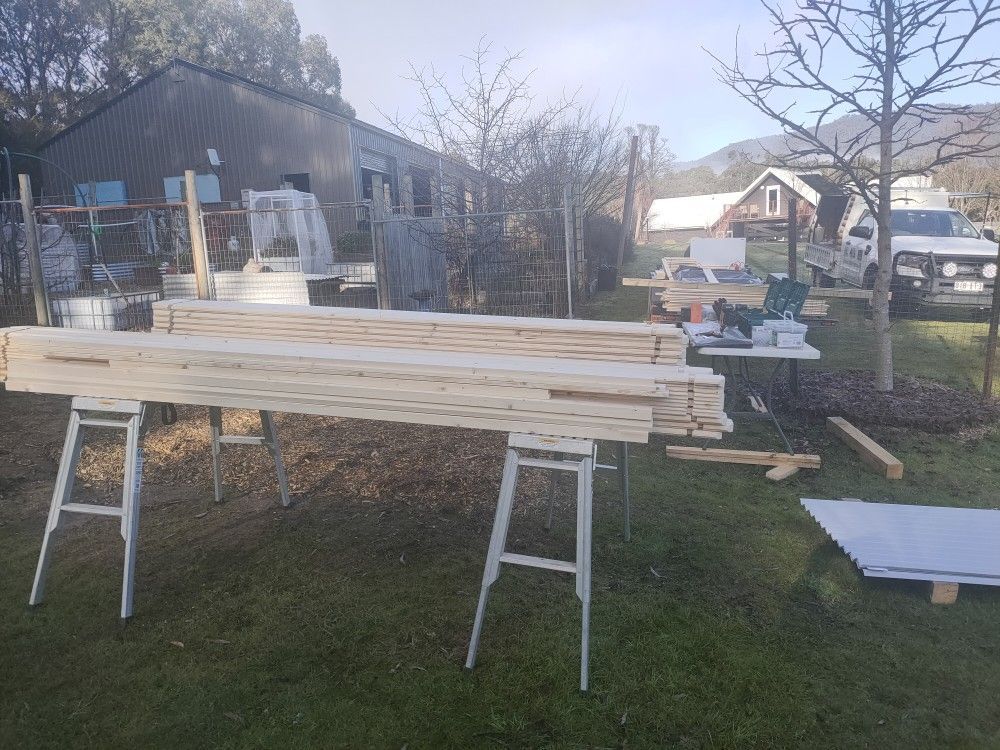
Consequently, we unpacked and sorted all logs before the installation began. Not a big deal for smaller cabins, as the number of logs are limited.
It is always a good idea to have off-the-ground stacking spots available when decanting a cabin pallet, as the logs would get dirty if they would be placed on the ground.
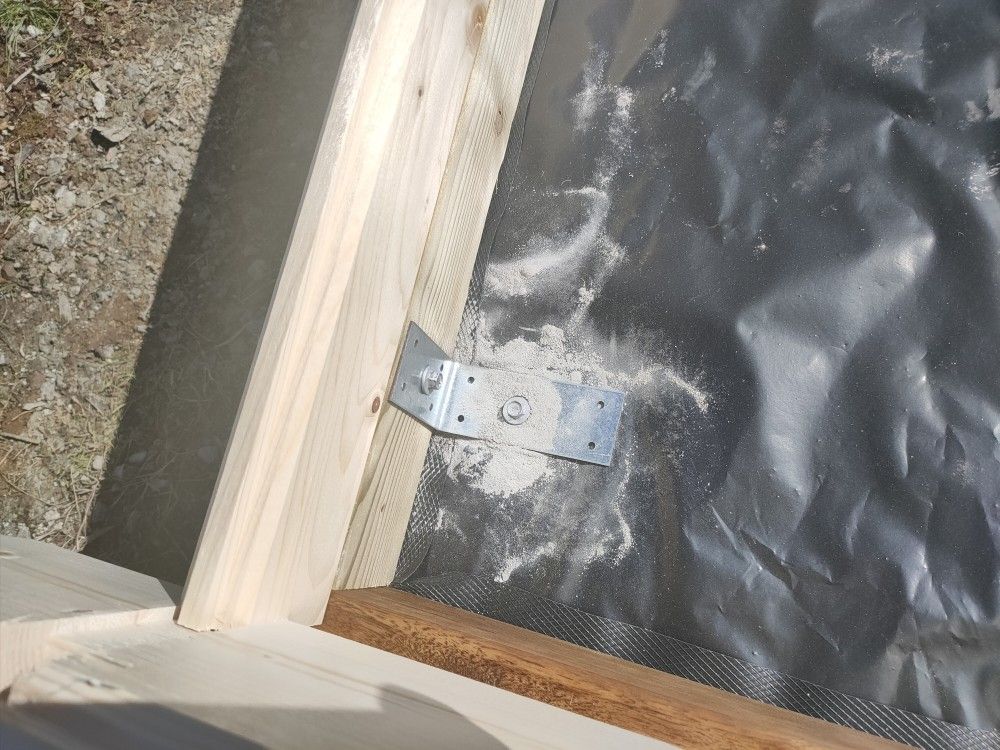
Treated Pine Base Frame
Base frames for cabins made from 28mm solid wall logs are often supplied with only cross timbers - to create an enclosed frame we add to this the two outer pieces (here in hardwood). This in turn means that insulation bats can be added.
The treated pine base frame is than securely connected to the concrete slab using four or more metal angle brackets.
At which stage the solid pine timber t&g floor boards are installed is your call. If you place your cabin onto a concrete slab, we recommend doing this later after the build has been completed, to protect the floor boards from scratches etc while the cabin is being built.
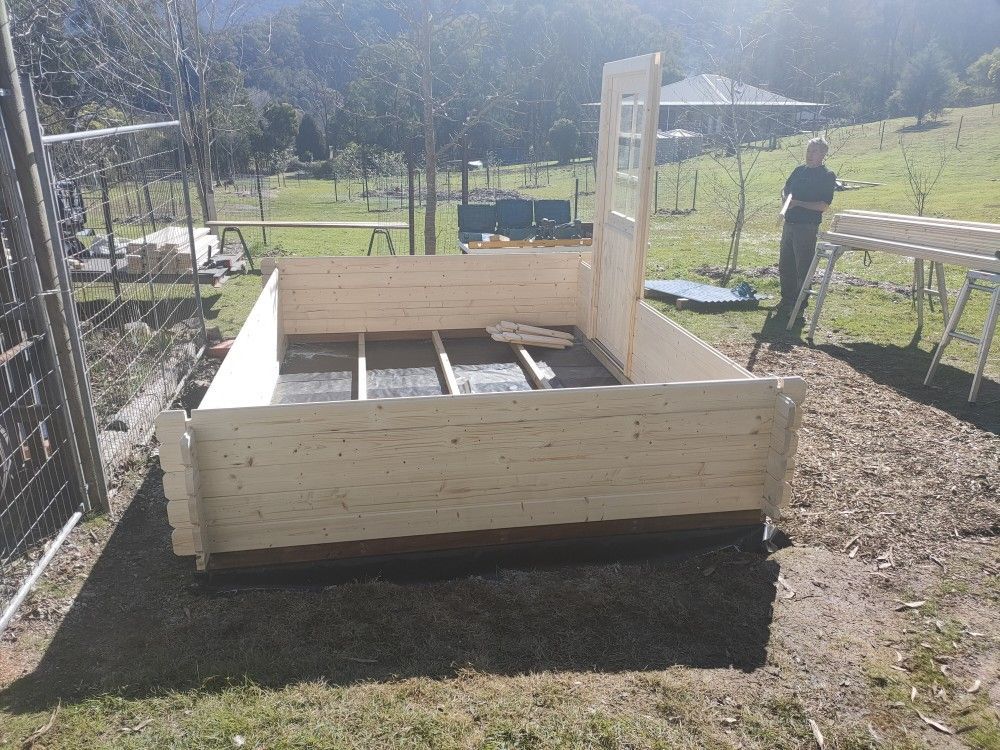
Main Entry Door
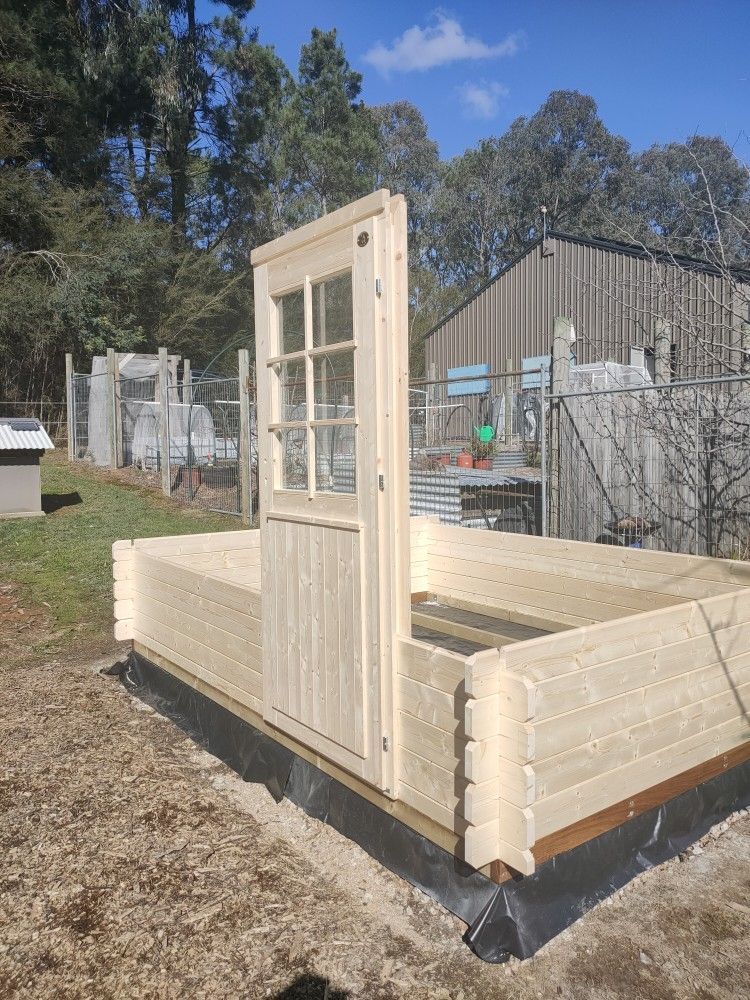
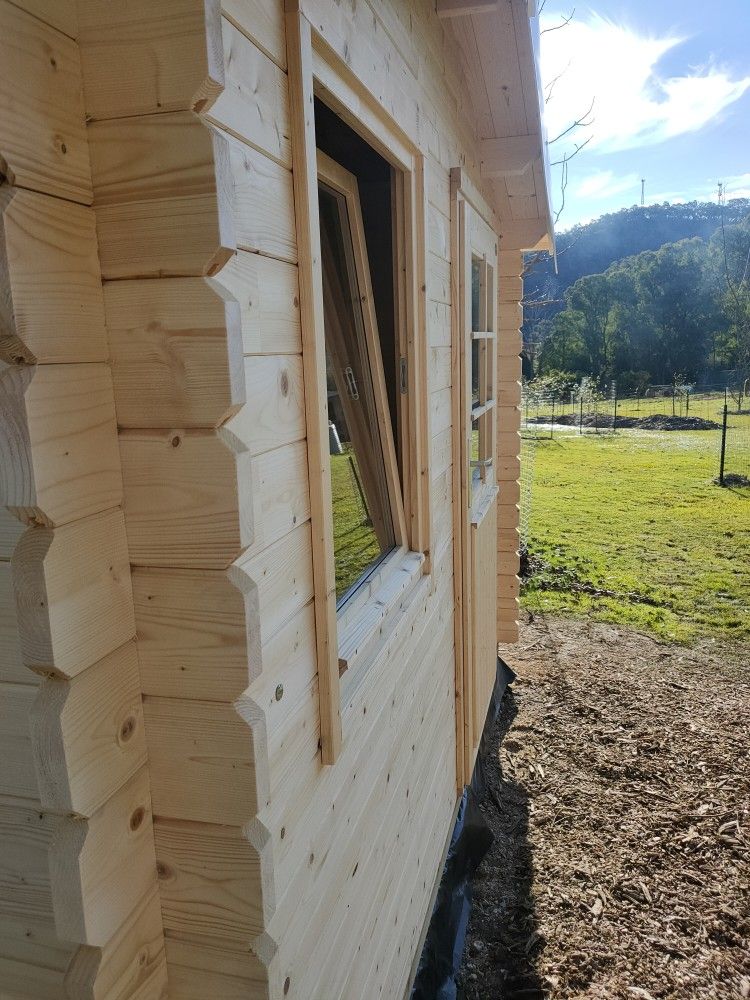
It is important to remember installing the door (and a bit further up the wall the window) while the cabin is being built. Installation of both the door and the window AFTER the walls are completed are possible, but more time consuming and complicated.
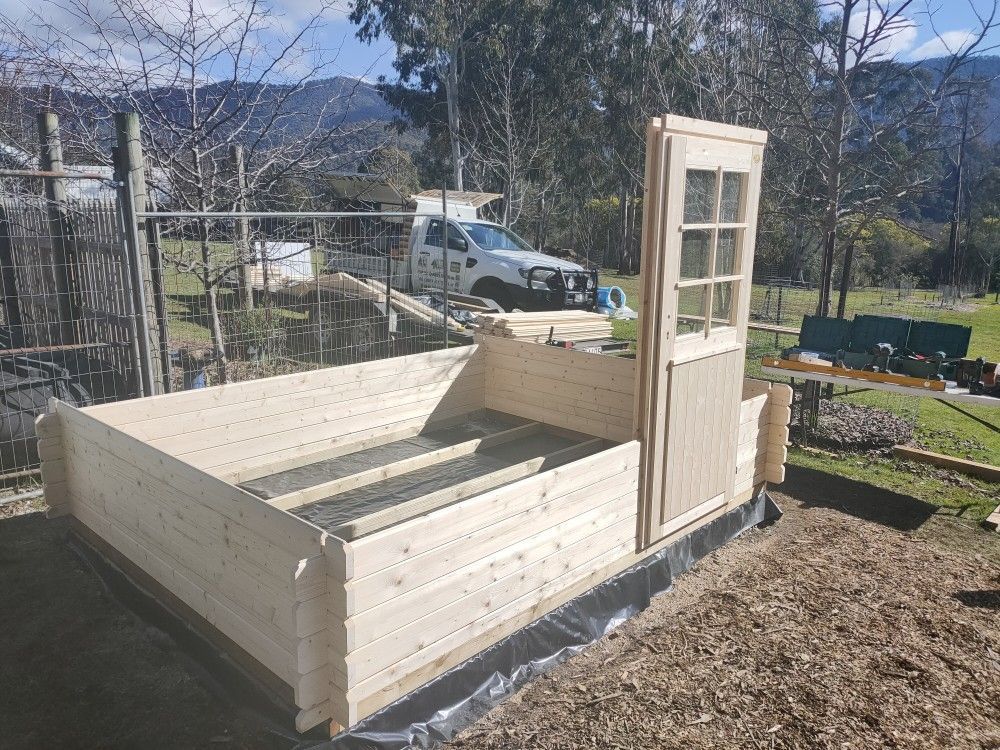
The door looks "funny" sticking out past the log walls, but that's ok - it's only temporary.
Installing the door lock at this stage is a good idea, too.
The log walls are of course not completely locked into place while building, that's also ok. The wall structure will be solid once the top connecting logs are installed.
Walls up....and it's cold!
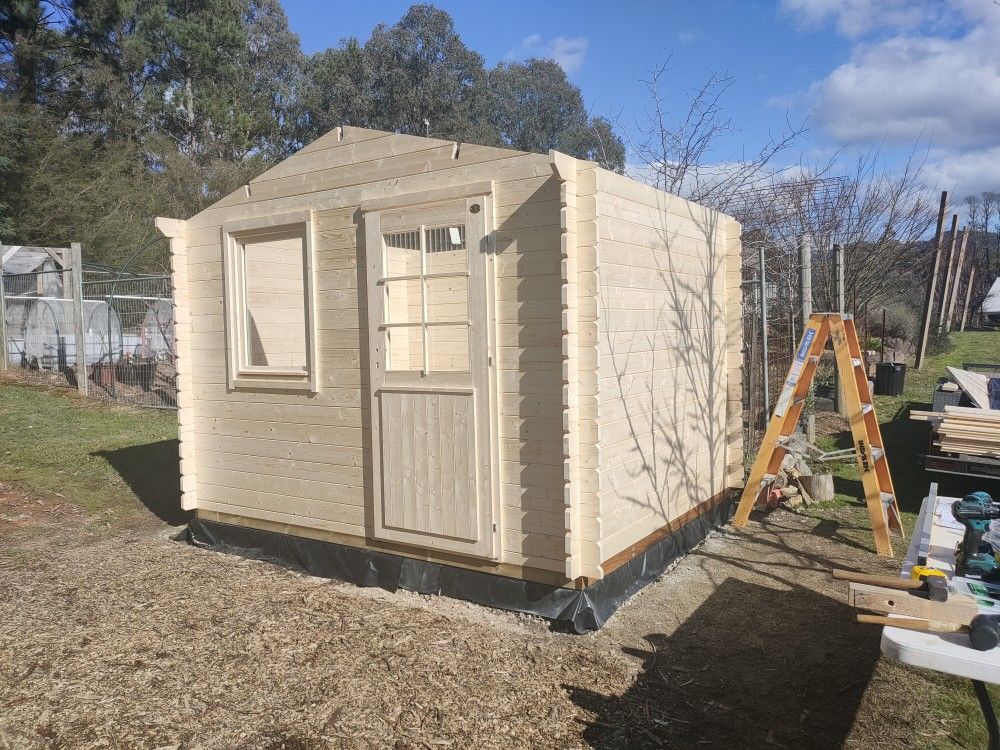
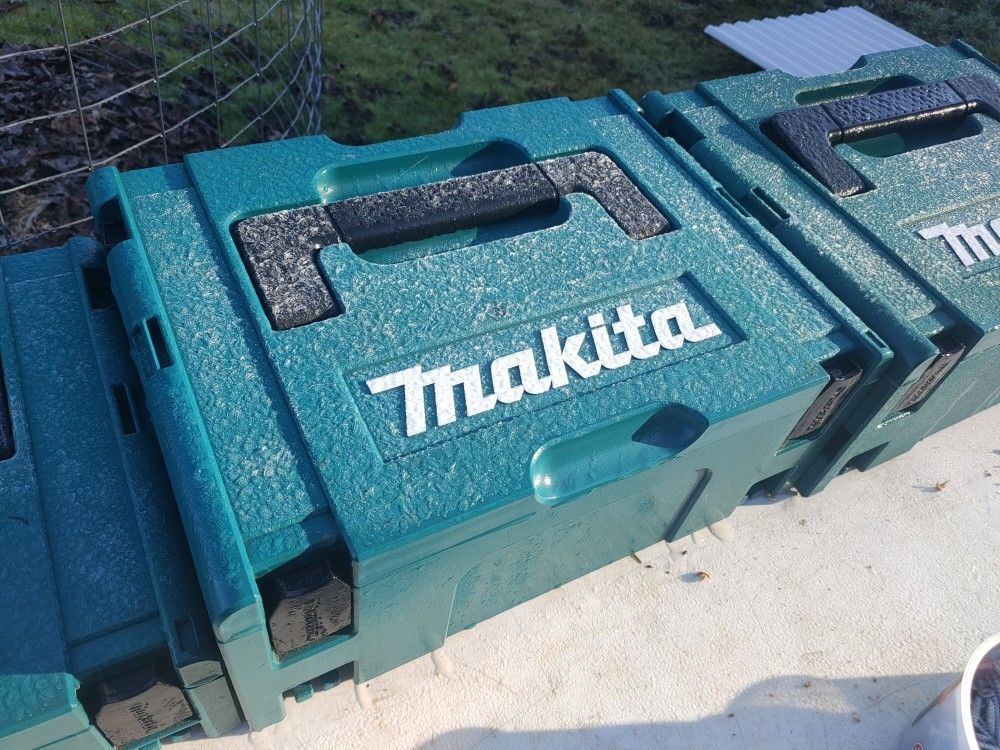
The Victorian High Country gets quite cold during the winter moths. The early morning ice on our tool boxes (MAKITA - of course!) is proof of that.
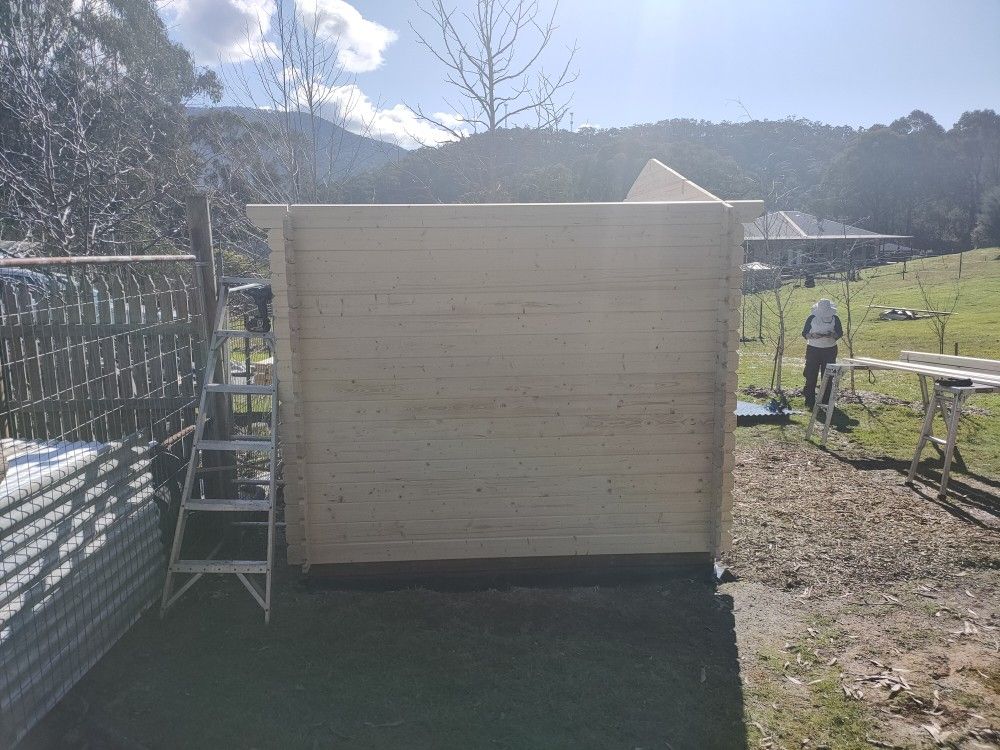
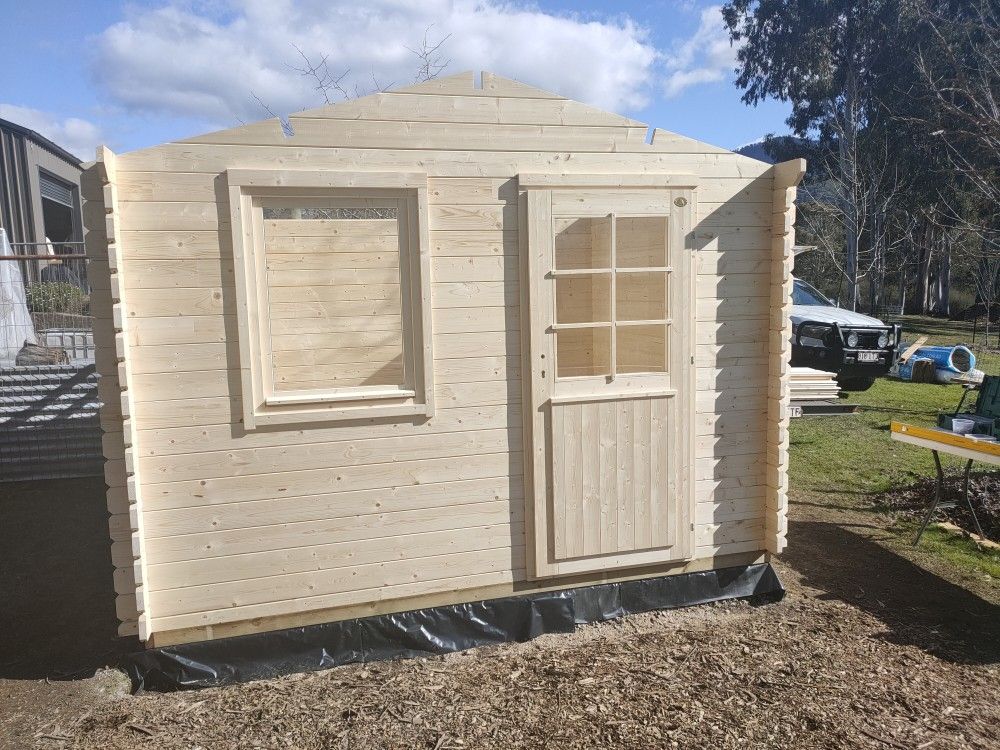
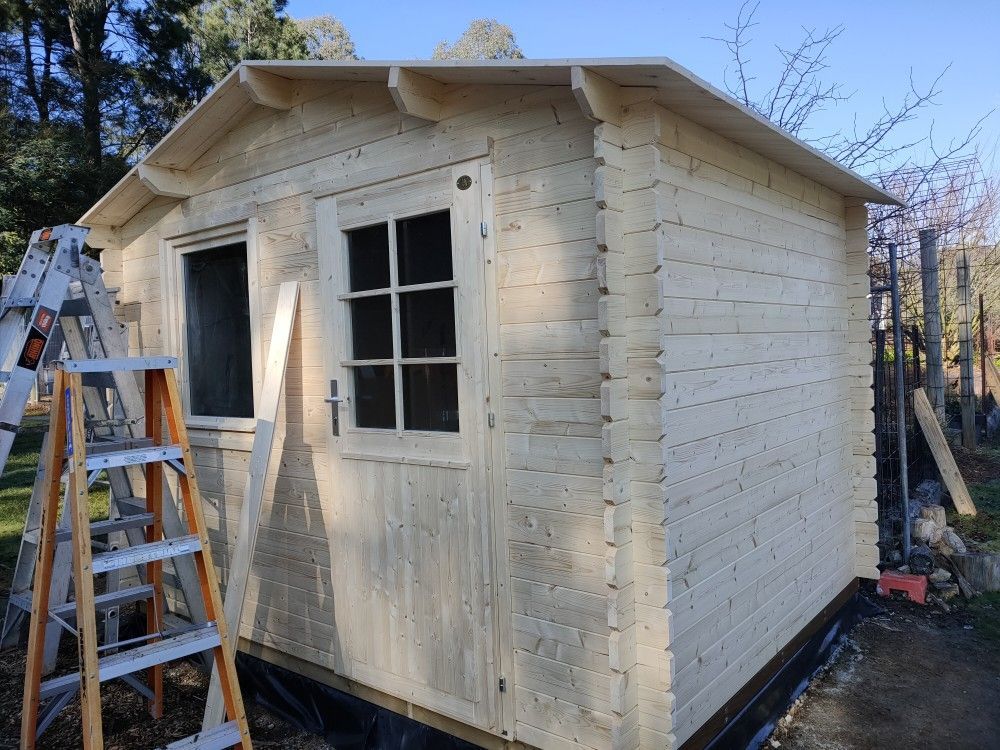
The images show the state of the cabin after the first day's build. Walls are up, and one gable assembly, but no roof beams yet.
All of our cabins come with a full 5-year warranty. We are often asked what this includes. In ALL cases if there are any issues with one of our cabins, they normally come up during the assembly of the cabin. Cabins are different to your car or TV - they can break down any time after purchase, a cabin cannot just "stop working". In general, initial issues are transport damages or missing logs. Luckily, these issues are easily and quickly fixed
Roofboards are on...
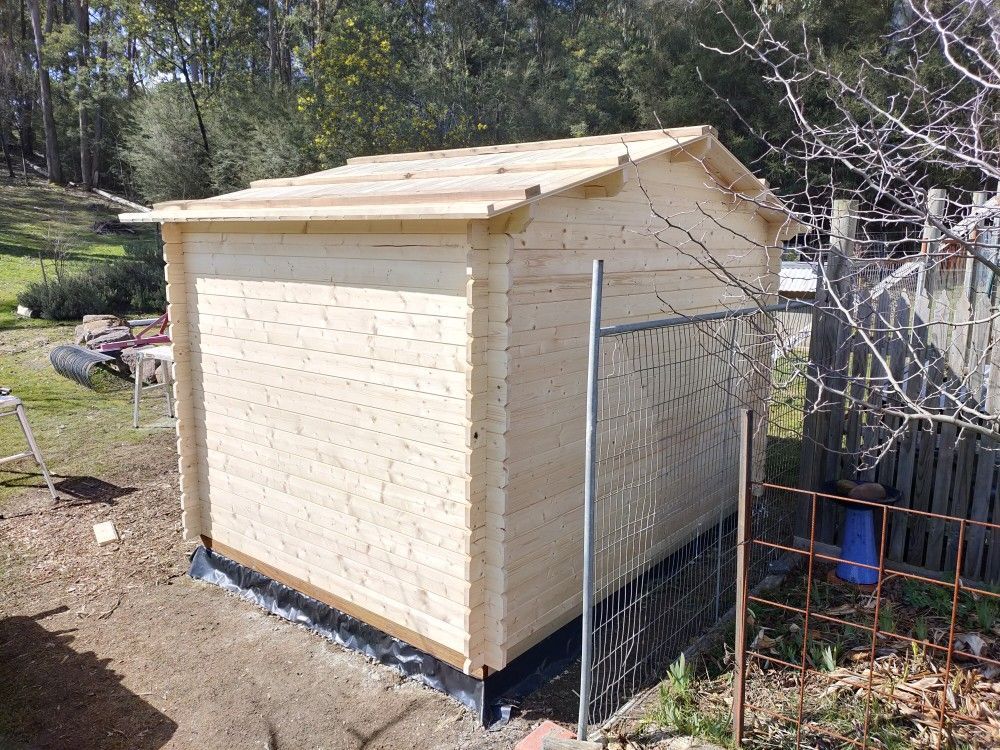
Once the roof beams have been placed and screwed into the log gables, the solid timber t&g roof boards are being installed. The first board is placed at the rear, with the tongue pointing towards the front of the cabin. The very last board will need to be cut to size to match the length of the roof beam. Once all roof boards are securely screwed down the entire roof area can be walked on.
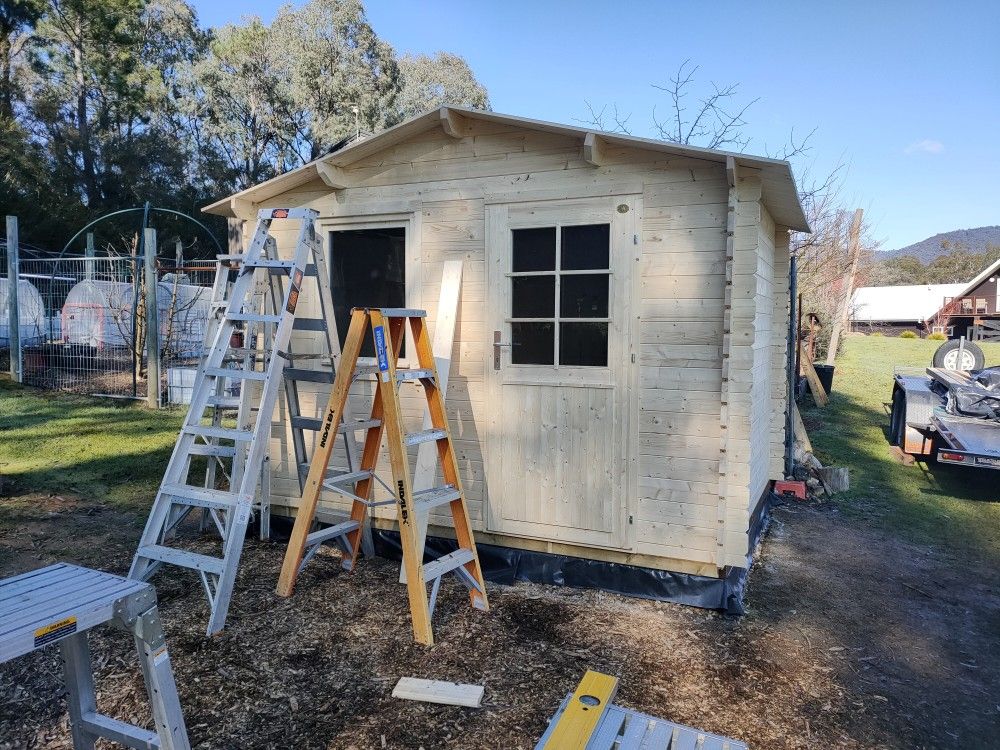
In Victoria, the installation of timber battens is perfectly ok (rather than metal top hat battens commonly used further up North). The space behind the cabin was very limited, though we removed the temporary fencing. With the aid of a scrap piece of timber we were able to lean our ladders against the cabin wall.
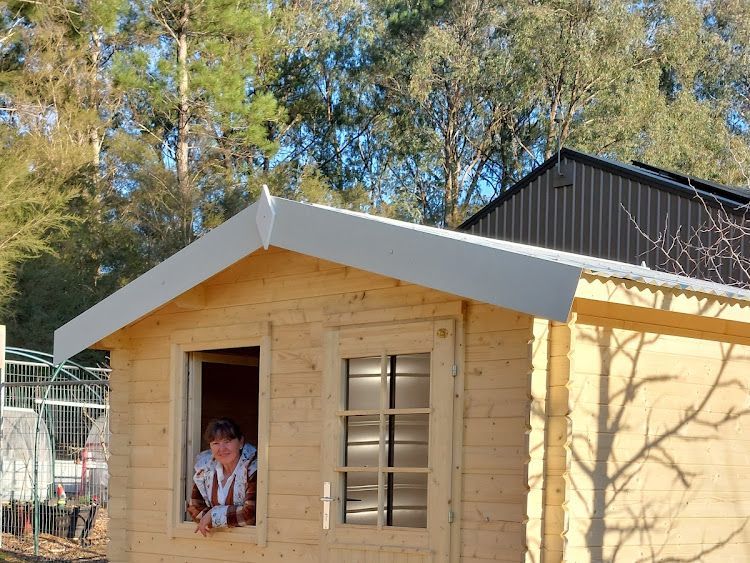
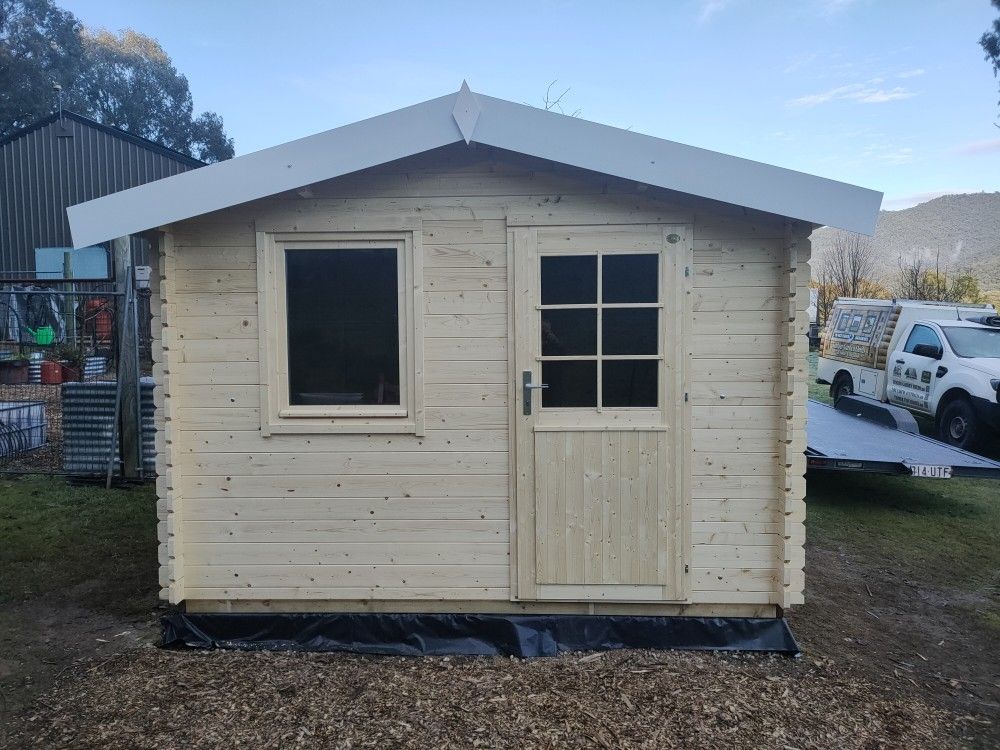
Done and dusted!
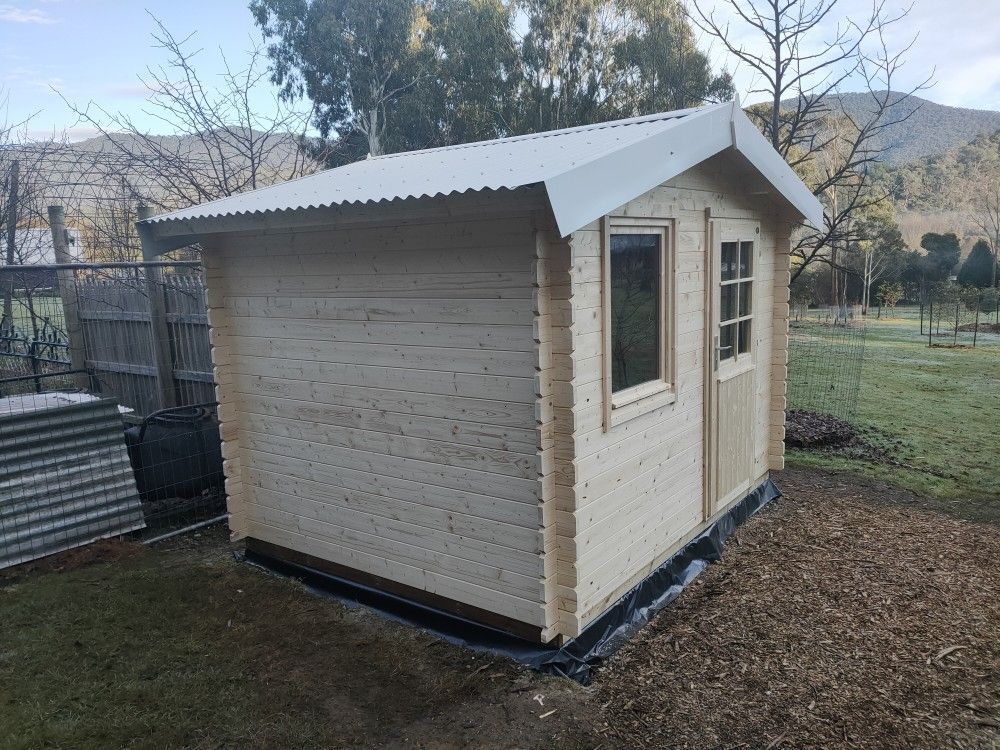
All our 28mm wall thickness log cabins come with std corrugated iron COLORBOND roofing. This includes the sheets, barge and ridge capping and colour matched screws.
For a little extra, we can also include battens (timber or metal) and insulation blanket R1.3
Depending on your location, and the intended end use of the cabin, you need to consider how much you want to insulate your cabin.
For a standard garden shed insulation is not an absolute must, but of course helps keeping your cabin cool in summer and warm in winter.
And after three days of building we headed home again - the return trip was "only" 1,800km....
LIKE IT? SHARE IT!